How to Test Soil for Better Gardening Results
Testing your soil is the best way to understand its health and fertility, which directly impacts how well your plants will grow. By examining soil composition, nutrient levels, and pH balance, you can make informed decisions about fertilizing and amending your garden soil for optimal results.
Soil quality varies widely, even within small garden spaces, so testing provides the data needed to tailor your approach rather than guessing. Knowing your soil’s properties helps prevent nutrient deficiencies or toxicities that can stunt growth or harm plants.
This article explains how to test soil using simple methods and tools, interpret the results, and apply them to improve your garden’s performance. Whether using home kits or professional labs, understanding soil science will empower you to garden smarter.
Understanding Soil Basics for Testing

Soil Composition and Structure
Soil is made up of minerals, organic matter, air, and water in varying proportions. The texture—how much sand, silt, and clay it contains—influences drainage and nutrient retention.
Knowing your soil’s structure helps you understand how water moves and nutrients are held, crucial for deciding what amendments might be necessary.
Why Soil pH Matters
Soil pH measures acidity or alkalinity, affecting nutrient availability to plants. Most garden plants prefer a pH between 6.0 and 7.5.
If the soil is too acidic or alkaline, certain nutrients become less soluble, leading to deficiencies even if the soil contains enough minerals.
How to Collect Soil Samples Properly

Tools Required for Sampling
Basic tools like a clean trowel, bucket, and plastic bags help collect representative soil samples without contamination.
Avoid using metal tools that can contaminate acidic soil samples; plastic or stainless steel is preferred.
- Trowel or soil probe
- Clean bucket for mixing
- Plastic bags or containers
- Permanent marker for labeling
Sampling Depth and Locations
Collect soil from the root zone depth—usually 6 to 8 inches—to capture relevant nutrients and conditions affecting plants.
Take multiple samples from various spots in the garden to get an average soil profile since soil can vary widely even within a small area.
- Collect 10-15 samples for large areas
- Mix samples together for a composite test
- Label samples by garden section
Testing Soil pH at Home
Using pH Test Strips and Kits
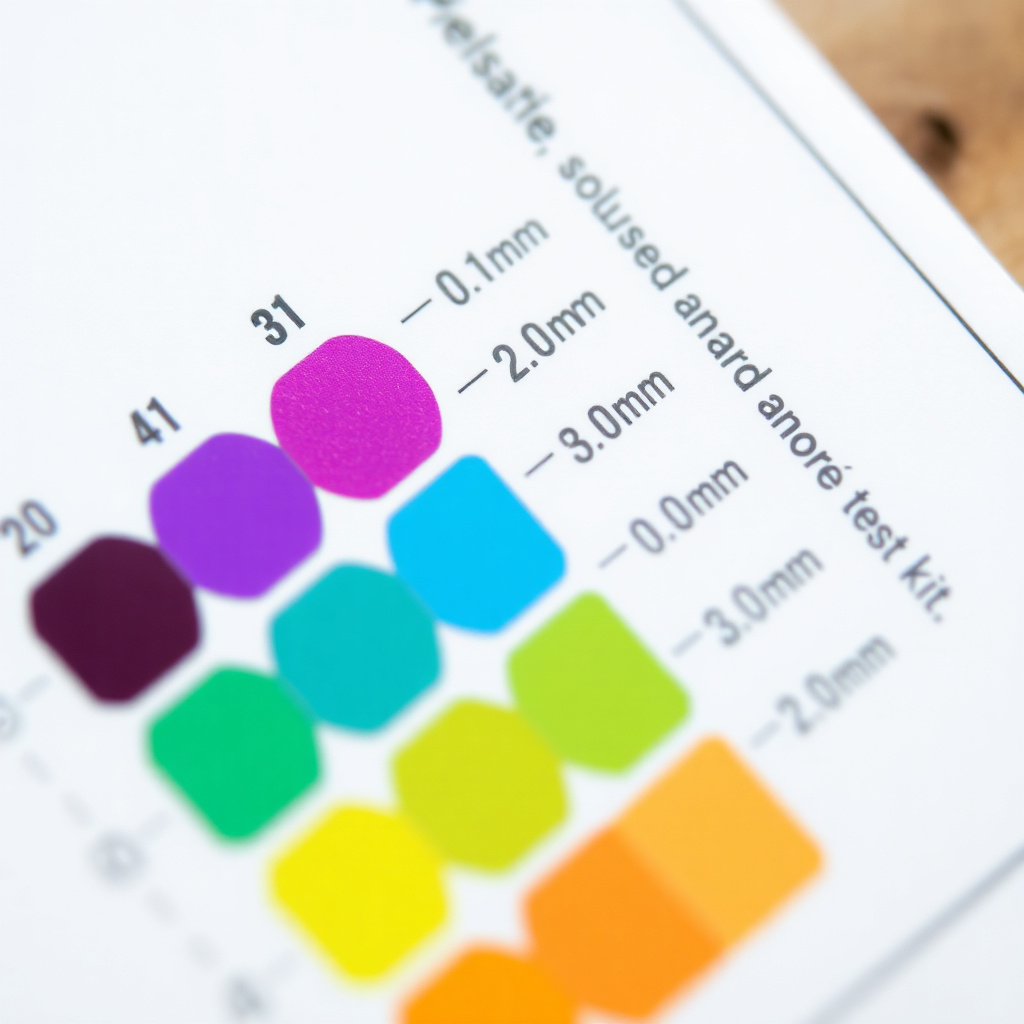
Home pH test kits typically include strips or liquid reagents that change color when mixed with a soil-water slurry, indicating acidity or alkalinity.
While convenient, these tests provide approximations and may be affected by soil moisture and contaminants.
- Prepare a soil-water mixture
- Dip test strip and compare color
- Record pH value
For more on this, see our related guide: Cannabis pH Levels for Soil: How to Maintain the Perfect Balance.
Digital Soil pH Meters
Digital pH meters offer quicker, more precise readings by inserting an electrode probe directly into moist soil.
Regular calibration with reference solutions is necessary to maintain accuracy.
- Calibrate the device before use
- Insert electrode at consistent depth
- Clean probe after each test
Analyzing Soil Nutrients and Fertility

Common Nutrients Tested in Soil
Soil tests usually focus on nitrogen, phosphorus, potassium, and micronutrients like iron and magnesium, essential for plant growth.
Understanding nutrient levels helps prevent both deficiencies and toxicities.
- Nitrogen (N)
- Phosphorus (P)
- Potassium (K)
- Micronutrients (Fe, Mg, Zn)
Interpreting Lab Test Results
Professional labs provide nutrient concentrations and pH values along with recommendations based on your soil type and crop needs.
Following lab guidance allows precise fertilizer application, saving costs and reducing environmental impact.
Using Soil Testing Kits vs. Professional Labs
Advantages of Home Testing Kits
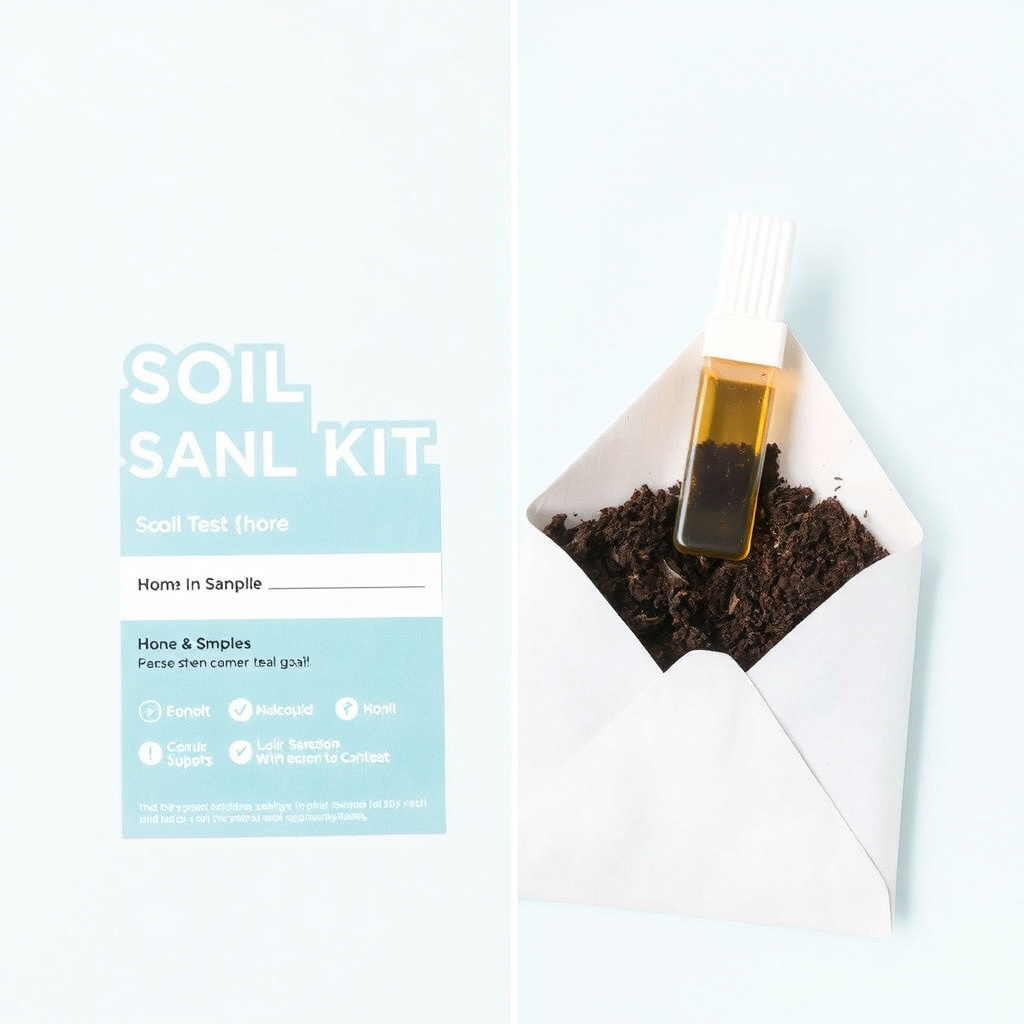
Home kits offer immediate, inexpensive results for pH and some nutrient levels, helping gardeners make quick adjustments.
They are user-friendly but less comprehensive and accurate than lab tests.
For more on this, see our related guide: How to Choose the Best Soil for Cannabis Plants: A Complete Guide.
Benefits of Professional Soil Analysis
Lab testing provides detailed soil profiles covering multiple nutrients, pH, organic matter, and contaminants with expert advice.
Although more costly and slower, lab analysis is the best option for major soil management decisions.
Improving Soil Based on Test Results

Adjusting Soil pH
To raise soil pH, add lime or wood ash; to lower it, incorporate sulfur or organic matter like pine needles.
Changes happen gradually, so monitor pH over months before applying more amendments.
For a detailed explanation of soil testing principles and techniques, refer to this soil testing overview on Wikipedia. soil testing overview on Wikipedia.
Adding Nutrients and Organic Matter
Apply fertilizers according to nutrient levels indicated by tests to correct deficiencies without over-application.
Incorporate compost and mulch regularly to improve soil structure and nutrient cycling.
Soil Testing Methods Comparison
This table compares key soil testing methods to help you evaluate options for your garden needs.
| Method | Accuracy | Cost | Time to Results | Ease of Use |
|---|---|---|---|---|
| pH Test Strips | Low to Moderate | Low | Minutes | Very Easy |
| Digital pH Meters | Moderate to High | Moderate | Seconds | Easy |
| Home Nutrient Kits | Moderate | Moderate | Minutes to Hours | Easy |
| Professional Lab Testing | High | Higher | Days to Weeks | Requires mailing samples |
Frequently Asked Questions
How often should I test my soil?
Testing every 2-3 years is sufficient for most home gardens unless problems arise. Frequent testing can help monitor changes during major soil amendments.
Can I test soil pH without a kit?
You can observe soil symptoms as indicators, but for accuracy, chemical test kits or digital meters are needed to measure pH reliably.
What is the best time to collect soil samples?
Collect soil samples during dry weather and before fertilizing or planting. Spring and fall are common times to test soil conditions.
Are professional soil tests expensive?
Costs vary by lab and tests requested but usually range from $15 to $50 per sample, which is affordable considering the detailed analysis provided.
How do I store soil samples before testing?
Keep samples in clean, sealed containers at room temperature, and avoid contamination or drying out before sending or testing.
Key Takeaways
- Test soil pH and nutrients for healthy plant growth.
- Collect multiple soil samples from root zone depths.
- Home test kits provide quick results but labs offer detailed analysis.
- Adjust soil amendments based on test results over time.
Conclusion
Approaching soil testing with a clear process starts with understanding the basics of soil composition and pH importance. Gathering representative samples accurately and selecting the testing method suitable for your needs delivers the information necessary to improve your garden's soil health. Consistent testing and interpreting results thoughtfully lead to wiser gardening decisions and better plant outcomes.
Home soil testing kits are ideal for gardeners seeking immediate feedback on soil pH and basic nutrient status, whereas professional labs are preferred for comprehensive nutrient profiles and expert recommendations. For large gardens or serious crop production, lab analysis ensures clarity in adjusting soil fertility. Both methods contribute to smarter gardening when paired with proper sampling techniques.
Begin soil testing with simple pH measurements and expand to nutrient tests as needed. Use results to amend soil gradually by adding lime, sulfur, fertilizers, or organic matter tailored to your garden type and plant requirements. Regular monitoring allows you to maintain healthy soil conditions season by season and optimize yield or growth.