How to Plant Seeds for Beginners: A Simple Guide to Growing Your First Garden
Planting seeds is the first step to growing your own garden, and for beginners, the process can be straightforward when you follow clear steps. To plant seeds successfully, start by selecting quality seeds, prepare the soil or growing medium, plant the seeds at the right depth, keep them moist, and provide appropriate light and temperature conditions.
This matters because starting seeds at home allows you to control the growing environment, increase the variety of plants you can grow, and enjoy a rewarding gardening experience. Knowing how to plant seeds correctly improves germination rates and ensures your garden thrives from the very beginning.
This article will cover everything beginners need to know, including choosing seeds, preparing soil or containers, planting techniques, caring for seedlings, and common troubleshooting tips to help your garden flourish from seed to harvest.
Choosing Seeds for Successful Planting
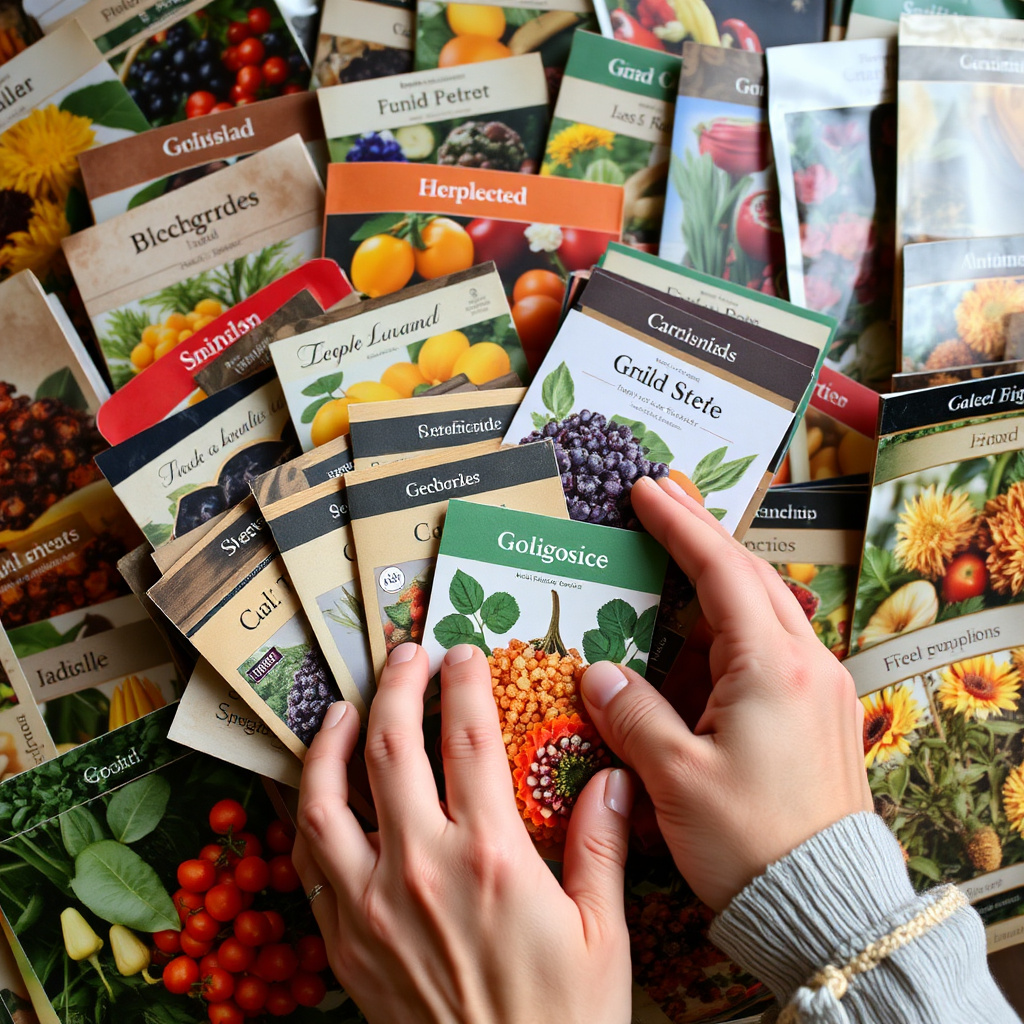
Selecting Seeds Based on Your Climate
Choosing seeds that suit your local climate is essential for gardening success. Seeds labeled with your USDA hardiness zone or specific climate type will have higher success rates because they are bred to thrive under your regional conditions.
Consider the average frost dates and season length. Some seeds require warm soil to germinate, while others prefer cool temperatures. Selecting the right seeds reduces the risk of poor germination or seedling death.
- Check seed packets for climate zone information
- Research the typical growing season length
- Select seeds with appropriate heat or cold tolerance
Understanding Seed Types and Varieties
Seeds come in many varieties, including heirloom, hybrid, and GMO. Heirloom seeds are open-pollinated varieties valued for their unique traits and ability to save seeds for future planting. Hybrids can offer disease resistance and high yields but may not produce viable seeds for replanting.
Selecting the right seed type depends on your gardening goals, whether that’s flavor, yield, or ease of growth. Also, know the difference between vegetable, flower, and herb seeds to match your garden’s purpose.
- Heirloom seeds for flavor and seed saving
- Hybrid seeds for disease resistance
- Consider seed maturity days and harvest times
Preparing Soil and Containers for Planting
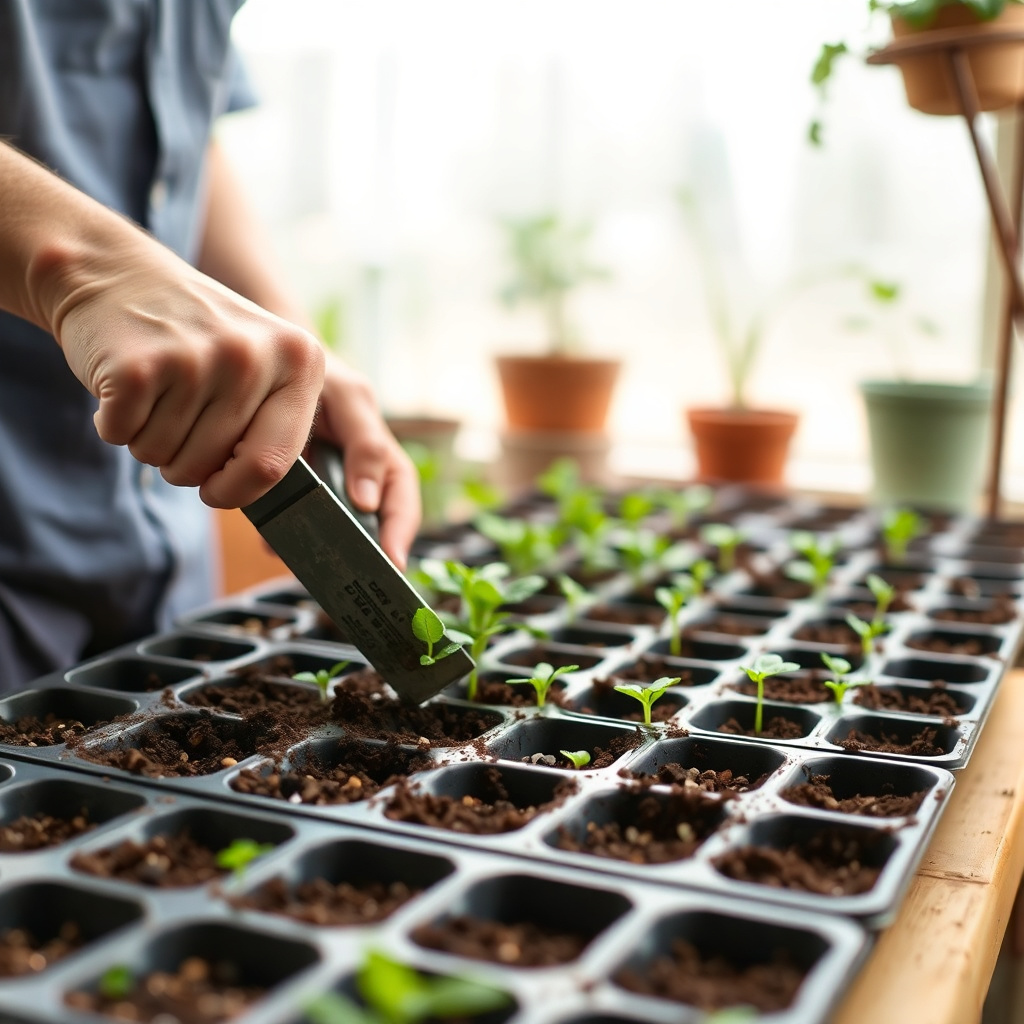
Choosing the Right Soil or Growing Medium
Seedlings prefer light, well-draining soil that holds moisture without becoming soggy. For indoor seed starting, a sterile seed-starting mix is ideal as it reduces the risk of disease and promotes healthy root development.
If sowing outdoors, prepare the garden bed by loosening soil, removing debris, and mixing in organic matter like compost to enrich nutrients and improve texture for seedlings.
- Use seed-starting mix indoors for best germination
- Outdoor soil should be loose and enriched with compost
- Avoid heavy clay soils that inhibit root growth
Selecting Containers and Tools for Beginners
Containers for seed starting vary from trays to pots or recycled materials. Choose containers with drainage holes to prevent waterlogging. Seed trays allow you to start many seeds in a small space and ease transplanting later.
Essential tools include a small trowel, watering can with a fine nozzle or spray bottle, markers to label seeds, and a humidity dome or plastic wrap to retain moisture during germination.
- Containers must have drainage holes
- Label seeds for easy identification
- Use a spray bottle for gentle watering
Planting Seeds Correctly for Best Germination
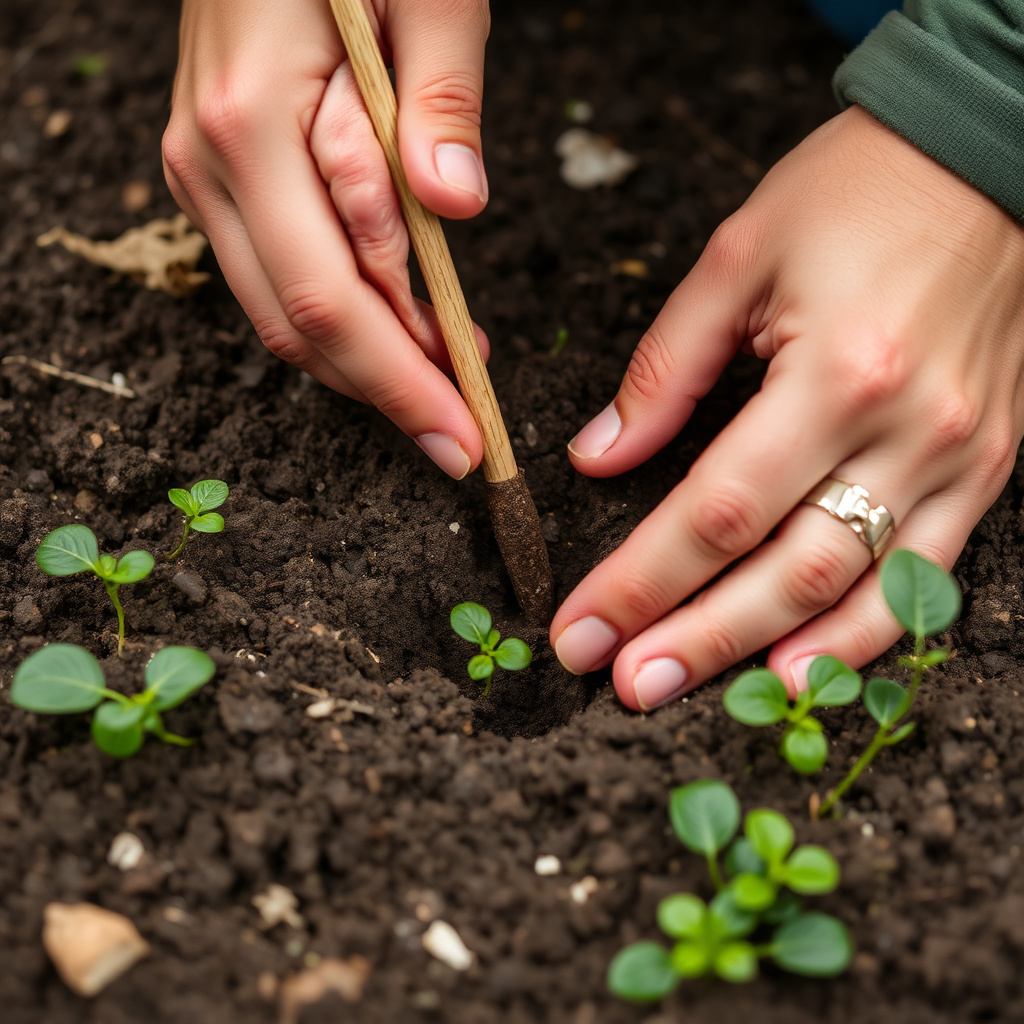
Determining Seed Planting Depth and Spacing
Planting seeds at the correct depth ensures they have the best chance to break through the soil surface. Too deep may prevent sprouting, and too shallow may leave seeds exposed and dry.
The general rule is to plant seeds two to three times as deep as the size of the seed. Spacing between seeds is equally important to prevent overcrowding and competition for nutrients once they sprout.
- Small seeds require shallow planting (¼ to ½ inch)
- Larger seeds like beans need deeper planting (1 to 2 inches)
- Follow packet instructions for spacing
For more on this, see our related guide: Are Cannabis Seeds Legal in the USA? Understanding the Legal Landscape.
Techniques for Sowing Seeds Indoors and Outdoors
For indoor planting, fill containers with seed-starting mix, moisten it, plant seeds at recommended depth, and cover lightly with soil. Keep containers warm and moist under a humidity dome until germination.
Outdoors, loosen soil, mark rows or spots with proper spacing, plant seeds, and water gently. Mulching can protect soil moisture and temperature, improving germination success outdoors.
- Maintain warmth and moisture for indoor seeds
- Water gently to avoid displacing seeds
- Mulch outdoor beds to retain soil moisture
Caring for Seedlings After Germination
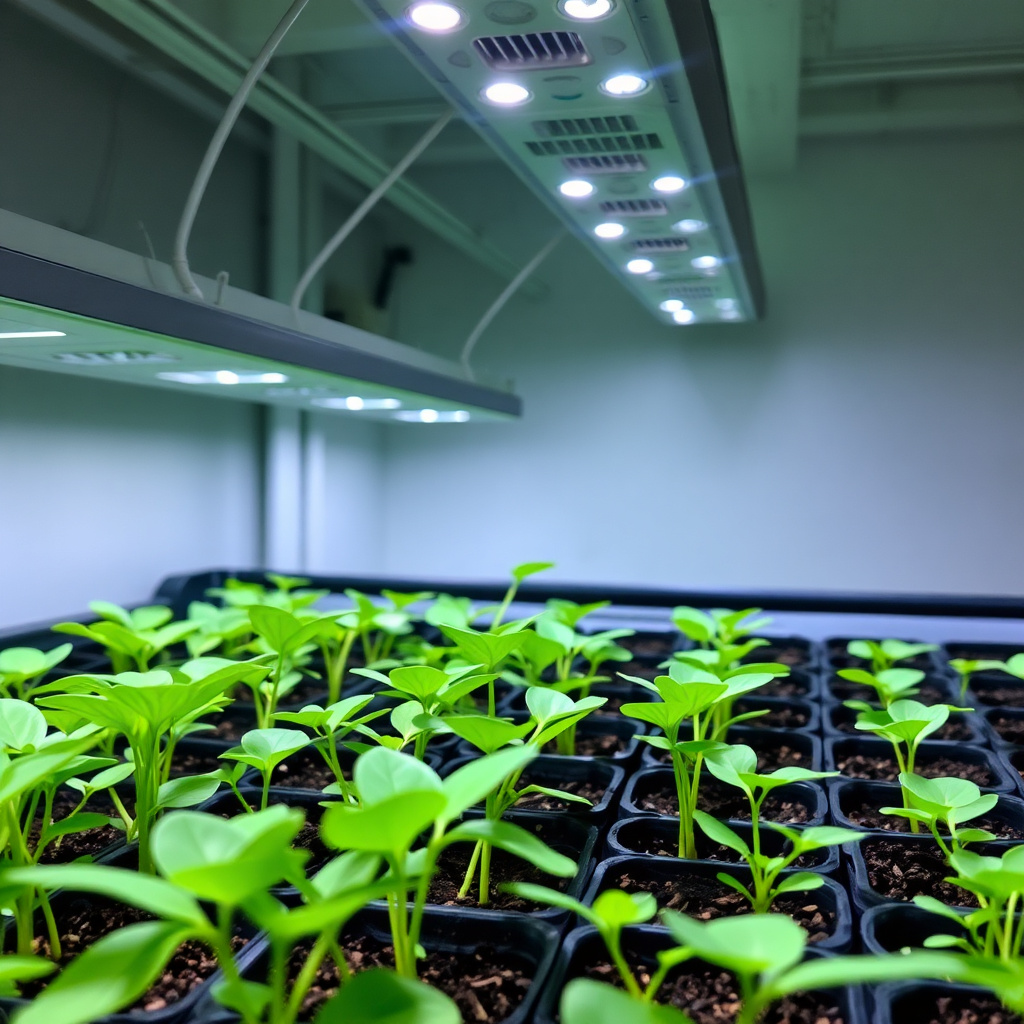
Watering and Light Requirements for Seedlings
Seedlings require consistent moisture but not waterlogging. Use a spray bottle or gentle watering method to keep soil evenly moist. Overwatering can cause damping-off disease, which kills young plants.
Provide seedlings with ample light—at least 12-16 hours a day—for healthy growth. When natural light is insufficient, use grow lights positioned a few inches above the seedlings to prevent legginess and promote sturdy stems.
- Avoid letting soil dry out completely
- Prevent standing water to reduce fungal risks
- Use full-spectrum grow lights if indoors
Thinning and Transplanting Seedlings
Once seedlings develop their first set of true leaves, it's time to thin them by removing the weaker ones. Thinning prevents overcrowding, giving remaining plants more space and nutrients.
Transplant seedlings when they have multiple leaves and strong roots. Harden off seedlings by gradually exposing them to outdoor conditions before planting in the garden, reducing transplant shock.
- Thin seedlings to one per pot or space
- Transplant when seedlings have 3-4 true leaves
- Gradually expose seedlings to outdoor elements
Troubleshooting Common Problems When Planting Seeds
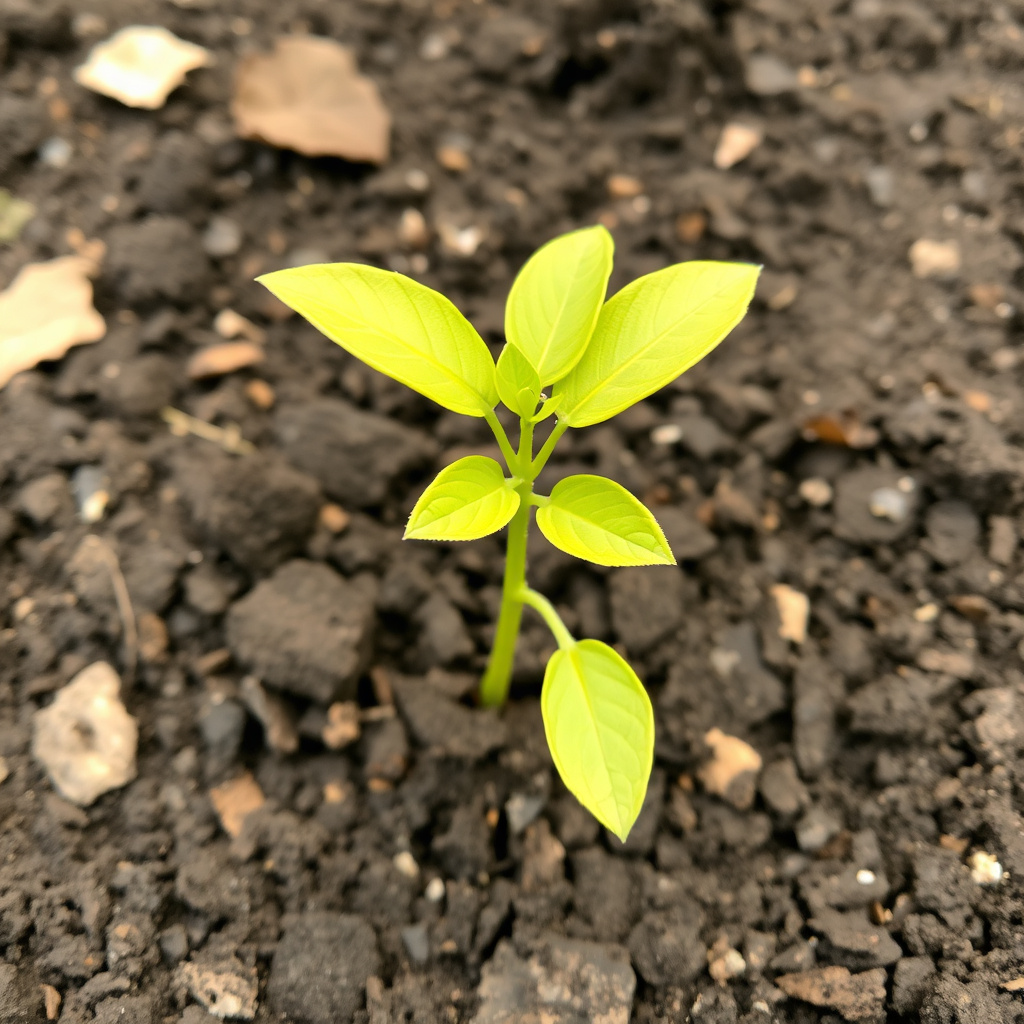
Causes and Solutions for Poor Germination
Poor germination often results from incorrect planting depth, old or low-quality seeds, inadequate moisture, or unsuitable temperatures. Testing seed viability before planting helps avoid issues.
Adjust watering practices to keep soil moist but not soggy. Check that soil temperature matches seed requirements and try pre-soaking larger seeds to speed up germination.
- Use fresh seeds and note expiration dates
- Keep soil moist and at proper temperature
- Avoid planting seeds too deep or too shallow
For more on this, see our related guide: Plant Genetics Explained for Beginners: Understanding the Basics of Heredity in Plants.
Preventing and Managing Seedling Diseases
Damping-off is a common seedling disease caused by fungal pathogens thriving in overwatered, poorly ventilated conditions. Use sterile soil and containers, avoid overwatering, and provide air circulation.
If you spot diseased seedlings, remove them quickly to prevent spread. Using natural fungicides or sterile growing mixes can also reduce risk when planting seeds for beginners.
- Use sterile seed-starting mix and clean tools
- Water from the bottom to reduce leaf wetness
- Ensure adequate airflow to seedlings
Extending Your Gardening Success Beyond Seed Planting
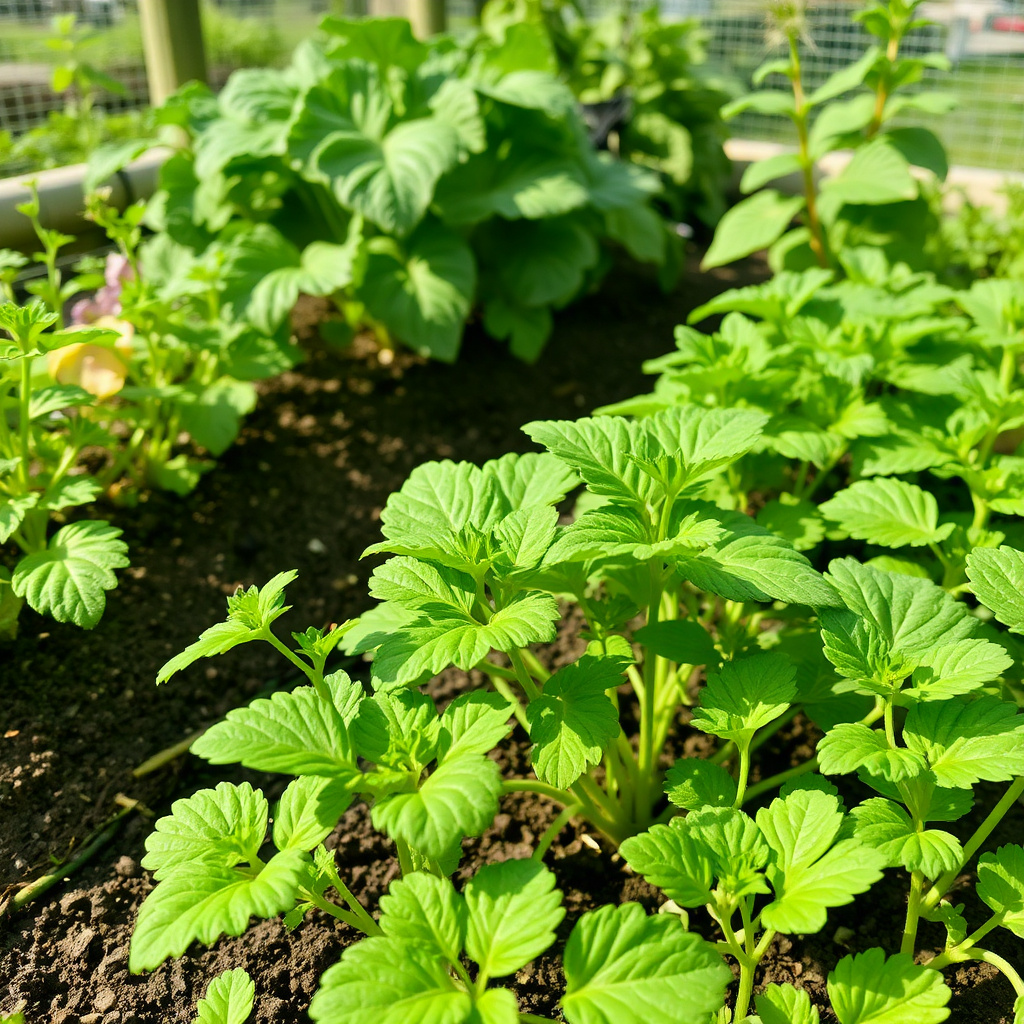
Planning for Successive Plantings and Crop Rotation
To have a continuous harvest, plan successive plantings by sowing quick-growing seeds every few weeks. This technique maximizes garden productivity and helps avoid periods of inactivity after the initial crops mature.
Crop rotation prevents soil depletion and reduces pest and disease buildup. Rotate plant families in your garden beds to maintain healthy soil and vigorous plants throughout the growing season.
- Stagger planting dates for continuous harvest
- Rotate crops to different garden areas yearly
- Include cover crops to enrich soil in off-season
For more detailed scientific insights into how seeds germinate, see this comprehensive resource on seed germination. Seed germination information.
Using Seed Starting Tips for Beginners to Improve Future Crops
Applying seed starting tips for beginners, such as maintaining proper moisture, light, and temperature, will increase your success rate with different seeds. Keep a gardening journal to record results and adapt methods as needed.
Experiment with different seed types, containers, and care routines to learn what works best in your environment. Over time, these skills help you develop a thriving garden from seed to full maturity.
- Keep notes on seed success and failures
- Adjust watering and light based on seedling response
- Try various seed varieties to find your favorites
Seed Starting Methods Category Comparison
This table compares popular seed starting methods to help beginners choose the best option for their garden setup and needs.
| Method | Ease of Use | Cost | Space Required | Ideal For |
|---|---|---|---|---|
| Seed Trays with Seed-Starting Mix | Easy | Low | Medium | Indoor seed starting |
| Direct Sow Outdoors | Very Easy | Very Low | Large | Hardy crops and large gardens |
| Peat Pots and Biodegradable Containers | Moderate | Medium | Small to Medium | Transplant-friendly and eco-conscious gardeners |
| Soilless Mix in Plastic Flats | Moderate | Low | Medium | Disease prevention and quick germination |
| Hydroponic Seed Starting | Advanced | High | Small | Year-round indoor growing with limited soil |
Frequently Asked Questions
How long does it take for seeds to germinate?
Germination time varies by seed type, ranging from a few days to several weeks. Most common vegetable seeds sprout within 7 to 14 days under proper conditions.
Can I use garden soil to start seeds indoors?
Garden soil is generally not recommended for indoor seed starting due to risk of disease and poor drainage. A sterile seed-starting mix promotes better germination and healthy seedlings.
How often should I water newly planted seeds?
Keep the soil consistently moist but not waterlogged. Water gently daily or as needed to prevent drying, using a spray bottle or fine nozzle to avoid displacing seeds.
What do I do if my seedlings are leggy?
Leggy seedlings usually result from insufficient light. Move them to a brighter spot or use grow lights close but not touching the plants to encourage stronger, more compact growth.
Should I fertilize seedlings right after they sprout?
Seedlings generally don't need fertilizing until they develop their second set of true leaves. At that stage, a diluted balanced fertilizer can support healthy growth.
Key Takeaways
- Select seeds suited to your local climate and garden conditions
- Use light, well-draining soil or seed-starting mix with proper containers
- Plant seeds at correct depth and spacing for best germination
- Care for seedlings with consistent moisture, light, and timely thinning
Conclusion
Knowing how to plant seeds for beginners involves understanding your environment, selecting suitable seeds, preparing soil or containers properly, and following planting and care steps precisely. Each stage—from seed selection to transplanting seedlings—contributes to setting a strong foundation for healthy plants. A methodical approach helps avoid common problems like poor germination and disease and increases the likelihood that your efforts will result in thriving seedlings ready for your garden.
For beginners, beginning with seed trays filled with sterile seed-starting mix indoors offers controlled conditions that boost germination and early growth. Direct sowing is effective for hardy crops and large outdoor areas but requires attention to timing and soil preparation. Those interested in eco-friendly practices may prefer biodegradable pots, while more advanced gardeners might explore hydroponic seed starting for year-round growth. Applying seed starting tips for beginners, such as monitoring moisture and light and thinning seedlings, supports your success regardless of the method chosen.
Start with a small batch of seeds suited to your climate and growing conditions, and carefully follow the planting depths and watering guidelines outlined. Keep track of your results to improve with experience. With patience and observation, you’ll build the confidence to expand your seed-starting efforts and enjoy the satisfaction of growing a flourishing garden from seed to harvest.