How to Clean Seeds: A Step-by-Step Guide for Gardeners
Cleaning seeds properly involves removing pulp, debris, and non-viable material to improve germination success and reduce disease risk. The best way to clean seeds depends on the seed type and source but generally includes washing, drying, and sometimes fermenting or screening.
Proper seed cleaning matters because leftover fruit residues or dirt can encourage mold growth and attract pests, while mixed debris can cause uneven planting. Clean seeds store better and make sowing easier and more uniform.
This article explains various seed cleaning techniques including fermentation, manual rinsing, drying practices, and tools or equipment that help separate seeds from chaff. We’ll also cover how different seed types require specific handling for the best results.
Understanding Seed Cleaning Basics

Why Clean Seeds Are Important
Keeping seeds clean increases the chance of successful germination by removing decayed fruit, mold spores, and bacteria. It also prevents bulky debris that might interfere with planting tools or seed trays.
Seed cleaning extends shelf life and reduces contamination by pests during storage, making it essential for both home gardeners and commercial producers.
Common Seed Contaminants
Seeds often come mixed with pulp, fibers, dirt, and bits of surrounding plant material. These contaminants can harbor pathogens or reduce airflow around seeds during drying.
Identifying common contaminants allows targeted cleaning steps, whether scrubbing off pulp or separating lightweight debris through sieves.
Mechanical and Manual Seed Cleaning Techniques

Hand Rinsing and Scrubbing
Many fleshy fruits like tomatoes and cucumbers allow simple seed cleaning by rubbing seeds between fingers while rinsing under water. This removes pulp while preserving seed integrity.
For small seed batches, manual scrubbing works well, but care is needed to avoid damaging delicate seed coats.
- Use lukewarm water to loosen pulp
- Rub gently between thumbs
- Repeat rinsing until water runs clear
Screening and Sieving
Mechanical sieves separate seeds from debris by size and weight differences. Multi-layer screens can progressively remove larger clumps or smaller particles.
Commercial setups use vibrating or rotating sieves to increase throughput, but garden-scale users can employ handheld mesh sieves to good effect.
- Use appropriate mesh size for seed type
- Shake sieve to separate seeds from chaff
- Collect cleaned seeds from bottom screen
Fermentation for Cleaning Seeds from Fruits

How Fermentation Works
Fermentation involves soaking seeds in water to break down gelatinous pulp and kill some seed-borne pathogens. This method is common for tomato, pepper, and cucumber seeds.
Natural microbial activity softens the fruit coating so seeds can be rinsed clean with minimal damage.
- Place seeds and pulp in jar
- Leave at room temperature for 2-4 days
- Stir daily to avoid mold growth
For more on this, see our related guide: How to Store Seeds Long Term for Maximum Viability and Freshness.
Post-Fermentation Cleaning Steps
After fermentation, seeds are rinsed vigorously under water to remove dissolved pulp residue and floating debris. Heavier seeds settle while pulp floats off.
Dry seeds on paper towels or screens, spreading out thinly for airflow to prevent clumping during drying.
Drying and Storing Clean Seeds
Proper Seed Drying Techniques
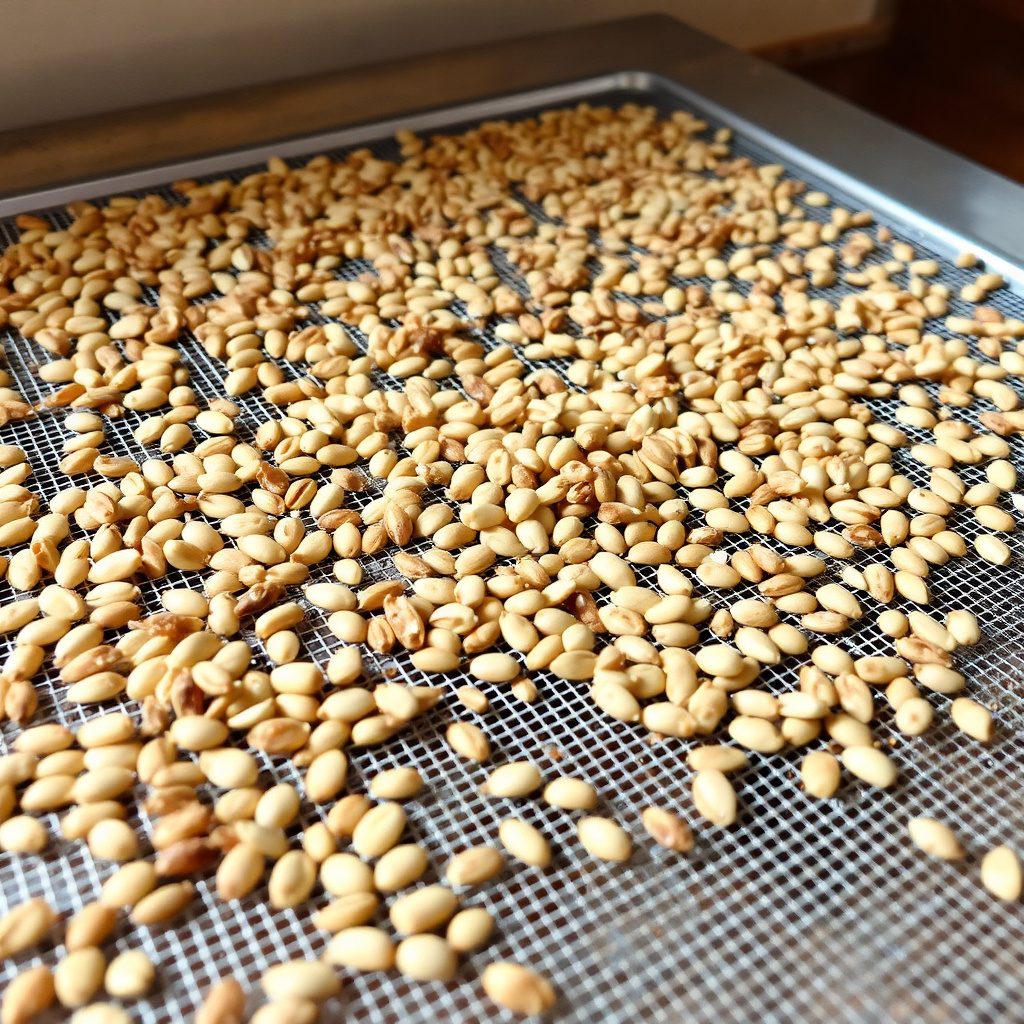
Drying is crucial because any retained moisture reduces seed storage life and increases mold risk. Seeds should dry in a well-ventilated, shaded area on mesh trays until brittle to the touch.
Avoid direct sunlight, which can harm seed viability, and do not keep seeds piled or clumped.
- Use paper towel or mesh surface
- Turn seeds occasionally
- Confirm dryness by breaking a seed to check crispness
Seed Storage Recommendations
Once dry, store seeds in airtight containers in a cool, dark environment to maximize longevity. Label containers with seed type and date cleaned.
Silica gel packets can help absorb moisture; refrigeration is suitable for some seeds but avoid freezing unless recommended.
- Use glass jars or sealed bags
- Add desiccant packets
- Keep at 5-10°C for best preservation
Cleaning Specific Types of Seeds

Cleaning Small and Fine Seeds
Fine seeds like lettuce and carrot require gentle handling to avoid losing them through sieves or water wash. A fine mesh strainer and delicate drying help maintain seed viability.
Manual separation with tweezers, decanting in water, or using gravity tables can efficiently remove debris from tiny seeds.
For more on this, see our related guide: Why Are My Seeds Not Sprouting? Common Causes and Solutions.
Cleaning Large, Hard Seeds
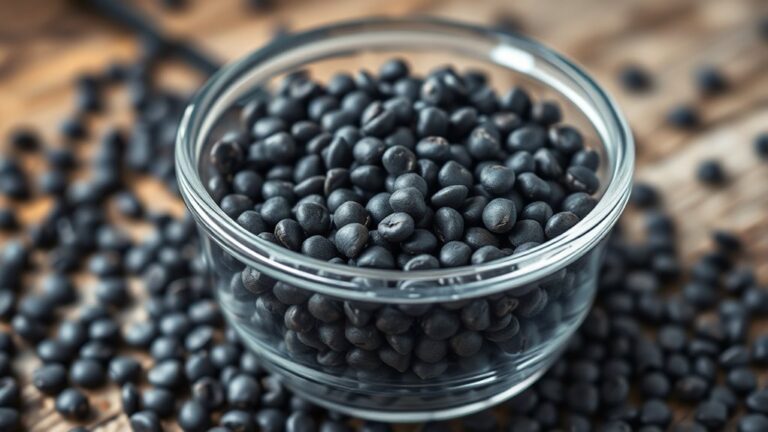
Large seeds such as beans need less complex cleaning. Removing pods or hulls is usually enough, combined with rinsing to clear dust or dirt.
Be cautious of cracked or damaged seeds during cleaning as they lose viability quickly.
Tools and Equipment for Seed Cleaning
Basic Household Tools
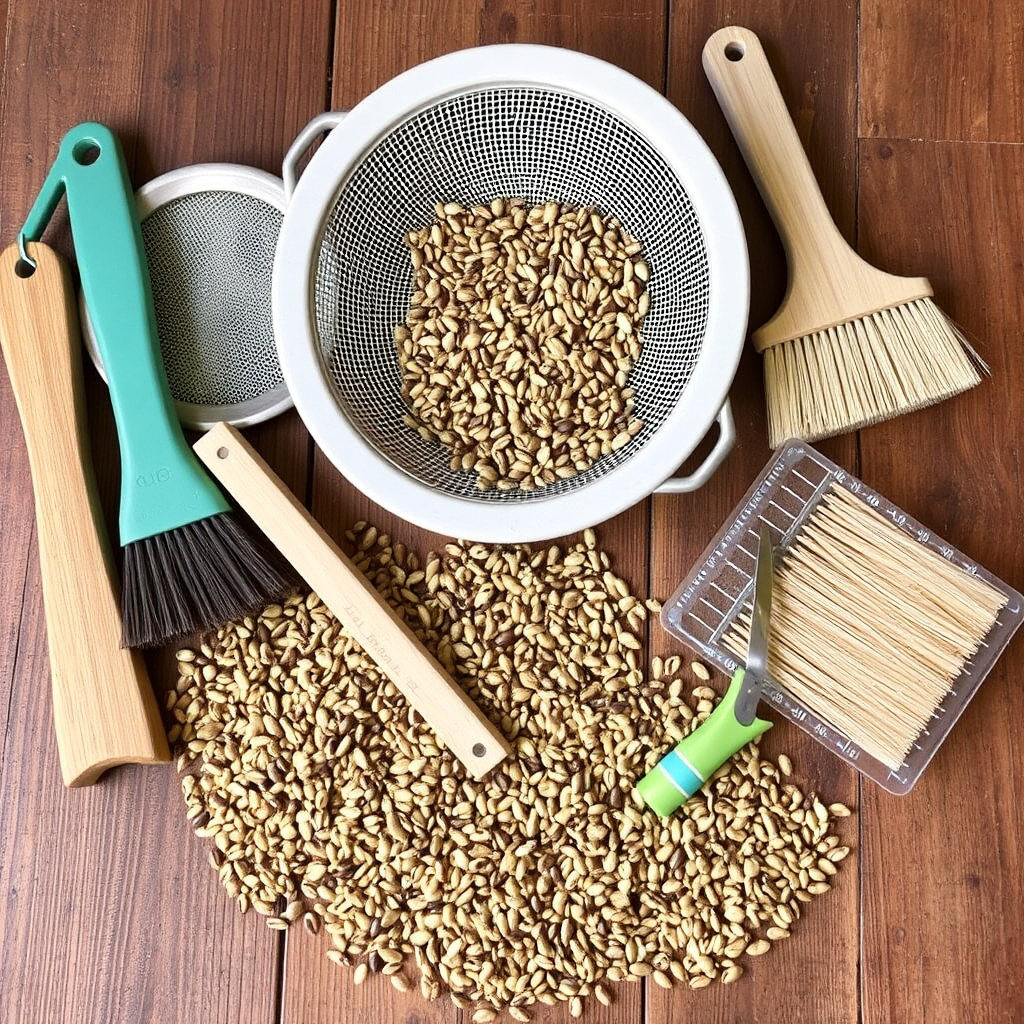
Common kitchen items like colanders, fine mesh strainers, and toothbrushes are effective for small-scale seed cleaning.
Paper towels and natural fiber cloths assist with drying without damaging delicate seeds.
- Fine mesh sieve
- Soft brush or toothbrush
- Paper towels or cheesecloth
For a detailed overview of seed cleaning techniques, you can visit the seed cleaning techniques on Wikipedia. seed cleaning techniques on Wikipedia.
Specialized Seed Cleaning Equipment
Commercial seed producers use air classifiers, gravity separators, and vibrating sieves for large-scale seed cleaning.
DIY gardeners can invest in small seed cleaning kits or mechanical winnowers if processing batches regularly.
- Seed winnowing machine
- Gravity separator
- Rotating sieve
Seed Cleaning Methods Comparison
This table summarizes various seed cleaning techniques, their suitability, and benefits for different seed types and scales.
| Method | Best for Seed Type | Advantages | Disadvantages |
|---|---|---|---|
| Hand Rinsing | Small fleshy seeds | Simple, low cost | Time-consuming, risky for delicate seeds |
| Fermentation | Tomato, pepper seeds | Removes pulp and pathogens | Needs monitoring to avoid mold |
| Sieving | Dry seeds like beans | Efficient debris separation | Requires correct mesh sizes |
| Mechanical Equipment | Large scale production | Fast, scalable cleaning | High upfront cost |
| Manual Sorting | Rare or mixed seeds | Precise control | Labor intensive |
Frequently Asked Questions
Can I clean seeds without fermentation?
Yes, many seeds can be cleaned by rinsing and sieving without fermenting, especially dry seeds such as beans and peas. Fermentation primarily helps remove sticky fruit pulp and reduce pathogens.
How long should seeds be dried after cleaning?
Seeds typically require several days of drying, depending on size and moisture content, until they are brittle to the touch. Consistent airflow and shade speed the process and protect seed viability.
Is it necessary to remove all pulp before drying seeds?
Removing most pulp is important to prevent mold during drying and storage. Some seeds tolerate a thin residue layer, but cleaner seeds store better and germinate more reliably.
What seeds benefit the most from fermentation cleaning?
Seeds from fleshy fruits, like tomatoes, cucumbers, and peppers, benefit greatly from fermentation because it softens the gelatinous coating and reduces microbial threats.
Can I use household bleach to clean seeds?
A mild bleach wash is sometimes used to disinfect seeds, but it should be diluted properly and used with caution, as strong bleach can damage seed viability.
Key Takeaways
- Cleaning seeds removes pulp and contaminants to improve germination and storage life.
- Fermentation is effective for fleshy fruit seeds like tomato and cucumber.
- Sieving and screening separate seeds from debris based on size and weight.
- Proper drying and storage are critical to maintain seed viability.
Conclusion
Deciding how to clean seeds depends largely on the seed type and the scale of your seed saving or gardening effort. For fleshy fruit seeds like tomato, fermentation provides a natural way to break down sticky pulp and reduce microbial threats, while dry seeds such as beans typically require just rinsing and sieving. By removing unwanted pulp, debris, and damaged seeds, gardeners improve germination rates and reduce disease risks, laying the foundation for a strong crop.
For home gardeners or small-scale seed savers, gentle hand rinsing combined with a fine mesh sieve and proper drying on paper towels or mesh racks will usually suffice. If dealing with larger seed batches or specific seed types, exploring specialized tools or mechanical equipment may speed up cleaning. Whether fermenting tomato seeds or carefully drying carrot seeds, ensuring a thorough cleaning process tailored to each seed type enhances your overall gardening success.
As a practical next step, start experimenting with small seed batches using basic tools like a colander and kitchen sieve to understand the best cleaning method for your plants. Monitor drying times and storage conditions closely. This hands-on approach helps build confidence in your ability to produce healthy, clean seeds ready for planting season. Seeds prepared with care set the stage for thriving gardens year after year.