How to Start a Garden from Seed: A Beginner’s Guide to Growing Your Own Plants
Starting a garden from seed is a rewarding way to cultivate plants right from the beginning of their life cycle. The process involves selecting quality seeds, preparing the soil or seed trays, planting the seeds at the proper depth, and caring for them with the right amount of water, light, and warmth. Successfully growing a garden from seed lets you experience every phase of growth and gives you more plant variety choices.
This method of gardening can save money and allow for a wider selection of plants compared to buying seedlings. It also provides an opportunity to control the growing environment by managing timing and care practices more closely, which can lead to healthier, stronger plants. Knowing how to start a garden from seed helps turn even small spaces into green havens and supports sustainable gardening practices.
This article will cover crucial steps such as selecting seeds, preparing your planting medium, germination essentials, transplanting seedlings outdoors, and troubleshooting early growth challenges. You'll also get tips on seed starting tools and timing for different plant types, plus how to nurture young plants once they begin to sprout.
Choosing the Right Seeds for Your Garden
Selecting Seeds Based on Climate and Season
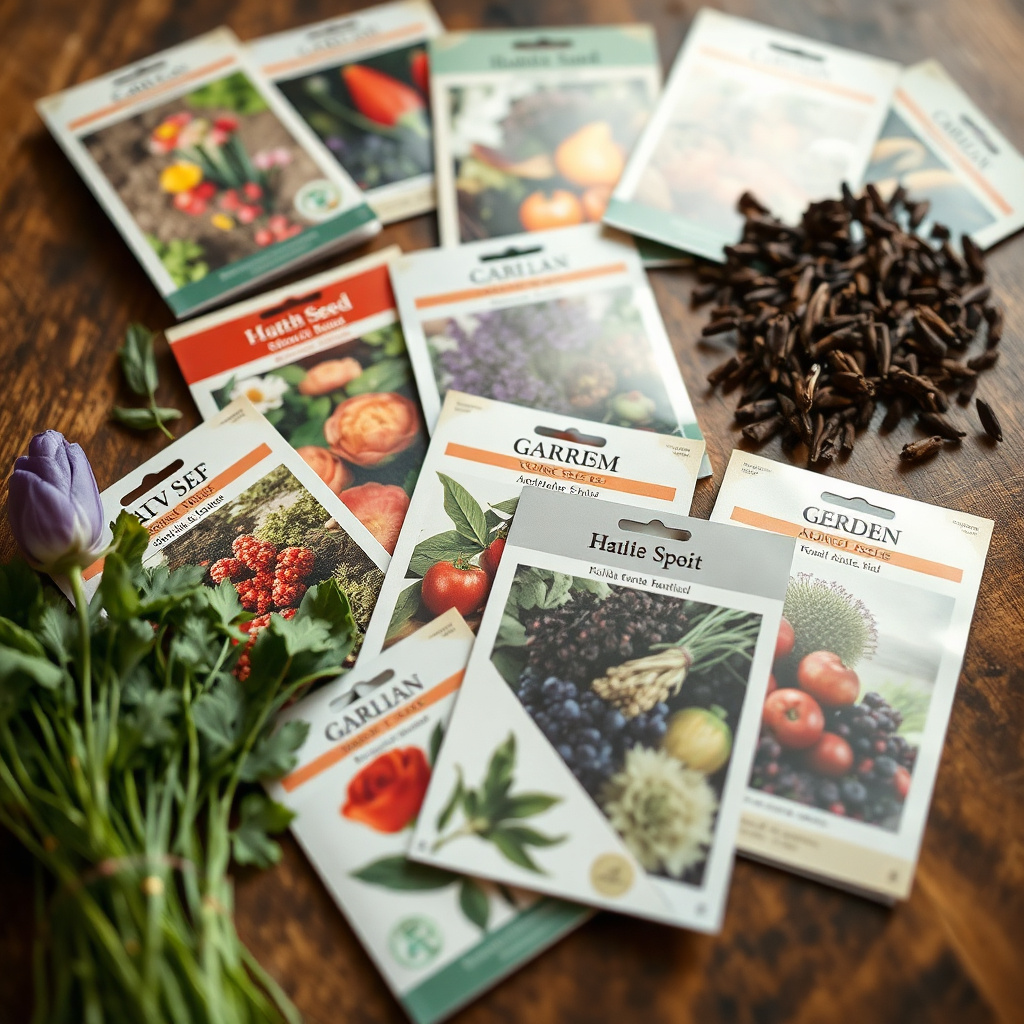
Choosing seeds suited to your climate zone ensures better germination and plant survival rates. Look for seed packets labeled with your USDA hardiness zone or local planting calendar. Warm-season crops like tomatoes, peppers, and squash flourish in spring and summer, while cool-season plants like lettuce and peas perform best in early spring or fall.
Understanding your region's frost dates helps time seed sowing appropriately, avoiding cold damage or heat stress. Some seeds may require pre-chilling or soaking before planting to break dormancy, so review the specific instructions on each packet.
Buying Quality Seeds and Understanding Labels
Purchasing from reputable suppliers increases seed viability and reduces the chance of disease. Check seed packets for expiration dates; fresher seeds generally germinate better. Labels often include germination rates indicating the percentage of seeds expected to sprout, which helps estimate how many to plant.
Look for organic or untreated seeds if you want to avoid chemicals. Heirloom varieties offer unique flavors and shapes but may not always have the same disease resistance as hybrids developed for garden conditions.
- Check germination dates
- Choose organic if preferred
- Understand heirloom vs hybrid
- Buy from trusted sources
Preparing the Planting Medium for Seed Starting
Using Seed Starting Mix vs. Garden Soil
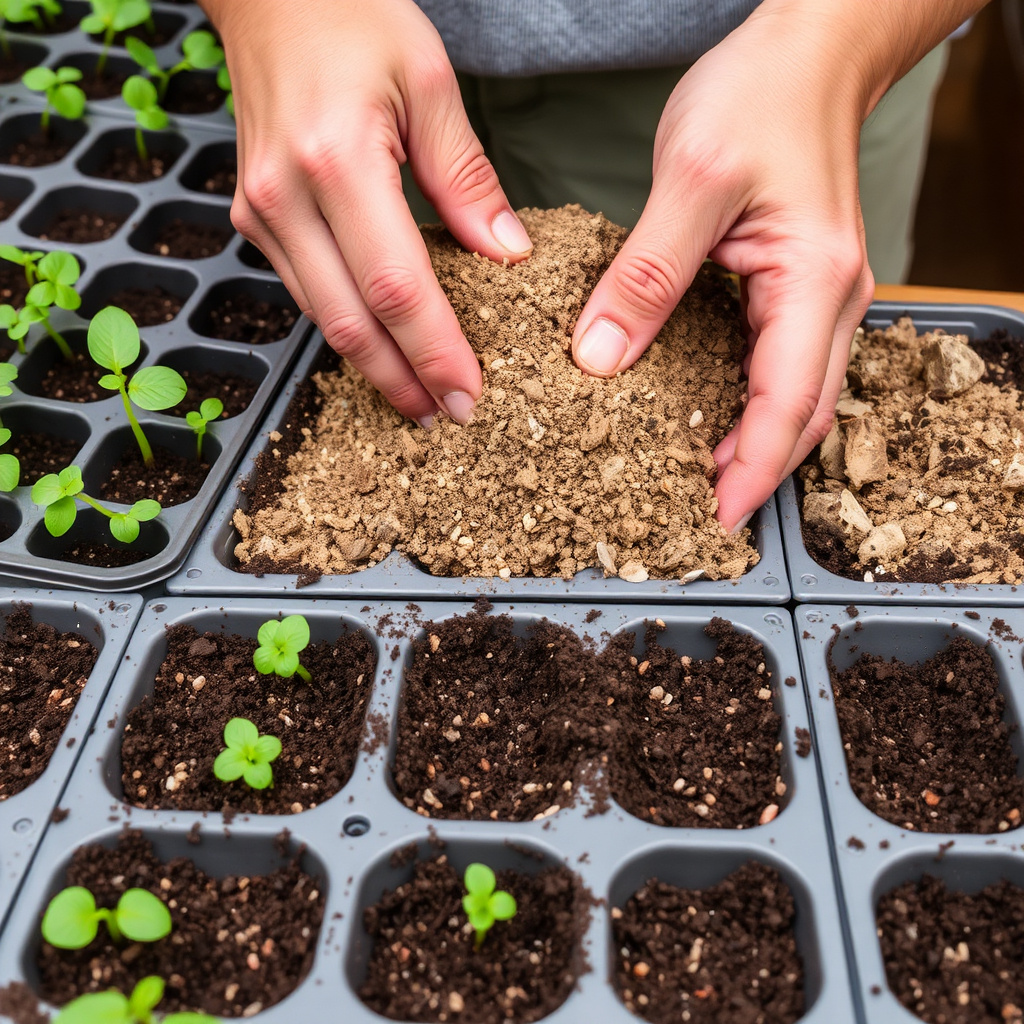
Seed starting mix is designed to be light, sterile, and well-draining, creating an ideal environment for delicate seedlings. Unlike regular garden soil, it doesn't contain large particles or pathogens which can hinder seed germination or promote damping-off disease.
Avoid using heavy or clay-rich soil for seed starting as it retains too much moisture and can suffocate emerging roots. A fine, peat-based or coconut coir seed starting mix typically retains moisture without becoming waterlogged.
Sterilizing Containers and Tools
Using clean containers and tools prevents fungal and bacterial infections in seedlings. Before planting, wash trays or pots with soap and water, then rinse with a diluted bleach solution to kill pathogens. Let items dry thoroughly.
Avoid reusing containers that previously held diseased plants without proper sterilization. Seed starting tools like dibbers, labels, and watering cans should also be sanitized regularly during the process.
- Wash with soap and water
- Disinfect with bleach solution
- Air dry completely
- Regularly clean tools
Planting Seeds and Germination Techniques
Proper Seed Depth and Spacing
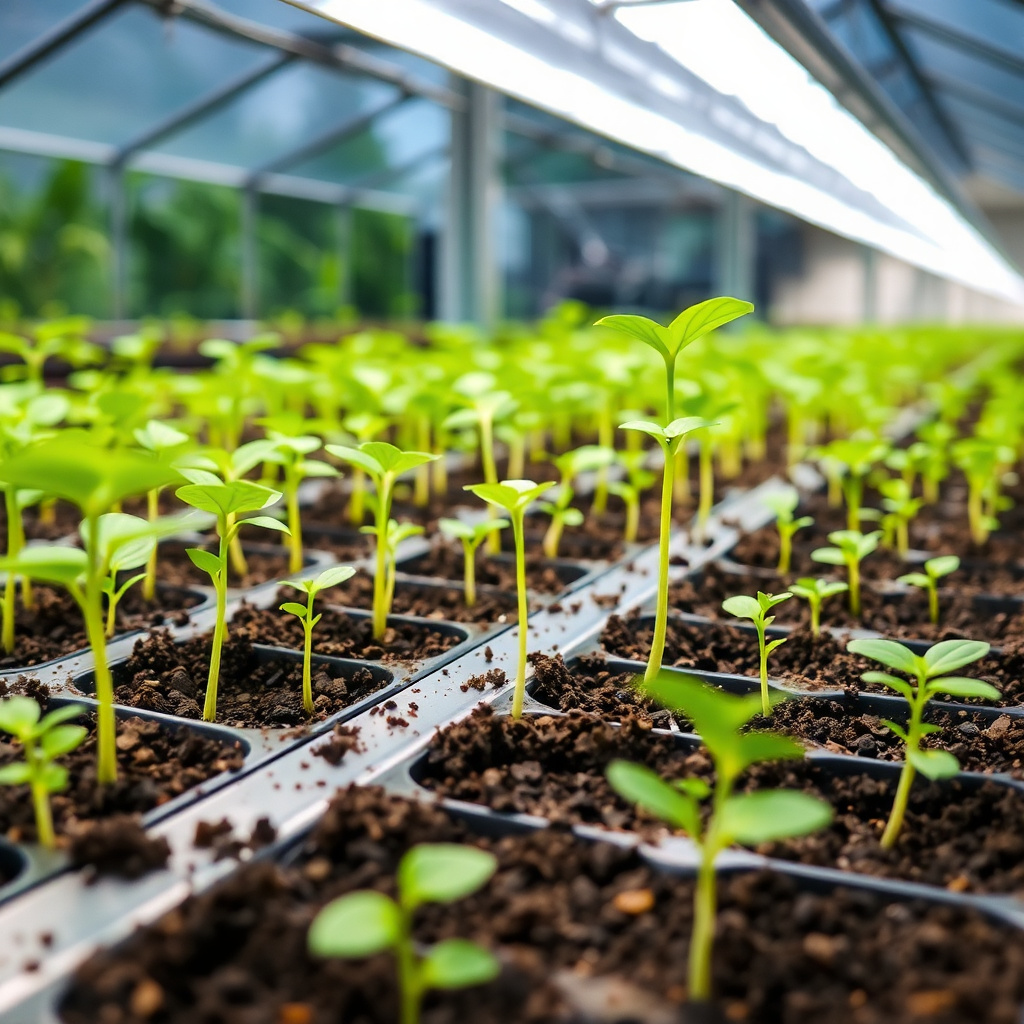
Planting seeds at the correct depth is key for successful germination. As a general rule, sow seeds two to three times as deep as their diameter. Very small seeds should be surface-sown; larger seeds need to be buried to the proper depth to maintain moisture contact without suffocating.
Spacing seeds properly in trays or pots avoids overcrowding, allowing adequate airflow and light exposure as seedlings grow. Follow instructions on the seed packet for recommended spacing, and thin seedlings after sprouting if necessary.
- Very fine seeds: surface sow
- Medium seeds: ½ inch deep
- Large seeds: up to 1 inch deep
- Space seeds evenly to reduce damping-off
For more on this, see our related guide: How to Plant Seeds at the Right Depth for Successful Growth.
Creating the Ideal Germination Environment
Seeds germinate best under consistent warmth, moisture, and light conditions depending on species. Most vegetable seeds prefer soil temperatures between 65 and 75°F. Using a heat mat can provide steady warmth especially in cooler indoor settings.
Keep the soil moist but not soggy by misting or gentle watering. Some seeds require darkness to germinate and may need a light covering of soil, while others need light exposure. Using a clear plastic dome or plastic wrap helps maintain humidity until seeds sprout.
- Maintain 65–75°F soil temperature
- Keep soil evenly moist
- Use humidity covers to retain moisture
- Adjust light or darkness per seed type
Caring for Seedlings After Germination
Providing Adequate Light and Ventilation
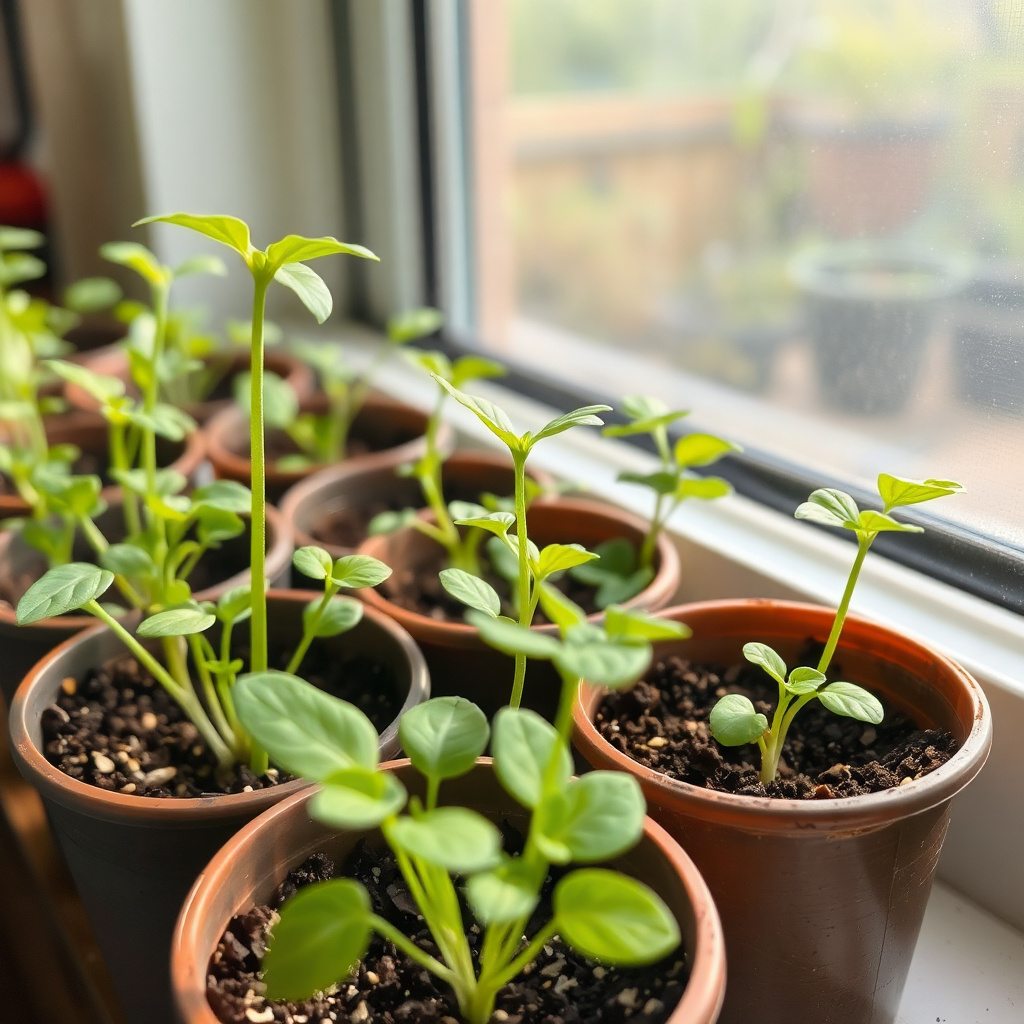
Seedlings require bright, indirect sunlight or supplemental grow lights for 12-16 hours daily to prevent legginess. Placing trays near south-facing windows or under fluorescent or LED grow lights supports sturdy growth.
Good air circulation reduces risks of fungal diseases. Remove plastic covers once seedlings emerge and gently fan the seedlings daily or place a small fan nearby on low to simulate outdoor breeze strengthening stems.
- Use grow lights or bright window light
- Give 12-16 hours of light daily
- Increase air circulation after sprouting
- Avoid overwatering to reduce fungus
Thinning and Hardening Off Seedlings
Thinning involves removing weaker seedlings to give the strongest plants room to develop. Snip excess seedlings at soil level to avoid disturbing roots of the remaining plants.
Hardening off is the gradual process of acclimating young plants to outdoor conditions by exposing them to sunlight, wind, and fluctuating temperatures for several hours each day over 1-2 weeks before transplanting, reducing transplant shock.
- Thin seedlings to one per cell or space
- Begin hardening off 1-2 weeks before planting out
- Increase outdoor exposure gradually
Transplanting Seedlings into the Garden
Preparing Garden Beds for Transplant
Before transplanting, loosen the soil and enrich it with compost or balanced fertilizer to provide nutrients for young plants. Make sure the garden bed is free of weeds and has good drainage to prevent root rot.
Moisten the soil a few hours before planting to help seedlings establish roots quickly. Creating holes slightly larger than the seedling root ball eases transplanting without damaging fragile roots.
- Add organic matter or balanced fertilizer
- Ensure loose, well-drained soil
- Water soil before planting
For more on this, see our related guide: What Affects Plant Growth: Key Factors Explained for Healthy Gardens.
Techniques for Safe Seedling Transplanting
Handle seedlings gently by the leaves or root ball to avoid breaking stems. Plant at the same depth they grew in trays to prevent stem rot or burial issues.
Water seedlings immediately after transplanting to settle soil around roots and reduce transplant shock. Using mulch around transplants helps retain moisture and control weeds.
- Avoid handling by delicate stems
- Plant at previous depth
- Water right after transplanting
- Apply mulch to conserve moisture
Common Challenges and Troubleshooting Seed Starting
Dealing with Poor Germination and Diseases
Poor germination can result from old seeds, incorrect soil moisture, or improper planting depth. Testing seed viability by soaking or germinating a few seeds indoors helps avoid wasted effort. If damping-off disease appears, increase airflow and use a sterile seed starting mix.
Fungal diseases thrive in wet, stagnant conditions. Remove affected seedlings promptly and avoid overwatering. Consider natural fungicidal sprays or cinnamon powder as preventive treatments.
- Use fresh, viable seeds
- Keep soil moist but not soggy
- Increase ventilation to prevent fungus
- Treat infected plants early
For additional detailed information on seed germination processes, refer to seed starting basics on Wikipedia. seed starting basics on Wikipedia.
Handling Leggy or Weak Seedlings
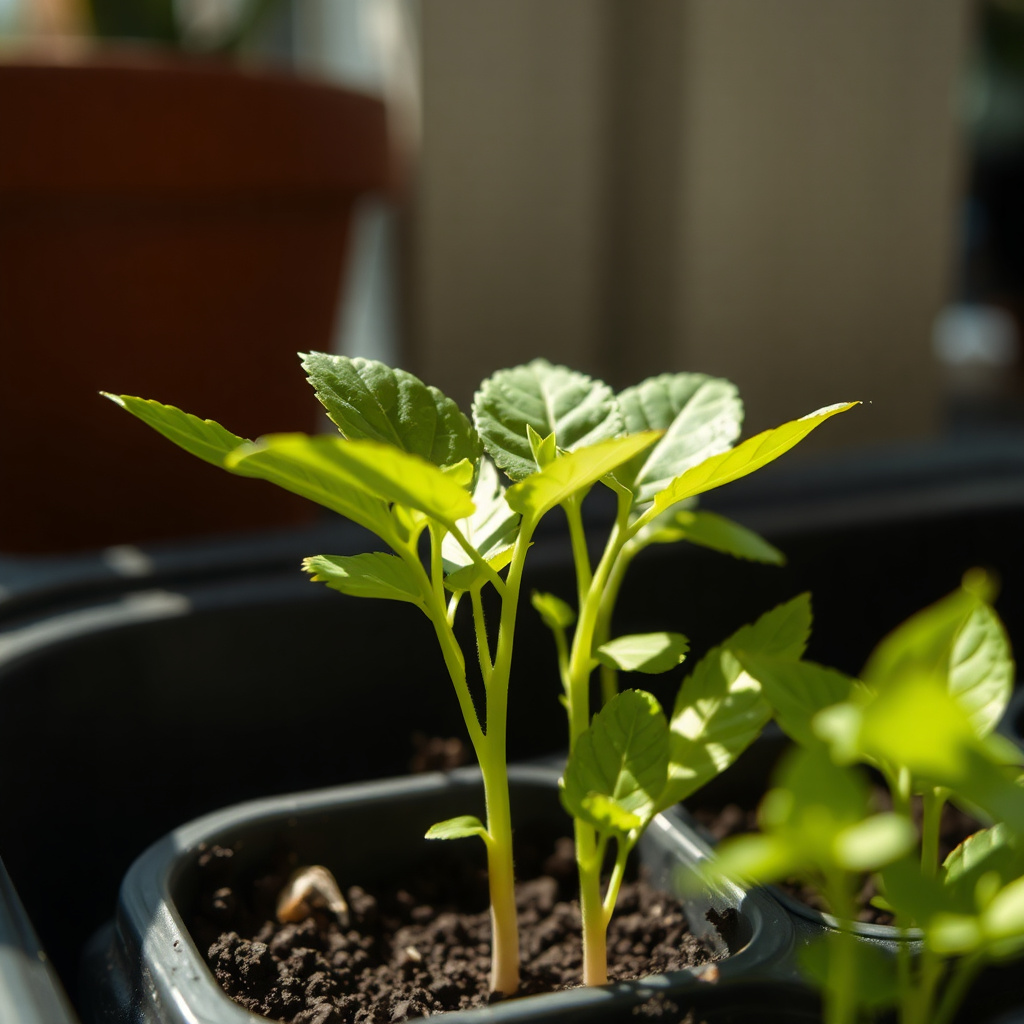
Leggy seedlings stretch toward light due to inadequate lighting and become weak. Increase light intensity or move trays closer to light sources. Using a fan on low speed strengthens stems naturally.
Avoid placing seedlings in drafty, cold locations which stunt growth. If legginess occurs, transplant seedlings deeper into soil to support stems or provide gentle support stakes.
- Increase light duration and intensity
- Use fans for stem strength
- Avoid cold drafts
- Plant deeper if seedlings are leggy
Seed Starting Methods Category Comparison
Explore the pros and cons of popular seed starting methods based on ease, cost, and success rate.
| Method | Ease of Use | Initial Cost | Germination Success Rate | Best For |
|---|---|---|---|---|
| Traditional Seed Trays | Moderate | Low | High | Most garden vegetables |
| Peat Pellets | Easy | Moderate | Moderate | Small spaces and beginners |
| Soil Blocks | Challenging | Low | High | Heirloom and organic gardeners |
| Hydroponic Seed Starters | Complex | High | Very High | Advanced growers and indoor systems |
| DIY Containers (Egg Cartons, etc.) | Easy | Very Low | Moderate | Budget gardeners and kids |
Frequently Asked Questions
How long does it take seeds to germinate?
Seed germination time varies widely by species, typically between 3 days and 3 weeks. For example, radishes can sprout within 3-5 days, while peppers may take 14-21 days.
Can I start any plant from seed indoors?
Most vegetables, herbs, and many flowers can be started indoors from seed given proper light, temperature, and care. However, some plants need special conditions or are best direct sown outdoors.
When is the best time to transplant seedlings outside?
Seedlings should be transplanted outdoors after the last expected frost date and once they have developed several true leaves and are hardened off to tolerate outdoor conditions.
How often should I water seedlings?
Keep seed starting mix consistently moist but not waterlogged by misting or gentle watering daily. Water when the surface begins to dry to the touch.
What causes seedlings to become leggy?
Leggy seedlings result from insufficient light, causing them to stretch and grow tall and weak. Increasing light intensity or duration prevents this issue.
Key Takeaways
- Select seeds suitable for your local climate and season
- Use sterile, well-draining seed starting mix rather than garden soil
- Provide consistent moisture, warmth, and light for germination
- Harden off seedlings gradually before transplanting outdoors
Conclusion
Starting a garden from seed is a fulfilling way to grow plants with full control over the process, but it requires attention to detail and patience. By choosing the right seeds and preparing a clean, suitable environment, you give your seeds their best chance to thrive. Caring for them through each stage—from sowing and germination to transplanting—means adjusting water, light, and air circulation to meet their changing needs. Understanding how to prevent common problems like damping off or legginess helps maintain healthy seedlings and reduces losses, reinforcing your confidence in your gardening skills.
If you are new to gardening, traditional seed trays with quality seed starting mix are a great place to begin because they balance ease and success rate. More adventurous gardeners might explore soil blocks or hydroponic seed starters for specialized benefits. When season and climate align, growing your own seedlings indoors can extend your planting window and broaden the variety of plants you can nurture. Remember to start hardening seedlings off outdoors before transplanting so they gradually adapt to sun, wind, and soil conditions, improving their survival and growth.
Your next practical step is to gather seed varieties suited to your local growing conditions, obtain seed starting supplies like trays, quality soil mix, and lighting, and plan your sowing dates around frost dates. Follow the care tips and techniques outlined above for dependable results. With time and experience, starting a garden from seed will become a satisfying hobby that not only saves money but also enriches your connection to your garden’s natural cycle.