How to Float Test Seeds for Effective Germination
Floating seeds is a quick method to determine their viability before planting by seeing if they sink or float in water. Viable seeds generally sink, while non-viable seeds tend to float due to internal air pockets or damage. This simple float test can save gardeners time and improve germination success rates by avoiding planting seeds that are unlikely to grow.
Understanding seed viability is key to maximizing your garden's productivity. By performing a seed float test, you can identify which seeds are healthy and ready to sprout, potentially increasing your yield and avoiding wasted effort with poor seeds. This test works best with certain seed types and offers a practical first step in seed quality assessment.
This article covers how to conduct a seed float test effectively, including preparation steps, interpreting results, and when to use other testing methods. It also highlights limitations of the float test and suggests alternative approaches to confirm seed viability for a successful planting season.
Understanding Seed Viability and the Float Test
What Does Seed Viability Mean?
Seed viability refers to a seed's ability to germinate and develop into a healthy plant. It's affected by factors like seed age, storage conditions, and species. Assessing viability helps gardeners predict which seeds are worth planting.
Viable seeds have intact embryos and sufficient moisture to begin growth. Non-viable seeds may have damaged tissues or dried out, making germination unlikely. Checking viability prevents wasted effort and resources on poor seeds.
How the Seed Float Test Works
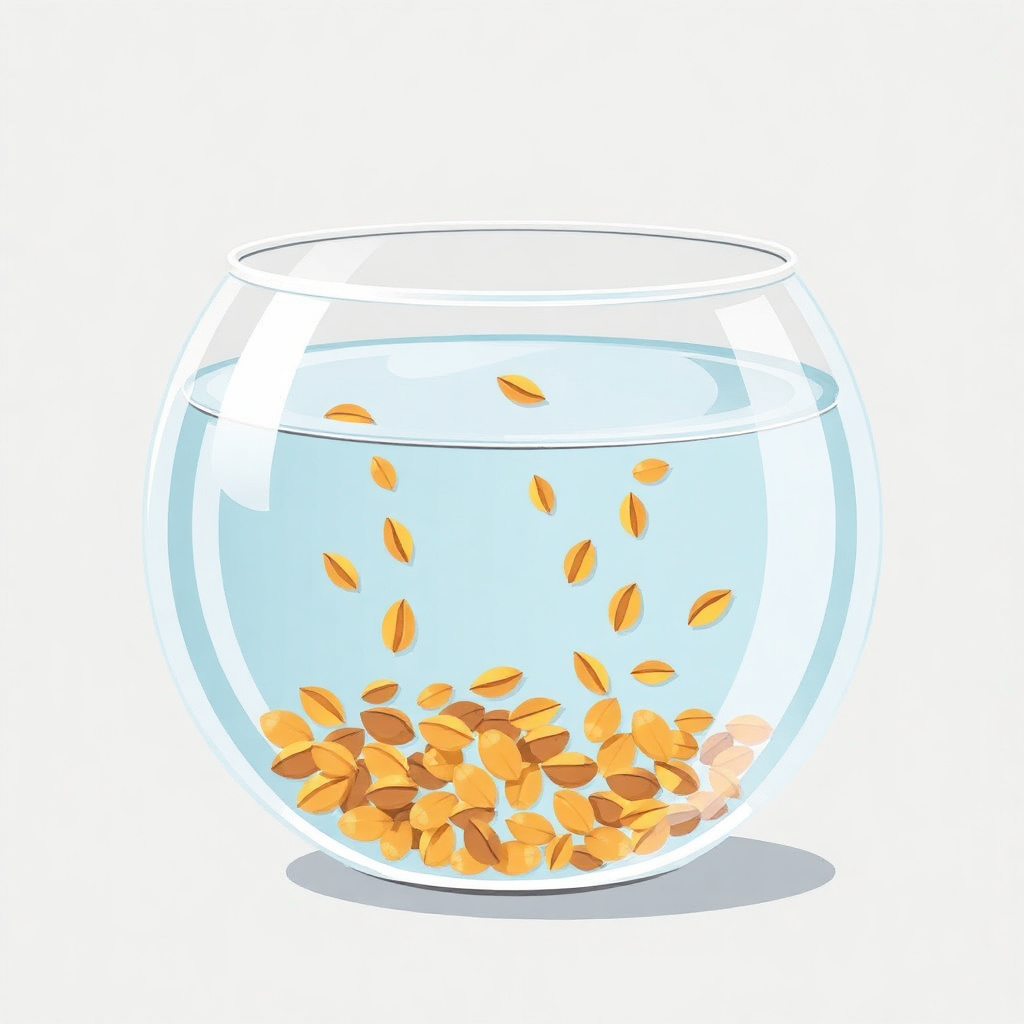
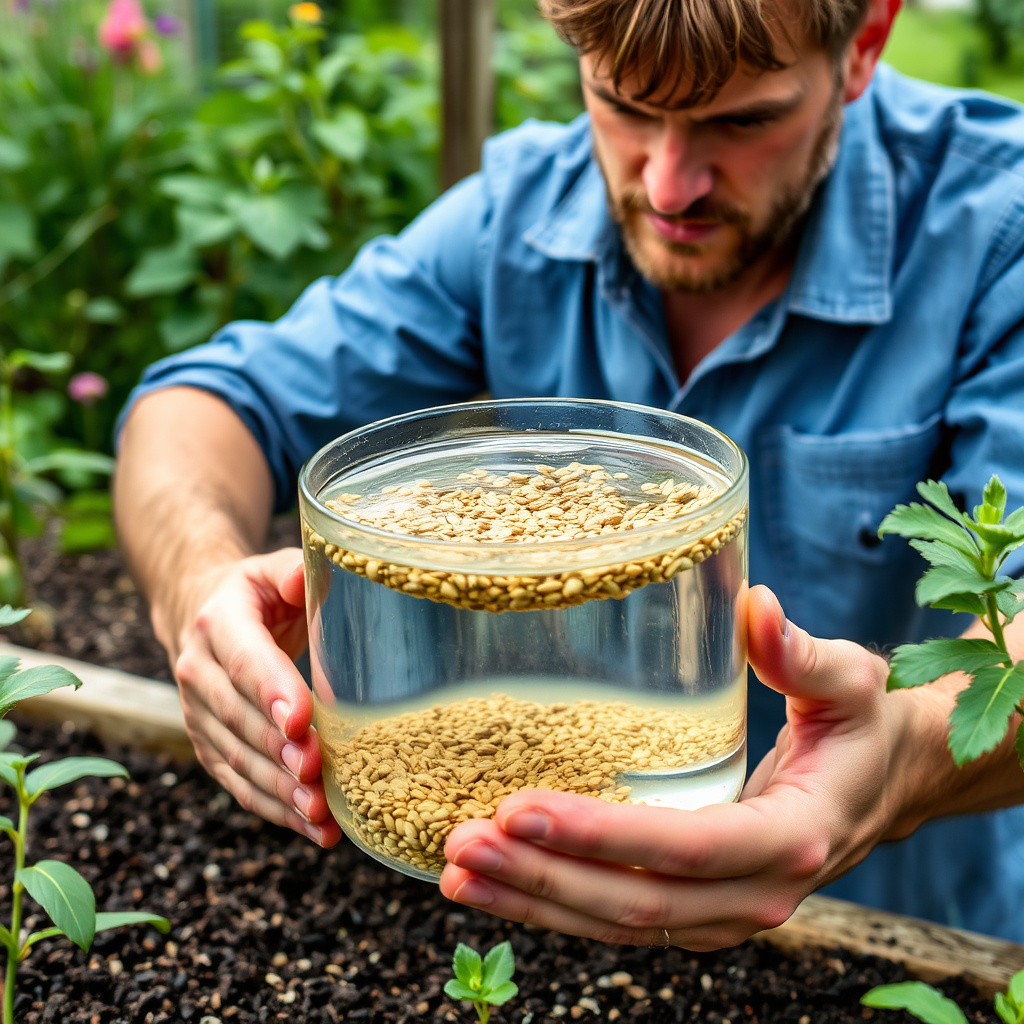
The float test relies on the principle that viable seeds are denser and sink in water, while non-viable seeds float due to internal cavities or damage. This is a quick, low-cost method to separate healthier seeds from weaker ones.
It is not foolproof since some viable seeds may float if they have surface air or some non-viable seeds might sink due to density. Therefore, the float test is typically an initial screening tool before more precise germination tests.
Step-by-Step Guide on How to Float Test Seeds
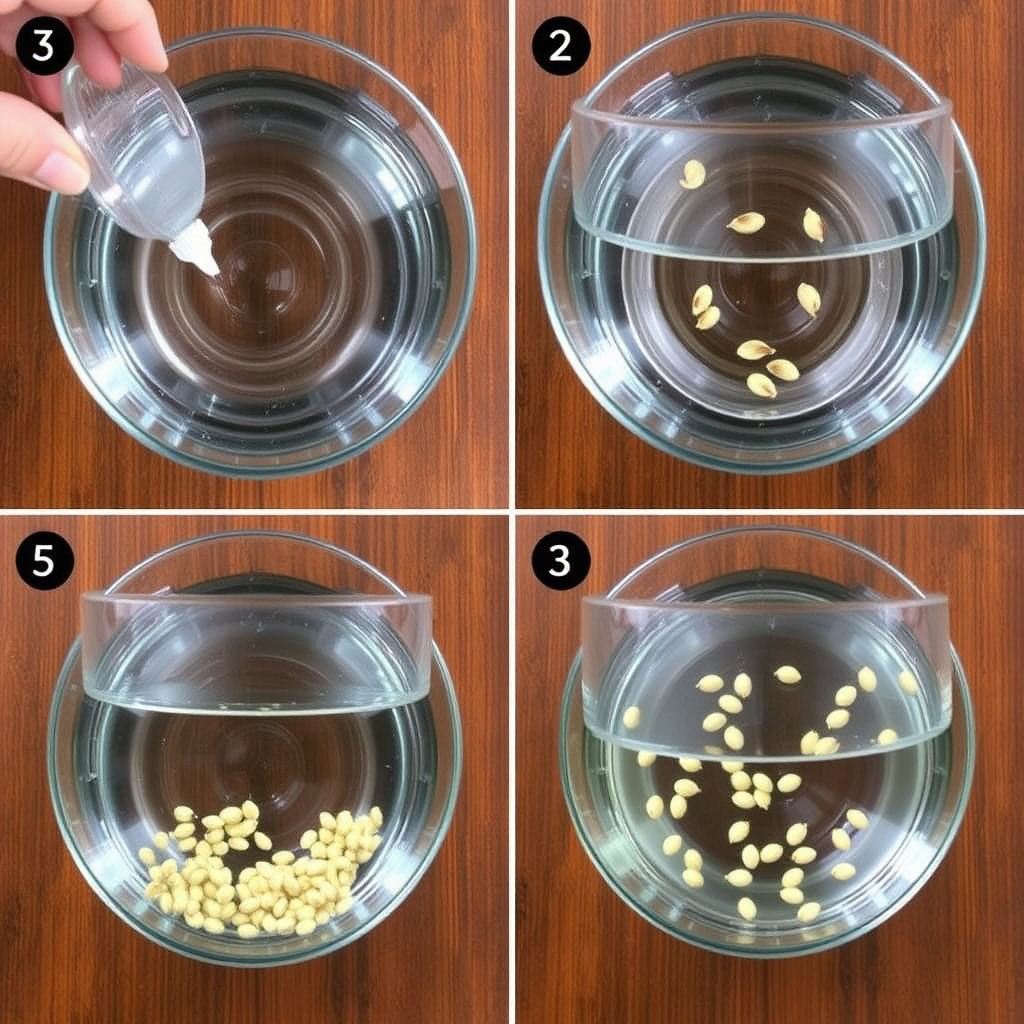
Preparing Seeds and Water for the Test
Begin by selecting a representative sample of seeds—usually about 50—to ensure accurate results. Use clean, room temperature water to avoid affecting seed buoyancy.
Fill a clear container with enough water to let seeds move freely without touching the bottom immediately. This setup makes it easier to observe which seeds float or sink.
- Choose a viable sample size
- Use clean, room temperature water
- Select a transparent container
Performing the Float Test and Interpreting Results
Gently place the seeds on the water surface and let them settle for about 10-15 minutes. Seeds that sink within this time are generally viable, while floating seeds are considered non-viable.
After the test, remove and discard the floating seeds. Remember to dry the viable seeds thoroughly before storage or planting to prevent mold or rot.
- Allow 10-15 minutes for seeds to settle
- Remove floating seeds from batch
- Dry viable seeds before use
Limitations and When to Use Alternative Tests
Scenarios Where the Float Test Falls Short
Some seed types do not reliably respond to float testing due to natural buoyancy variations or seed coat characteristics. Older seeds may sink but still have low germination ability.
Environmental contaminants or trapped air can cause viable seeds to float temporarily, causing false negatives. Therefore, the float test should not be the sole viability test when precision is critical.
For more on this, see our related guide: How Deep to Plant Cannabis Seeds for Best Germination Results.
Other Seed Viability Testing Methods
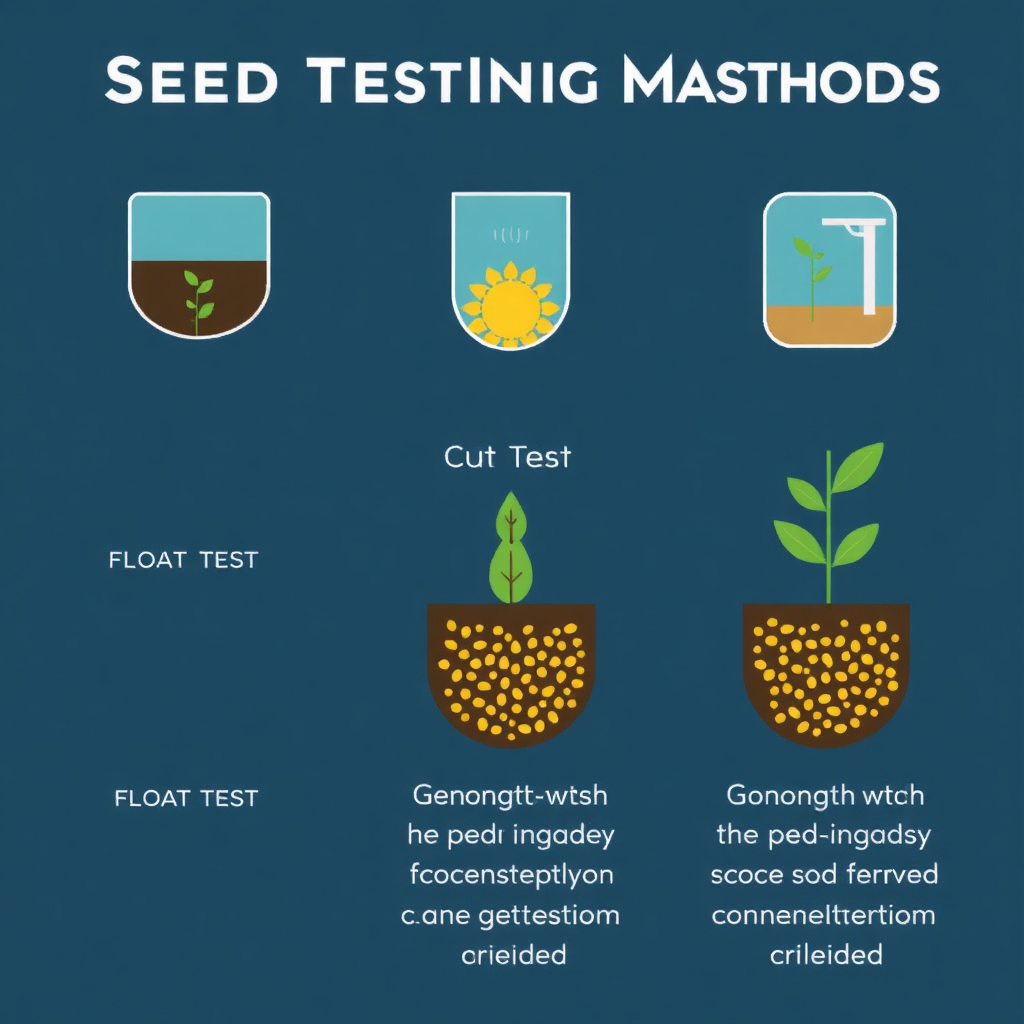
The cut test involves slicing seeds open to observe internal embryo condition, providing a more direct viability check. The germination test monitors actual sprouting rates over days or weeks under controlled conditions.
These alternative tests are more time-consuming but provide more reliable results than the float test, especially important for commercial seed lots or valuable seed collections.
Tips for Accurate and Effective Float Testing
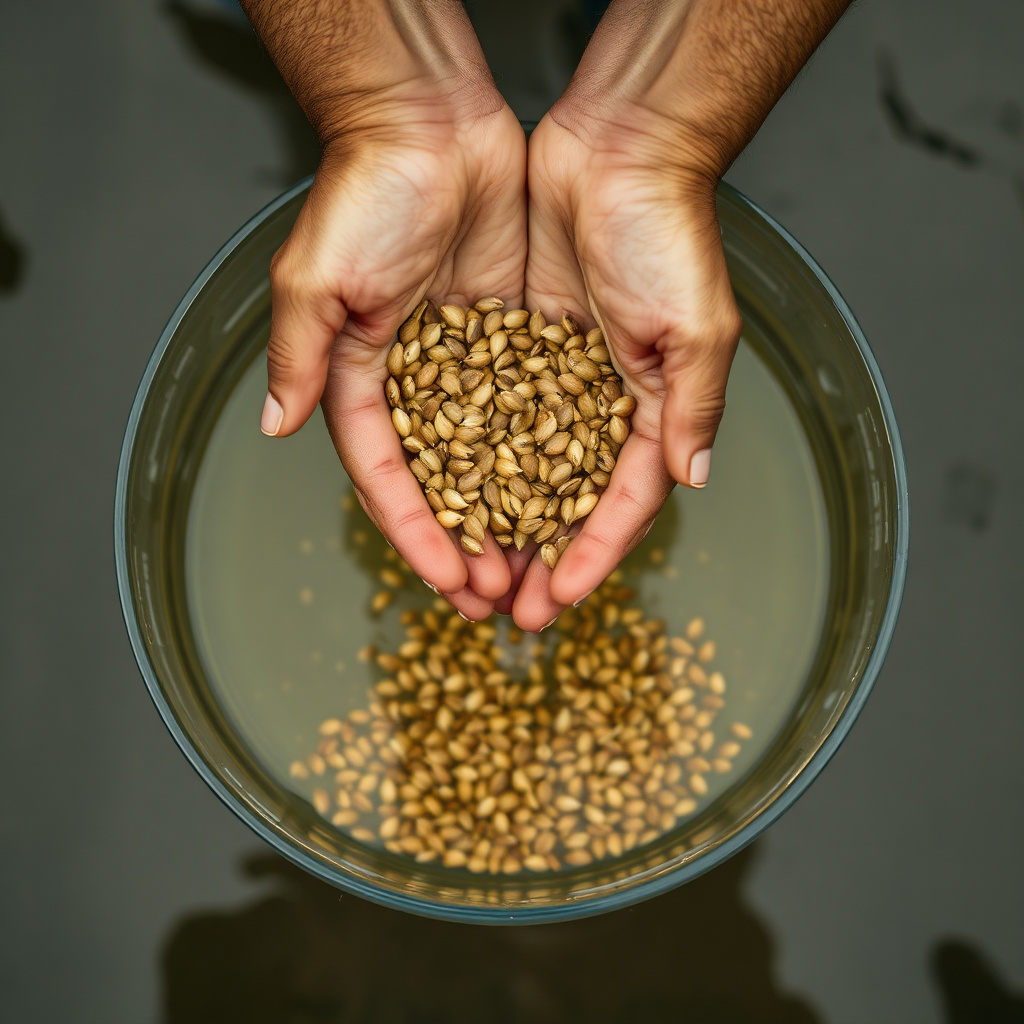
Using the Right Materials
Employ distilled or clean tap water free of debris or oils that may alter surface tension and affect seed buoyancy. Avoid overly cold or hot water, which might shock seeds and produce inaccurate results.
Pick a transparent container wide enough to let seeds disperse individually, preventing overlap that complicates observation of floating or sinking behavior.
- Use clean, room temperature water
- Select a wide, transparent container
Best Practices for Handling Seeds
Handle seeds gently to avoid damaging their coats, which could skew test outcomes by allowing water intrusion or artificial floating. Wear gloves if seeds are sensitive or contaminated.
Label seed batches and test dates carefully for reliable record-keeping, especially if testing multiple types or seed lots.
- Avoid damaging seed coats
- Keep accurate test records
Applying Float Test Results in Gardening Decisions
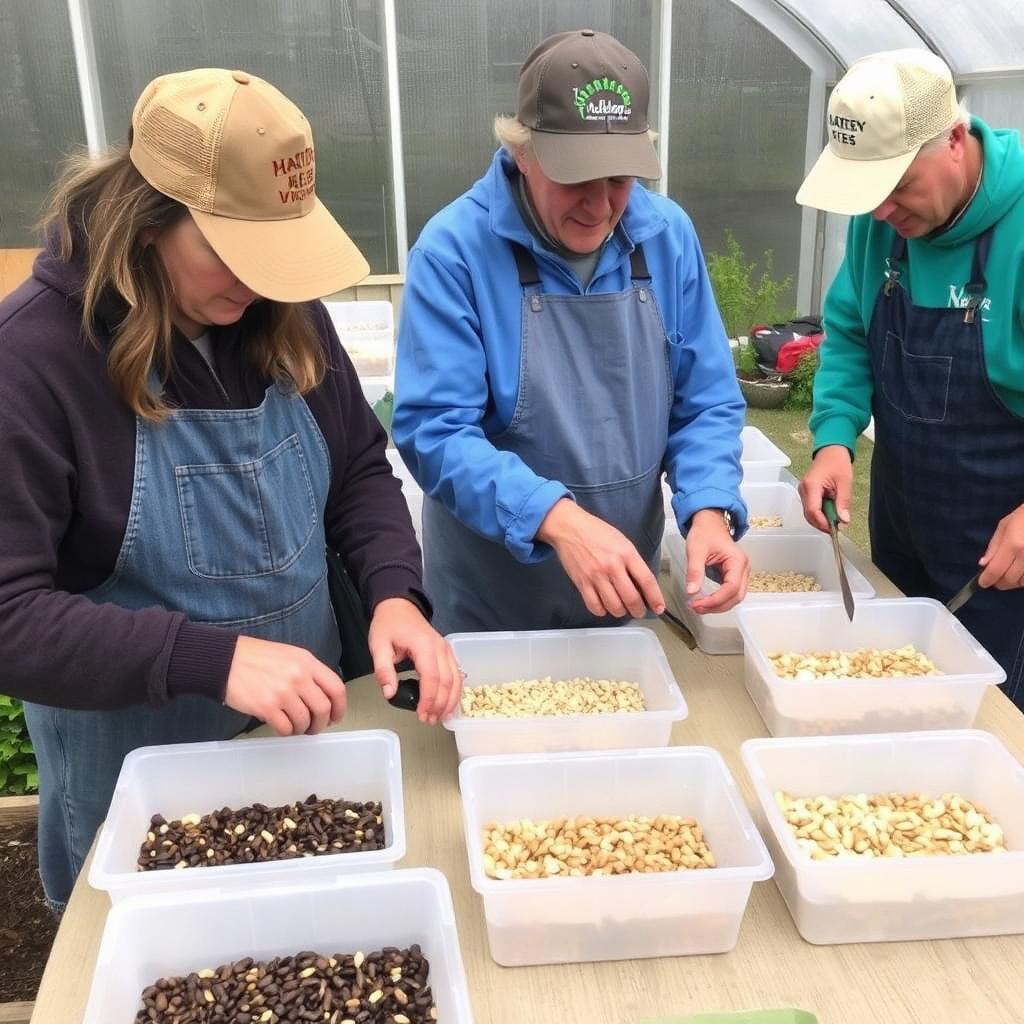
Sorting Seeds Based on Viability
Discard seeds that consistently float to conserve resources and prevent planting failure. Retain sinking seeds for sowing or further germination testing.
Grouping seeds by float test results helps prioritize planting stock and manage seed bank quality for future seasons.
- Separate viable and non-viable seeds
- Use results to prioritize planting
For more on this, see our related guide: Why Are My Cannabis Seeds Not Germinating? Causes and Solutions.
Using Float Test with Seed Viability Test Kits
Incorporate seed float testing as a preliminary screen before using formal viability kits that measure germination percentage, moisture content, or seed vigor for more detailed insights.
This combined approach balances quick field methods with comprehensive lab testing for best results in seed quality assessment.
Common Mistakes and Troubleshooting Float Testing
Avoiding False Positives and Negatives
Some viable seeds float due to trapped air bubbles or seed coat texture. Gently tapping seeds can release trapped air before testing. Repeating the test can confirm results.
Non-viable seeds occasionally sink if they are dense but hollow. Cross-checking with germination tests can clarify ambiguous cases.
For more detailed scientific information about seed viability and testing methods, see this seed viability overview on Wikipedia. Seed viability overview on Wikipedia.
Addressing Inconsistent Test Conditions
Variances in water temperature, container material, or seed moisture can affect seed buoyancy. Consistent test conditions improve reliability.
Avoid agitating water during settling, and test seeds soon after sampling for best accuracy.
- Keep water temperature stable
- Minimize water movement during settling
Comparison of Seed Testing Methods
This table compares common seed viability tests by accuracy, time required, and equipment needed to help choose the best method for your needs.
| Method | Accuracy | Time Required | Equipment Needed |
|---|---|---|---|
| Float Test | Low to Medium | 15 minutes | Water, container |
| Cut Test | Medium | 30 minutes | Knife or scalpel |
| Germination Test | High | Several days to weeks | Growing medium, light, water |
| Tetrazolium Test | Very High | Several hours | Chemical reagents, microscope |
| X-ray Test | Very High | Minutes | X-ray equipment |
Frequently Asked Questions
Can all seeds be float tested for viability?
No, some seeds naturally float due to their structure, and the float test may give inaccurate results for them. It's better suited for certain types like beans and corn but less reliable for very small or oily seeds.
How long should seeds stay in water during the float test?
Typically, seeds should be in water for about 10 to 15 minutes to allow enough time for viable seeds to sink and non-viable seeds to float, ensuring reliable sorting.
What does it mean if viable seeds float temporarily but then sink?
Some seeds may trap air bubbles when first placed in water, causing them to float briefly. Gently shaking or waiting longer usually allows the bubbles to escape, after which seeds sink if viable.
Is the float test enough to guarantee seed germination?
No, while the float test helps exclude many non-viable seeds, it cannot guarantee germination as some viable seeds may fail to sprout due to other factors like dormancy or poor conditions.
Can floating seeds be saved or treated to improve viability?
Generally, floating seeds are considered non-viable and are best discarded. Some seeds can be tested further with other viability tests, but treatment rarely improves seeds that float in the float test.
Key Takeaways
- The seed float test is a quick way to identify viable seeds by their sinking behavior in water.
- While useful, the float test isn't always accurate for all seed types or conditions.
- Complement the float test with germination or cut tests for reliable seed viability results.
- Proper handling and consistent test conditions improve float test accuracy.
Conclusion
Considering seed viability before planting can significantly improve garden success, and the seed float test offers an easy, inexpensive way to screen seeds quickly. By observing whether seeds sink or float when placed in water, gardeners can separate generally viable seeds from those likely to fail. However, decisions should not rely solely on this method, as seed buoyancy varies with species and seed condition. Combining the float test with additional viability assessments, such as germination trials or cut tests, helps increase confidence in seed quality.
For typical home gardening, the float test can filter out many non-viable seeds from common crops like beans, peas, and corn. Seeds that consistently sink after a short soak are worth planting or conducting further germination tests. Seeds that float should be discarded or subjected to other tests if valuable. For commercial seed stock, more precise methods like tetrazolium staining or germination counts provide detailed insights but require more resources. Ultimately, selecting the right seed testing method depends on your goals, seed types, and available tools.
If you want to try the seed float test yourself, start with a small sample and record your observations carefully. Use clean water at room temperature and allow seeds time to settle before sorting. Remember to dry viable seeds after testing to prevent damage. Testing your seeds before planting can save time, reduce waste, and lead to a more fruitful garden season. For an in-depth look at seed viability concepts and testing approaches, refer to trusted agricultural resources.