7 Simple Steps for Planting Pumpkin Seeds Successfully
Starting a pumpkin patch can be really rewarding, but many people struggle with getting their seeds to grow successfully. If you’ve ever planted pumpkins only to be disappointed, you’re not alone.
The good news is, with a few simple steps, you can improve your chances of a bountiful harvest.
To plant pumpkin seeds successfully, start by selecting high-quality seeds suited for your climate and growing season.
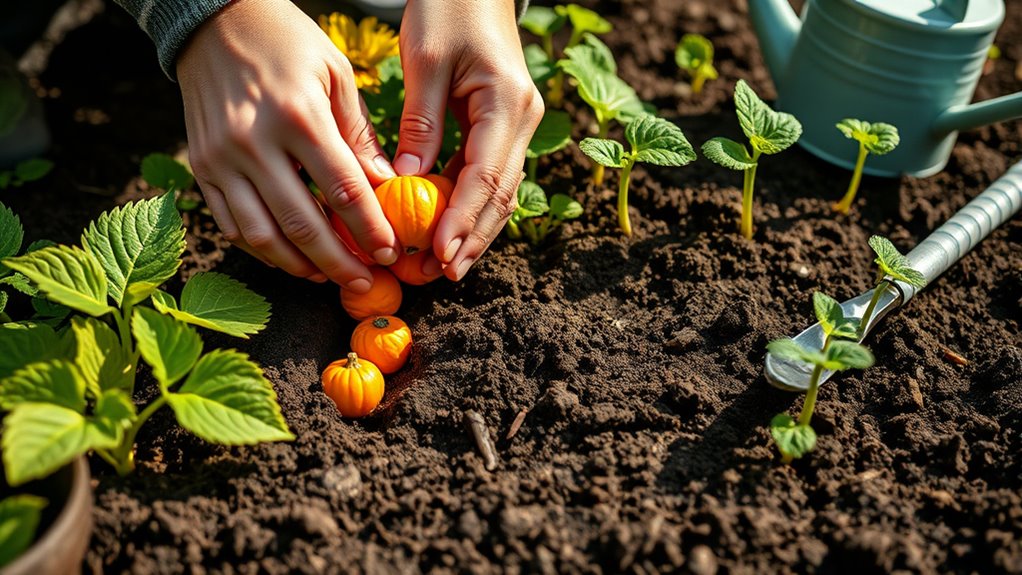
Pick a sunny, well-drained spot and prepare the soil with organic matter. Plant seeds 1-2 inches deep and space them 3-4 feet apart.
Water regularly and mulch to keep moisture consistent. Support vines with trellises to prevent rot.
Keep an eye out for pests and diseases, and harvest at the right time for the best flavor.
If you continue exploring, you’ll find tips to grow thriving pumpkins.
Key Takeaways
- Choose a sunny, well-drained spot with rich soil for the best pumpkin growth.
- Pick high-quality, disease-resistant seeds that suit your climate.
- Plant the seeds 1-2 inches deep and leave 3-4 feet between each for healthy development.
- Keep the soil moist with regular watering and use mulch to help conserve moisture and keep weeds down.
- Keep an eye on your plants to protect them from pests and diseases, making sure they get good airflow.
Choose the Best Pumpkin Seeds for Your Garden
Are you selecting the right pumpkin seeds for your garden? Choosing the right seed varieties is key to a successful harvest. Start by thinking about your climate and growing season, as some seeds do better in certain conditions.
Selecting the right pumpkin seeds ensures a successful harvest tailored to your climate and season.
If you’re after unique flavors and traditional qualities, heirloom pumpkins are a great choice. They offer rich history and vibrant flavors. Plus, they tend to have better taste and interesting shapes compared to hybrid varieties.
When picking seeds, look for fresh, high-quality options from trusted sources to ensure good germination. Decide if you want large pumpkins for display or smaller ones for cooking and baking, then choose your seeds accordingly.
Keep in mind that some varieties are more disease-resistant, making them easier to grow. By choosing the right pumpkin seeds, especially heirlooms if you love tradition and flavor, you’ll set a solid foundation for a healthy, fruitful pumpkin patch.
Pick the Perfect Spot and Prepare Your Garden Bed
Pick the perfect spot in your garden that gets plenty of sunlight. Pumpkins love at least six hours of direct sun each day, so find a sunny spot that can give them that.
Next, make sure the soil drains well—that way, water won’t sit around the roots and cause problems. Good drainage is key to healthy pumpkin plants.
Getting your garden bed ready now is a great way to set everything up for strong, thriving pumpkins. Just a little prep goes a long way!
Choose Sunlit Location
Selecting the right spot with plenty of sunlight is key for healthy pumpkin growth. Pumpkins do best when they get full sun, ideally at least six hours a day.
Look for an area that gets consistent sunlight all day long, especially during peak growing months. Stay away from spots shaded by trees or buildings.
Choose a location that stays warm and isn’t prone to frost. Avoid areas with strong wind or water runoff, which can hinder growth.
A sunny, open space helps pumpkins develop strong vines and vibrant fruit. Picking the right spot sets a great foundation for a successful pumpkin patch.
Prepare Well-Drained Soil
To give your pumpkin seeds the best start, it’s essential to prepare soil that drains well. Good drainage prevents waterlogging, which can rot the seeds or cause root diseases.
Start by choosing a spot with slightly acidic to neutral soil pH, ideally between 6.0 and 7.0. Use drainage techniques like creating raised beds or mounding soil to improve water flow.
Before planting, loosen the soil thoroughly and mix in organic matter, such as compost, to boost drainage and fertility. Avoid compacted soils and heavy clay, as they hinder drainage.
Testing your soil’s pH with a kit can help you make necessary adjustments. Properly prepared, well-drained soil creates an ideal environment for healthy pumpkin seed germination and vigorous growth.
Plant Pumpkin Seeds at the Right Depth and Spacing
When you’re planting pumpkin seeds, it’s best to put them about 1 to 2 inches deep. That way, they have enough soil cover to grow strong roots without being too buried.
And don’t forget about spacing! You should leave around 3 to 4 feet between each seed. This gives your pumpkins plenty of room to spread out and grow without crowding each other.
Also, making sure your soil is loose and rich in nutrients will give your pumpkins a great head start right from the beginning.
Optimal Planting Depth
Planting pumpkin seeds at the right depth is key for healthy germination and strong growth. The best seed depth is about 1 to 2 inches, so the seed has enough soil contact but is protected from drying out or being disturbed.
Using proper planting techniques can boost your germination rates and help your plants stay healthy. Here’s a quick guide to seed depth and spacing to make it easier.
| Seed Depth | Soil Conditions | Spacing Recommendations |
|---|---|---|
| 1-2 inches | Well-drained, loose soil | 36-72 inches apart |
| Slightly deeper | Slightly moist soil | 3-4 feet apart |
| Shallow | Avoid compacted soil | 4-6 feet apart |
| Very shallow | Dry soil | Keep soil consistently moist |
| Deep | Dense soil | Adjust as needed |
Following these simple tips will help your pumpkin seeds grow strong and healthy.
Proper Spacing Guidelines
Ensuring proper spacing between pumpkin seeds is key for healthy growth and a good harvest. Plant your seeds about 4 to 6 feet apart in rows that are 8 to 10 feet apart, giving each vine plenty of room to spread out.
Proper spacing helps reduce competition for nutrients, water, and sunlight, which promotes stronger plants. When choosing seeds, go for healthy, disease-free varieties that suit your climate.
Think about companion planting too. Growing pumpkins near corn or beans can boost growth and help keep pests away. Be precise with seed placement, planting each seed at a depth of 1 to 2 inches.
This careful spacing and seed choice lay the groundwork for vigorous plants, easier maintenance, and a more bountiful pumpkin crop.
Soil Preparation Tips
Preparing the soil properly is essential for successful pumpkin planting, especially regarding planting seeds at the right depth and spacing. First, assess your soil types; well-draining soil with good organic matter is ideal. Use soil testing to determine pH levels, aiming for a pH of 6.0 to 6.8 for the best growth.
Tilling helps loosen the soil, which improves aeration and drainage. Incorporating compost boosts organic matter and provides essential nutrients, helping the plants get what they need. Avoid areas that are overly compacted or poorly drained, as these can hinder root development.
Before planting, make sure to adjust the pH if necessary and enrich the soil with compost. Proper soil prep creates a healthy environment that promotes strong seed germination at the right depth and spacing.
Water and Mulch to Help Your Seedlings Thrive
Water and mulch are essential tools for helping your pumpkin seedlings grow strong and healthy. Proper seedling care involves keeping the soil consistently moist, which prevents stress and encourages vigorous growth. When watering, do so deeply but gently, making sure the soil stays moist without becoming waterlogged.
Mulch acts like a shield, conserving moisture and keeping the soil temperature steady. To get the best results, follow these key steps:
- Water regularly: Keep the soil evenly moist, especially on hot days, to promote strong root development.
- Apply mulch generously: Use straw, shredded leaves, or grass clippings around your seedlings to help retain moisture and keep weeds at bay.
- Monitor moisture levels: Check the soil often to prevent it from drying out or getting too saturated. This way, your seedlings stay healthy from start to finish.
Support Your Growing Pumpkins for a Healthy Harvest
As your pumpkin seedlings grow, giving them proper support helps prevent damage and encourages healthy development. Using structures like trellises, cages, or stakes keeps vines off the ground, which reduces rot and pest problems.
These supports also make harvesting easier and improve air circulation around your plants. To ensure your pumpkins get the nutrients they need, consider adding mulch or compost around the base to help retain moisture and provide nutrients.
As the fruits develop, gently guide the vines onto your support structures to prevent them from breaking under their weight. Regularly check that your supports are sturdy and adjust them as needed.
Proper support not only protects your pumpkins but also promotes even growth, leading to a healthier, more productive harvest. Keep in mind that well-supported plants are less stressed and better able to resist environmental challenges, resulting in stronger, more vibrant pumpkins.
Watch Out for Pests and Diseases That Can Harm Your Pumpkins
While healthy pumpkins are your goal, pests and diseases can quickly threaten your crop if you’re not vigilant. Effective pest management and disease prevention are key to protecting your plants.
Protect your pumpkins by staying vigilant against pests and diseases to ensure a healthy harvest.
Here are three common threats to watch for:
Squash Bugs: These pests suck sap from leaves, causing wilting and decay. Regular inspections help catch them early before they spread.
Powdery Mildew: A fungal disease that forms white spots on leaves, which reduces the plant’s ability to photosynthesize. Keep foliage dry and promote good airflow around your plants.
Squash Vine Borer: Larvae burrow into stems, causing plants to wilt suddenly. Remove infested plants immediately and use row covers to prevent infestation.
Harvest Your Pumpkins and Enjoy the Fruits of Your Labor
When your pumpkins reach their full size and develop a deep, vibrant color, it’s time to harvest and enjoy the fruits of your labor. Carefully cut the stem, leaving a few inches attached to prevent damage. Once harvested, you can use your pumpkins for a variety of purposes, from tasty pumpkin recipes to festive decorations.
Proper curing in a warm, dry place for about a week helps improve storage life. Store your pumpkins in a cool, well-ventilated area, avoiding moisture to prevent rotting. Here’s a quick guide:
| Stage | Key Tip | Purpose |
|---|---|---|
| Harvesting | Use a sharp knife or shears | Prevent stem damage |
| Curing | Keep in a warm, dry space | Increase shelf life |
| Storage | Cool, ventilated area | Maintain freshness |
| Decorating/Cooking | Use for pumpkin recipes or decorations | Maximize your harvest |
Enjoy your pumpkins in seasonal treats or as charming fall decor!
Frequently Asked Questions
When Is the Best Time to Plant Pumpkin Seeds Outdoors?
You should plant pumpkin seeds outdoors when the soil temperature reaches at least 65°F to 70°F, which is essential for ideal conditions. Wait until after the last frost date in your area, usually in late spring or early summer.
Make sure the soil is warm, well-drained, and rich in organic matter. This timing helps the seeds germinate quickly and promotes healthy plant growth throughout the season.
How Long Does It Take for Pumpkin Seeds to Sprout?
Pumpkin seeds usually sprout within 7 to 10 days if you keep the right conditions. Make sure the soil stays warm, around 65-85°F.
Plant your seeds about 1 to 2 inches deep to ensure they germinate properly. Keep the soil moist and warm, and you’ll see sprouts come up within this time.
Follow these tips, and you’ll be on your way to growing pumpkins successfully!
Can I Start Pumpkin Seeds Indoors Before Transplanting?
Absolutely, you can start pumpkin seeds indoors before transplanting. Indoor planting lets you give your seedlings a head start, so they’re strong when moved outside.
Make sure to provide plenty of bright light, keep the soil moist, and maintain the right warmth. Keep an eye on how your seedlings are growing to catch any issues early.
When the weather is right outdoors, carefully transplant your sturdy seedlings into the garden. This will help ensure healthy plants and a good pumpkin harvest.
What Are Common Signs of Pumpkin Seedling Problems?
You’ll notice seedling problems if your pumpkin seedlings show yellowing leaves, wilting, or stunted growth. These signs often mean seedling diseases or inconsistent soil moisture are at play.
Overwatering can cause root rot, while too little water leads to dehydration. Keep the soil evenly moist and ensure good drainage to prevent issues.
If you see spots or mold, treat with fungicide promptly. Monitoring soil moisture and preventing disease are key to healthy pumpkin seedlings.
How Do I Save Pumpkin Seeds for Future Planting?
To save pumpkin seeds for future planting, start by choosing mature, healthy pumpkins. Scoop out the seeds, rinse off the pulp, and then dry them thoroughly with paper towels or a cloth.
Store the seeds in a paper envelope or a breathable container in a cool, dark place. Proper seed storage prevents mold and keeps them viable for planting later.
Be sure to label the container with the date and variety so you can easily identify them when you’re ready to plant.
Conclusion
Follow these seven simple steps, and you’ll be the reigning champion of pumpkin growing—your garden bursting with giant, luscious pumpkins that could win awards! With just a little effort, you’ll turn your patch into a pumpkin paradise, producing more than you ever imagined.
So get planting, stay vigilant, and soon you’ll be harvesting pumpkins so impressive, neighbors will think you’ve got a secret farming superpower. Your pumpkin empire awaits. Go conquer it!