Understanding What a Germination Test Is: A Comprehensive Guide
A germination test is a procedure used to determine the percentage of seeds in a batch that will sprout and successfully grow under suitable conditions. By evaluating germination rates, farmers, gardeners, and seed producers can assess the quality and viability of their seeds before planting.
Knowing how many seeds are likely to germinate helps avoid waste, ensures better crop planning, and promotes healthier plant growth. It provides a clear picture of seed freshness and vigor, which directly influences the yield and success of any planting endeavor.
This guide will explain the fundamentals of a germination test, how to carry it out, factors influencing the results, and how to interpret the data to make informed decisions about your seeds.
The Basics of a Germination Test
What Is a Germination Test?
A germination test involves placing seeds in a controlled environment with optimal moisture, temperature, and light conditions to observe how many successfully sprout over a given time period. This percentage provides a gauge of the seed lot's viability.
It's a standard method used worldwide to decide if a seed batch is suitable for planting or if it needs special treatment to improve germination chances.
Why Perform a Germination Test?
Performing a germination test helps prevent the use of poor-quality seeds that would result in sparse and uneven plant stands. This test minimizes financial loss by indicating when seed replacement may be necessary.
It also assists in storage management by monitoring seed viability over time, helping plan for timely planting or seed renewal.
How to Conduct a Germination Test

Preparing the Test Setup
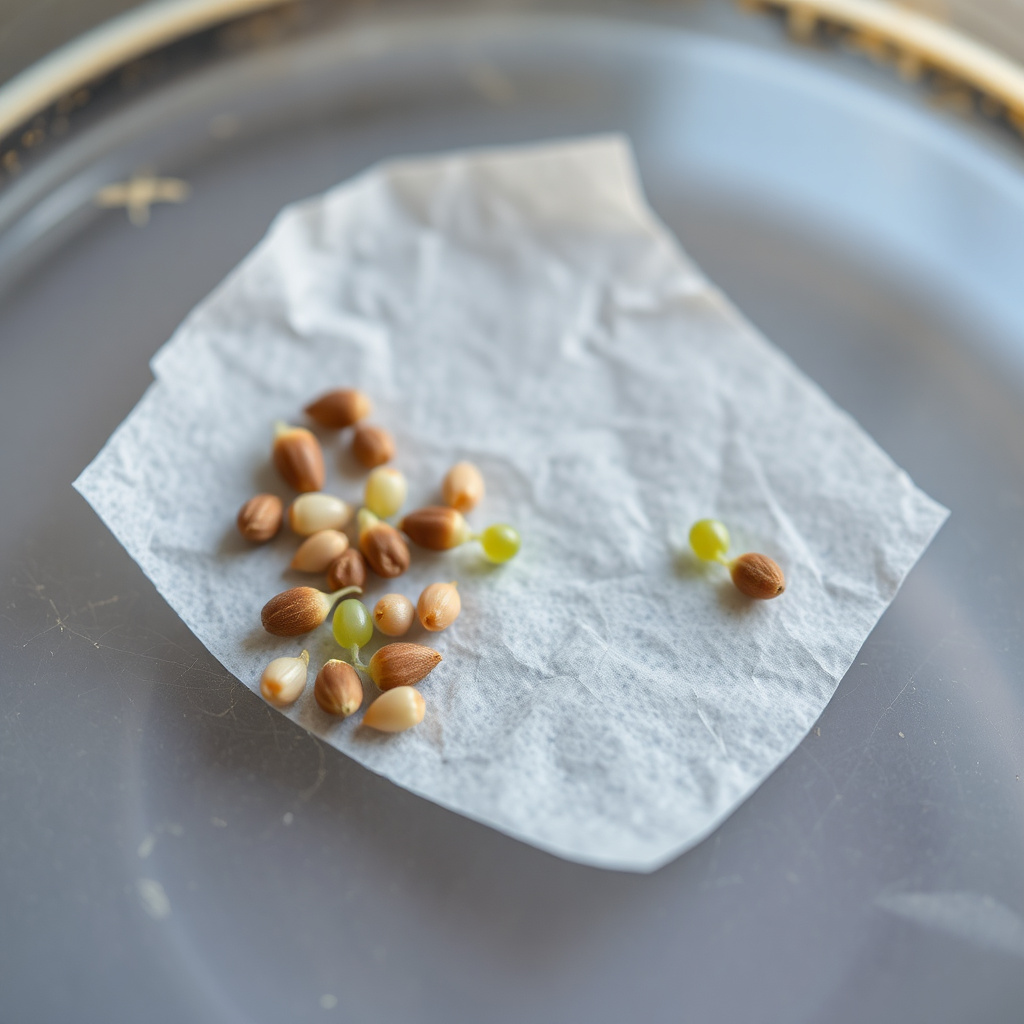
Begin by selecting a representative seed sample from the seed batch. Place a specific number of seeds on moist filter paper or a germination substrate within a controlled environment, like a germination chamber or warm room.
The setup should maintain constant moisture and temperature appropriate for the species being tested, as these conditions critically influence germination outcomes.
- Use clean containers or trays
- Moisten paper without excess water
- Avoid seed overlap to ensure accurate counts
Monitoring and Recording Results
Observe the seeds daily for signs of radicle emergence, which indicates successful germination. Most tests run for 7 to 14 days depending on seed type.
Count the number of seeds that have sprouted at the end of the test period and calculate the germination percentage by dividing germinated seeds by total seeds tested, then multiplying by 100.
- Record daily germination counts
- Note any abnormalities or mold growth
- Repeat test if results are inconsistent
Factors Affecting Germination Test Accuracy
Environmental Conditions
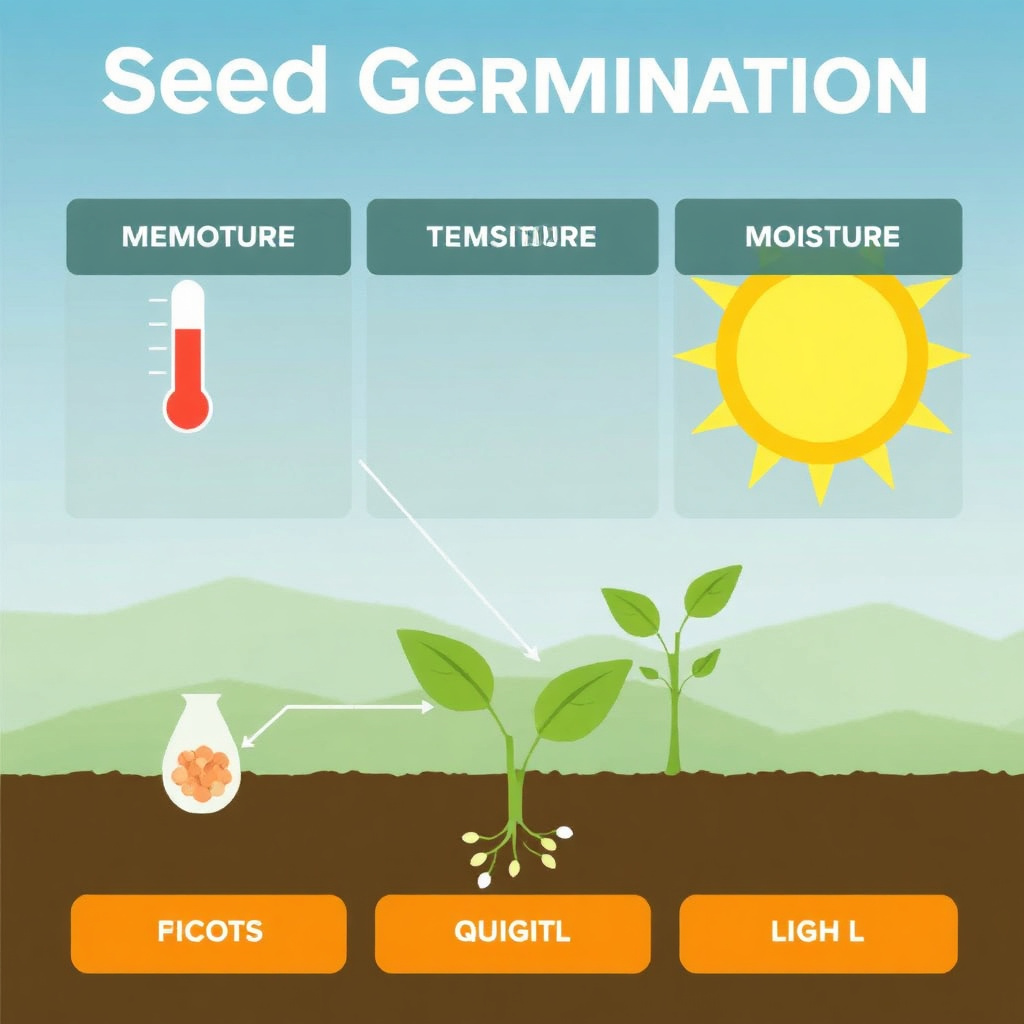
The temperature, moisture level, and light exposure during the test must mirror optimal conditions for the seed species. Deviations in these factors can falsely lower or raise germination percentages.
For example, some seeds require darkness to germinate, while others need light; failing to replicate these needs disrupts accurate germination assessment.
For more on this, see our related guide: How to Diagnose and Fix Common Seed Germination Problems.
Seed Quality and Handling
The initial seed lot quality, including age, storage conditions, and seed coat integrity, greatly influences test results. Damaged or aged seeds may show reduced germination.
Proper sample selection and gentle handling during testing prevent mechanical injury that may skew viability results.
Interpreting Germination Test Results
What Germination Percentages Mean
A high germination percentage (typically above 85%) indicates a healthy, viable seed batch suitable for planting with minimal risk.
Percentages between 60% and 85% suggest seed quality issues that might necessitate increased seeding rates or further testing.
- Above 90%: Excellent seed quality
- 60%-85%: Marginal, consider treatment or higher planting density
- Below 60%: Poor quality, replacement advised
Next Steps After Testing
Based on test results, one can decide on appropriate seeding densities, whether to rejuvenate seeds through priming, or if a new seed batch is required.
Regular germination testing assists in long-term seed storage decisions and crop planning.
Technical Methods Used in Germination Testing
Standard Laboratory Techniques
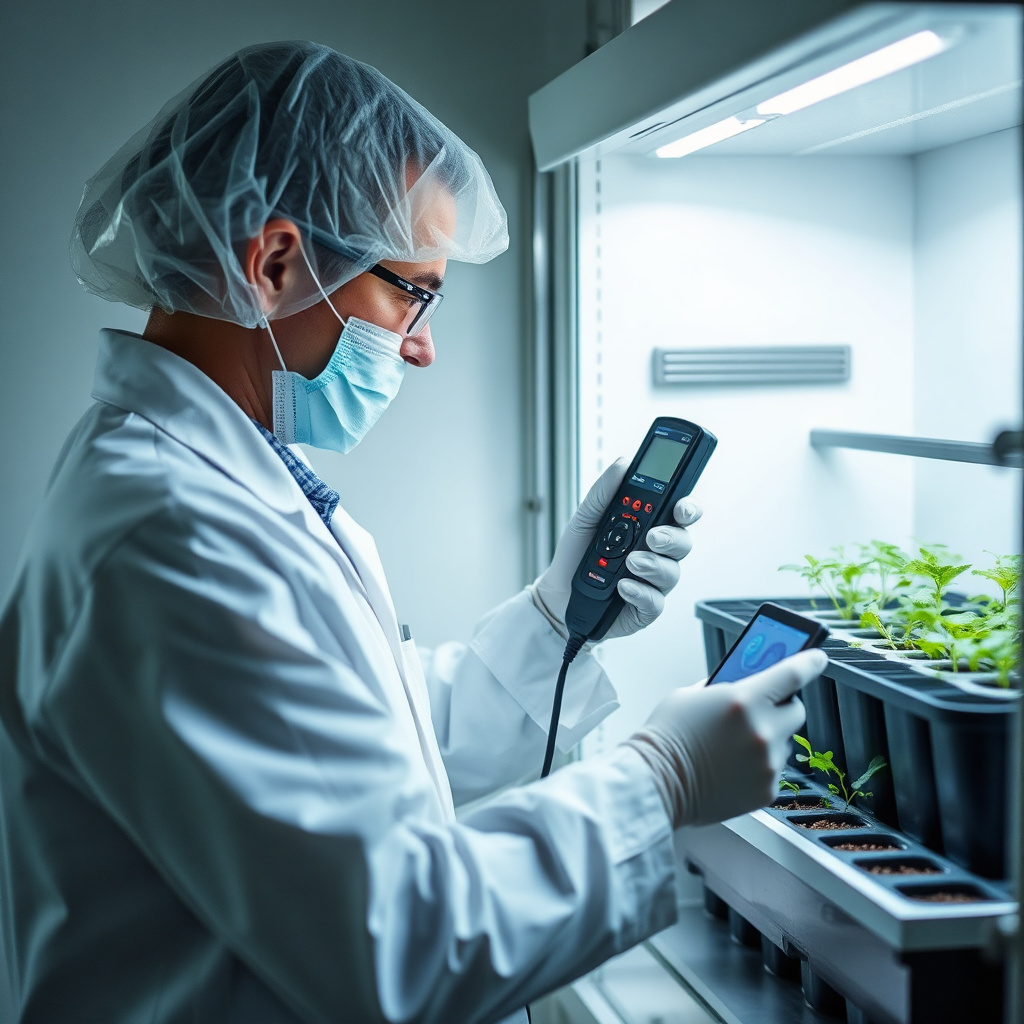
Laboratories often use germination chambers that control humidity and temperature precisely, allowing replicable and standardized testing environments.
Seeds are typically placed on moist blotter paper or in sterile media to prevent fungal growth and facilitate easy monitoring.
- Use of controlled environment chambers
- Sterile substrates like blotter paper or sand
- Periodic moisture adjustments
For more on this, see our related guide: How Deep to Plant Cannabis Seeds for Best Germination Results.
Advanced Testing Technologies
Some modern labs employ automated germination counters and imaging systems to reduce human error and improve accuracy.
These systems can track radicle emergence and growth rates in real time, providing more detailed viability data beyond simple germination percentages.
- Automated imaging and counting
- Real-time data logging
- Integration with seed lot databases
Practical Tips for Home Gardeners
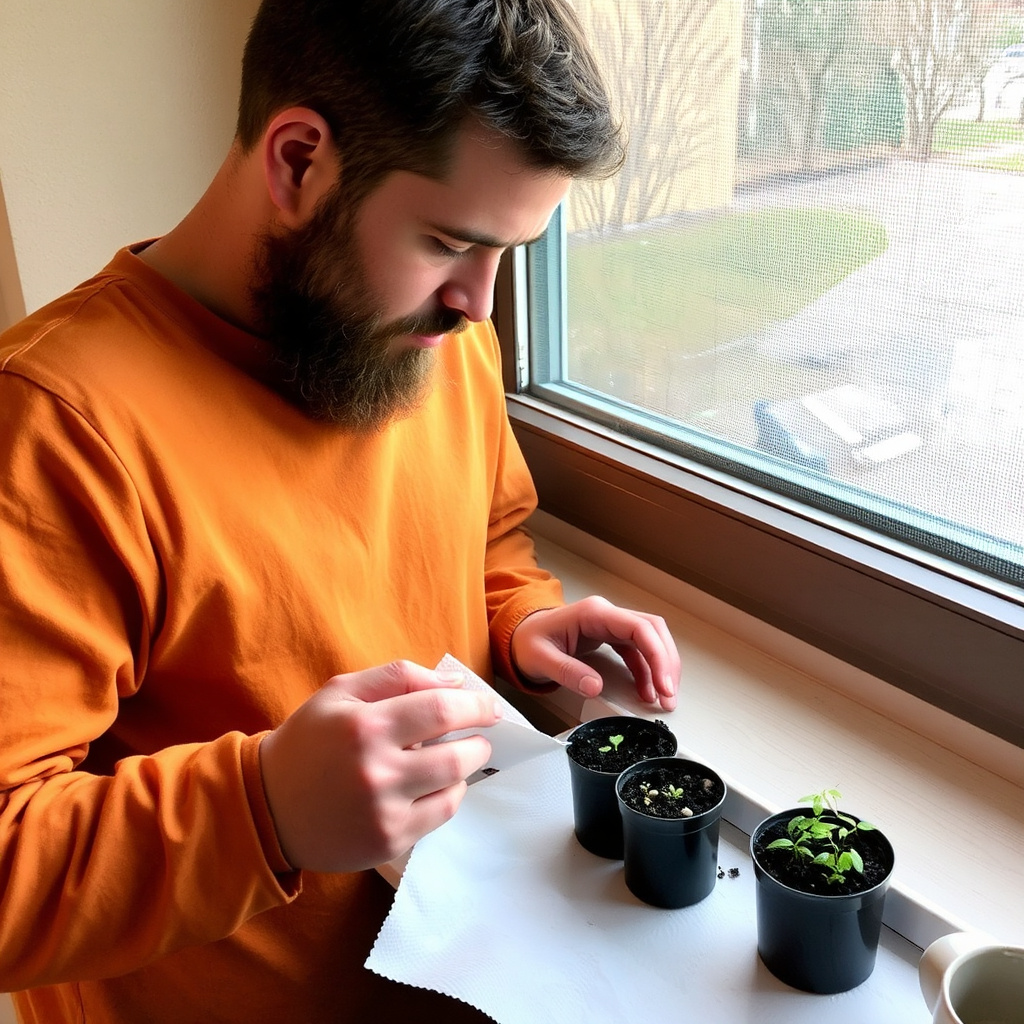
DIY Germination Test at Home
Home gardeners can perform simple germination tests using moist paper towels or cotton pads placed inside a plastic bag or container to maintain humidity.
Keep the setup warm and out of direct sunlight, check regularly for sprouting, and count germinated seeds after about a week.
- Use small batches (20-30 seeds)
- Label seed types clearly
- Avoid overwatering to prevent mold
For more detailed scientific background and historical context on germination tests, the Wikipedia page on germination testing offers a thorough overview. Germination testing information on Wikipedia.
Interpreting Your Home Test Results
If a majority of seeds sprout quickly, your seeds are viable and ready for planting. Poor germination suggests seeds are old or stored improperly, and you may want to supplement with fresh seeds.
Adjust planting density based on the percentage to ensure a good final plant population in your garden.
Germination Test Methods Comparison
A look at various germination testing methods highlights their applicability, accuracy, and complexity for different users.
| Method | Accuracy | Equipment Needed | Best For |
|---|---|---|---|
| Paper Towel Test | Moderate | Filter paper, container, warm place | Home gardeners, small samples |
| Blotter Paper Test | High | Sterile blotter paper, controlled humidity | Seed labs, commercial growers |
| Sand Test | Moderate | Fine sand, trays, humidity control | Nurseries, larger seed lots |
| Automated Imaging | Very High | Germination chamber, imaging systems | Research labs, large-scale testing |
| Cold Stratification Test | Variable | Refrigeration units, moist media | Seeds requiring cold treatment |
Frequently Asked Questions
How often should I perform a germination test on stored seeds?
Perform germination tests annually or before planting if seeds have been stored for extended periods to monitor viability and decide on seed refreshment needs.
Can all seed types be tested using the same germination test method?
No, different seeds require specific conditions such as temperature, light, or pretreatment, so the testing method must be adapted to the species' germination requirements.
What does a low germination percentage indicate about my seeds?
Low germination indicates poor seed viability, possibly due to age, improper storage, or seed damage, suggesting a need to replace seeds or improve storage.
Is a germination test the same as a seed viability test?
A germination test is a type of seed viability test that specifically measures the percentage of seeds that sprout under controlled conditions.
Can I use a germination test to improve my seeding rates?
Yes, by knowing the germination percentage, you can adjust your seeding density to compensate for non-viable seeds and achieve better crop stands.
Key Takeaways
- A germination test measures the percentage of seeds that sprout successfully under ideal conditions.
- Conducting germination tests helps optimize planting success and seed storage management.
- Environmental factors and seed quality significantly impact test accuracy.
- Simple germination tests can be performed at home with minimal equipment.
Conclusion
Understanding what a germination test is allows growers from hobbyists to commercial producers to make smarter decisions about their seeds. This test clarifies seed viability and informs whether a batch is suitable for planting or requires treatment or replacement. By focusing on the core principles of proper sampling, environmental control, and accurate counting, the test provides practical, data-driven insight into seed quality that can save time and resources.
Different germination test methods cater to various needs and scales, from simple home tests using paper towels to advanced automated systems in professional labs. For home gardeners or small-scale growers, the paper towel method offers a reliable and accessible way to gauge seed health. Larger producers may benefit from more precise and standardized approaches, such as blotter paper tests in germination chambers or imaging technologies, to monitor seed viability and adjust seeding strategies accordingly.
If you want to start testing your seeds, gather a representative sample and maintain consistent moisture and temperature, then observe germination over a week or two. Recording results carefully will empower you to make informed decisions about planting density and seed replacement, ultimately leading to healthier plants and better yields. For deeper technical understanding or specialized techniques, consulting trusted agricultural resources can further enhance your germination testing practices.