How to Germinate Cherry Seeds – A Step-by-Step Guide
Starting a cherry tree from seed can be a rewarding experience, but many people struggle with getting those tiny seeds to sprout. If you’ve ever felt frustrated by failed attempts or unsure where to start, you’re not alone.
Growing cherry seeds requires patience and the right steps, but with a little guidance, you’ll be on your way to beautiful, fruit-bearing trees.
To germinate cherry seeds, start by selecting healthy seeds from your chosen variety, then clean and dry them thoroughly.
Stratify the seeds by placing them in a damp medium like sand or peat moss in the fridge at 34-41°F for 8-12 weeks.
After stratification, keep them in a warm, moist environment with good drainage, maintaining 65-75°F.
Patience is key, and following these steps will help you grow healthy seedlings—learn more tips as you go.
Key Takeaways
- Harvest and clean cherry seeds, then dry them thoroughly before storage.
- Cold stratify seeds in a refrigerator at 34 to 41°F for 8 to 12 weeks to break dormancy.
- Plant stratified seeds in moist soil or sand at the proper depth, keeping the soil consistently moist.
- Maintain soil temperatures between 65 and 75°F and ensure high humidity for successful germination.
- Watch your seedlings closely, and transplant them when they develop true leaves, giving them plenty of sunlight.
Why Grow Cherry Trees From Seed?
Growing cherry trees from seed can be really rewarding because it lets you grow a unique tree that might give you fresh, homegrown cherries for years.
Growing cherry trees from seed offers a rewarding way to cultivate your own unique, homegrown fruit.
When you grow your own tree, you get access to different cherry varieties, each with its own flavors and textures.
Plus, cherry trees are good for your health. Cherries are packed with antioxidants, vitamins, and anti-inflammatory compounds, making them a nutritious addition to your diet.
Growing from seed also gives you the satisfaction of nurturing a tree from the very start, creating a personal connection to your food source.
It takes time for the tree to mature, but the process is fulfilling and educational.
Whether you’re after a specific cherry variety or just want the health benefits of fresh fruit, planting from seed is a sustainable and rewarding way to enjoy cherries for years to come.
Choosing the Right Cherry Seeds
Choosing the right cherry seeds is key to growing a healthy, productive tree. Your seed variety selection influences flavor, size, and disease resistance.
If you prefer traditional tastes, heirloom options offer unique, time-tested flavors. For a more reliable harvest, modern hybrid varieties might suit your climate better.
| Seed Variety Selection | Heirloom Options |
|---|---|
| Disease resistance | Unique, traditional flavors |
| Early ripening | Heritage and history |
| Climate adaptability | Preserving old varieties |
| Fruit size | Rare, heirloom traits |
| Tree vigor | Unique appearances |
Picking the right seeds involves considering your goals—whether for flavor, resilience, or tradition. Focus on seed sources that specify variety details to ensure you get the type that matches your gardening preferences.
Preparing Cherry Seeds for Planting
Preparing cherry seeds for planting is pretty straightforward, but a little bit of prep goes a long way. First off, you’ll want to carefully harvest your seeds from the cherries and give them a good clean to remove any leftover fruit or pulp. This helps prevent mold or rot once they’re planted.
Next, you’ll need to simulate winter conditions with a process called cold stratification. Basically, this means chilling the seeds in the fridge for a few months. This step is super important because it tricks the seeds into thinking they’ve gone through winter, which is necessary for them to break dormancy and sprout.
Getting these steps right really boosts your chances of successful germination. So, take your time with each step, and you’ll be on your way to growing healthy cherry trees!
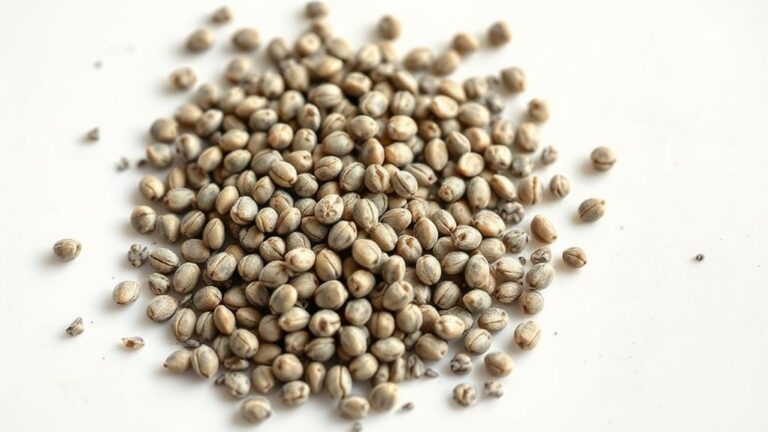
Harvesting and Cleaning Seeds
Start by carefully removing the seeds from the cherries, making sure you don’t damage them in the process. Once you’ve got the seeds out, rinse them thoroughly to wash away any fruit residue.
This step is really important for good seed selection and helps prevent mold when you store them. If needed, you can use a soft brush or cloth to clean them further.
After cleaning, let the seeds dry completely in a cool, well-ventilated area. Proper storage is key—keep the seeds in a paper envelope or a breathable container in a cool, dark place until you’re ready to plant.
Well-harvested and cleaned seeds will boost germination success and lead to healthy plants. Here’s a helpful guide to seed cleaning and storage:
| Step | Tip |
|---|---|
| Cleaning | Rinse and dry thoroughly |
| Storage | Use breathable containers |
| Handling | Be gentle to avoid damage |
Cold Stratification Process
After cleaning and drying your cherry seeds, the next step is to give them a cold period that mimics winter. This cold stratification helps break seed dormancy and signals that spring is coming.
You can do this by placing the seeds in a moist medium like damp paper towels or soil inside a sealed plastic bag. Store the bag in the refrigerator at 34–41°F (1–5°C) for about 8–12 weeks.
During this time, check the medium periodically to make sure it stays moist. Cold stratification simulates winter conditions and triggers germination, increasing your chances of successful sprouting when you plant the seeds.
How to Stratify Cherry Seeds for Better Germination
Stratifying cherry seeds mimics their natural winter dormancy, which is key for breaking their seed coat and encouraging germination. First, pick healthy, viable seeds by checking their size, firmness, and making sure there’s no damage—this is your seed selection step.
Once you’ve chosen your seeds, you’ll need to simulate winter conditions through stratification. Usually, this means placing the seeds in a damp medium like sand or peat moss inside a sealed plastic bag or container. Store it in the fridge at around 34-41°F (1-5°C) for 60 to 90 days.
During this time, the cold triggers biochemical changes that break seed dormancy. Be sure to check periodically and keep the medium moist but not soaked to prevent mold. Proper stratification boosts germination rates and helps your cherry seeds grow into strong, healthy seedlings.
Creating the Perfect Environment for Cherry Seed Germination
Sure! Here’s a more conversational version of the text:
—
To make sure your cherry seeds germinate successfully, it’s important to keep an eye on the temperature and moisture. Keep things warm—around 65 to 75°F is just right. Also, make sure the soil stays consistently moist, but not soaking wet. If the soil is too dry or too wet, it can really slow down or even prevent germination. These simple conditions help the seeds wake up from dormancy and start sprouting nicely.
Optimal Temperature Conditions
Maintaining the right temperature is key for successful cherry seed germination. Seeds need specific warmth to break dormancy and sprout.
The ideal temperature range is between 75°F and 85°F (24°C–29°C). Staying within this range helps promote steady growth and avoids setbacks.
Avoid sudden temperature drops or rises, as these can delay sprouting or even damage the seed. Consistency is crucial for good results.
Here’s a quick reference to help you keep track:
| Temperature Range | Significance |
|---|---|
| 75°F – 85°F | Perfect warmth for germination |
| 60°F – 74°F | Too cold, slows down growth |
| 86°F – 95°F | Too hot, risks damaging the seed |
| Below 60°F | Stops germination completely |
| Above 95°F | Can harm seed viability |
Keeping a stable environment ensures the best chance for successful germination.
Proper Moisture Levels
Achieving the right moisture level is key for cherry seed germination. Too dry, and the seeds won’t sprout; too wet, and they might rot. To keep the right balance, follow these simple steps:
- Keep the soil damp but not soaked.
- Use a spray bottle to mist the surface gently every day.
- Cover the container with plastic wrap or a lid to hold in moisture.
- Check regularly for dryness or excess moisture and adjust accordingly.
Balancing moisture creates the perfect environment for the seeds to hydrate and sprout healthy. It helps prevent mold or rot and gives your cherry seeds the best chance to grow strong and healthy.
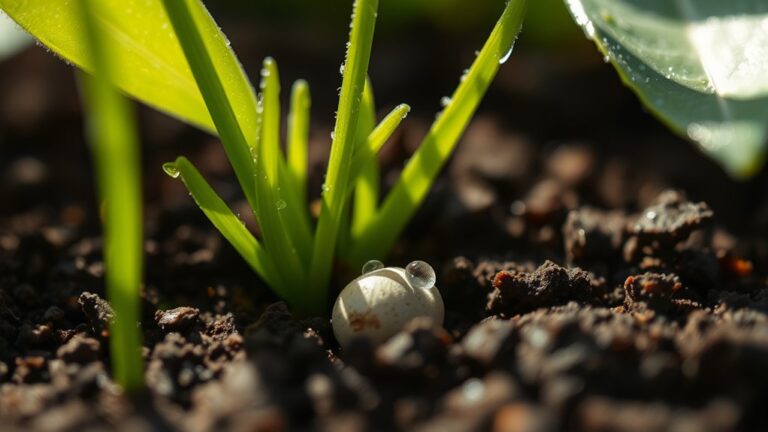
Planting Cherry Seeds: A Step-by-Step Guide
Planting cherry seeds correctly is key to ensuring they germinate well and grow into healthy trees. Start by selecting a well-draining container or a prepared garden bed.
Fill your container or bed with quality soil mixed with compost. Sow the seeds about half an inch deep and space them at least two inches apart to avoid overcrowding.
Gently water the soil to keep it moist but not waterlogged. For better chances of success, try companion planting with herbs like basil or marigolds, which can help deter pests and promote growth.
Keep the soil consistently moist and place your container somewhere with indirect sunlight. As seedlings appear, make sure they get enough light and nutrients.
Good planting techniques support germination and help develop strong seedlings, laying the foundation for a healthy cherry tree. Remember, patience and attention to detail are essential for thriving cherry plants.
Tips to Maximize Cherry Seed Germination Success
Want to give your cherry seeds the best shot at sprouting? First things first, make sure to properly stratify them—that means chilling the seeds for the right amount of time. It’s like giving them a little winter nap so they’re ready to grow when spring comes.
Next, focus on creating a cozy environment for your seeds. Keep the moisture consistent, and make sure the temperature is just right—neither too hot nor too cold. Using good soil that drains well is also super important. When you pay attention to these little details, you’ll have a much better chance of seeing those tiny cherry sprouts pop up!
Proper Seed Stratification Techniques
Proper seed stratification is essential for maximizing cherry seed germination success. It helps break seed dormancy and improves seed viability. To get the best results, follow these simple steps:
- Choose fresh seeds to ensure high seed viability before starting stratification.
- Place seeds in a moist medium, like damp sand or peat moss, to mimic natural winter conditions.
- Maintain consistent cold temperatures around 34-41°F (1-5°C), and keep the seeds in this environment for about 60-90 days.
- Check periodically for mold or dryness, and add moisture if needed to keep the seeds healthy and prevent damage.
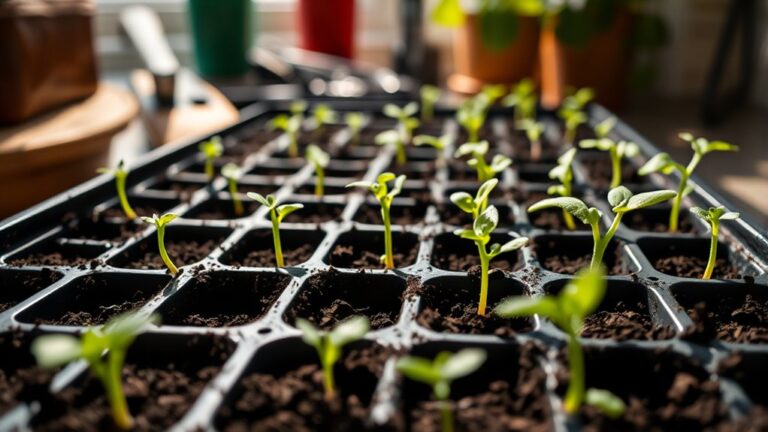
Optimal Germination Environment
Creating the ideal environment for cherry seed germination is key to your success. Keep the moisture and temperature steady—around 65-75°F—to help seeds sprout healthy and strong.
Use germination trays with drainage holes to prevent water from sitting and causing issues. Cover the trays with clear plastic or a humidity dome to keep humidity high, which helps seeds break dormancy.
Place the trays in a bright, warm spot out of direct sunlight so they don’t overheat. Check the moisture regularly and mist as needed to keep the soil evenly moist.
Managing these conditions properly boosts your germination rates and supports healthy seedling growth. When seedlings appear, slowly remove the cover to help them adapt to their environment.
Common Mistakes to Avoid When Germinating Cherry Seeds
Even experienced gardeners can stumble into common pitfalls when germinating cherry seeds, which can hinder successful growth. One mistake is ignoring seed viability; not all seeds are capable of germinating, so perform a simple test before planting.
Even seasoned gardeners can overlook seed viability, risking failed germination—always test your cherry seeds first.
Second, believing germination myths like thinking all cherry seeds need cold stratification can lead to unnecessary steps or failures. It’s important to understand the true needs for germination.
Third, overwatering or underwatering can damage delicate seeds or prevent proper sprouting. Be mindful of watering practices to keep seeds healthy.
Fourth, planting seeds too deep or too shallow can impede emergence. Proper planting depth is key for successful germination.
Avoid these errors by thoroughly checking seed viability, understanding the real requirements for germination, and following correct planting depth and watering techniques.
Being aware of these pitfalls helps guarantee your efforts lead to healthy cherry seedlings. Recognizing and avoiding these common mistakes allows you to maximize success and gives your cherry seeds the best chance to grow into fruitful trees.
How Long Does It Take for Cherry Seeds to Germinate?
After avoiding common mistakes like planting seeds too deep or neglecting seed viability, you’ll be eager to see signs of growth. Typically, cherry seeds take about 6 to 12 weeks to germinate, but this can vary depending on conditions.
Seed viability plays an important role—if your seeds are fresh and healthy, they’re more likely to sprout within this timeframe. If your seeds don’t germinate after three months, they might no longer be viable or haven’t gone through proper cold stratification.
Maintaining consistent moisture and temperature helps speed up germination. Keep in mind that patience is key because some seeds may take longer to sprout.
Regularly monitoring your seeds will help you spot when they’re ready to emerge. Overall, understanding the germination timeline and ensuring seed viability are crucial steps to successfully growing cherry seedlings.
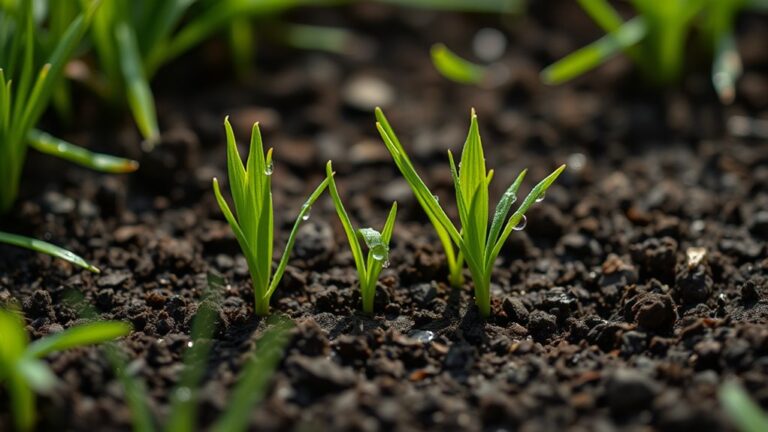
Transplanting and Caring for Your Cherry Seedlings
Once your cherry seedlings have sprouted and grown their first true leaves, it’s time to transplant them carefully into bigger containers or your garden. Doing this right is key to healthy growth and strong trees.
Transplant cherry seedlings carefully to ensure healthy growth and strong, productive trees.
Wait until the seedlings are sturdy and have several leaves before you move them. Gently loosen the soil around them, being careful not to damage the roots.
Dig a hole twice as wide as the root ball, then carefully place the seedling inside. Water thoroughly to settle the soil and give it the moisture it needs to thrive.
Make sure your cherry seedlings get about 6–8 hours of sunlight each day. Keep the soil moist but not waterlogged. Protect young plants from harsh weather and pests to help them grow strong.
Proper transplanting and care now will set a solid foundation for healthy, productive cherry trees in the future.
Frequently Asked Questions
Can Cherry Seeds Be Germinated Indoors Year-Round?
Yes, you can germinate cherry seeds indoors year-round. Just pick a cherry variety that does well in containers and indoors.
Keep the seeds in a warm, bright spot, and make sure to keep the soil moist and the temperature steady. Use pots that drain well and give your seeds plenty of indirect sunlight.
With patience and the right care, your cherry seeds will sprout indoors. This way, you can enjoy growing cherry trees all year long.
How Deep Should Cherry Seeds Be Planted?
Plant your cherry seeds about 1 to 2 inches deep—it’s the sweet spot for successful germination. Too shallow, and they might dry out or get disturbed. Too deep, and they’ll struggle to break through the soil.
Keep in mind, proper seed depth helps ensure healthy growth. Plan to transplant once the seedlings are sturdy enough.
This careful step will set your cherry trees up to thrive like giants in the future!
What Conditions Cause Cherry Seed Failure to Germinate?
Cherry seed failure to germinate often happens because of unresolved seed dormancy or unsuitable environmental factors. If you don’t break the seed’s dormancy, it simply won’t sprout.
Plus, improper conditions like wrong soil temperature, too much or too little moisture, or not enough light can stop germination in its tracks. To get good results, try to mimic natural conditions as closely as possible.
Make sure the seed’s dormancy is broken and that the environmental factors are just right for successful germination.
Do Cherry Seeds Require Specific Soil Types?
Think of planting cherry seeds as setting the stage for a delicate dance. You need soil pH that’s just right—slightly acidic to neutral—and good drainage to prevent water from drowning your tiny dancers.
Loamy soil with organic matter works best, allowing roots to breathe and grow strong. Avoid heavy clay or overly sandy soils, as they hinder germination.
When conditions are just right, your cherry seeds will flourish and sprout beautifully.
How Can I Tell if My Cherry Seedling Is Healthy?
You can tell your cherry seedling is healthy by looking at how it’s growing and the color of its leaves. A healthy seedling will have steady growth, with stems that stand upright and strong, vibrant leaves.
The leaves should be a rich green color. If they start turning yellow or look pale, it could mean the seedling isn’t getting enough nutrients or is overwatered.
Make sure the seedling stays free from pests or disease. Adjust your care routine if needed to keep it healthy and help it develop properly.
Conclusion
Growing cherry trees from seed can be just as rewarding as nurturing a tiny sapling into a thriving tree. With patience and the right steps, you’ll watch your efforts grow into beautiful, fruit-bearing trees.
Just like caring for delicate flowers, you’ll need to tend to your seeds carefully. Follow the process, steer clear of common mistakes, and enjoy the journey.
Soon, you’ll be savoring your own homegrown cherries, sweet as a summer breeze. Growing cherry trees from seed is a fun project that can bring fresh fruit right to your backyard.