How to Dry Seeds Properly for Long-Term Storage and Planting Success
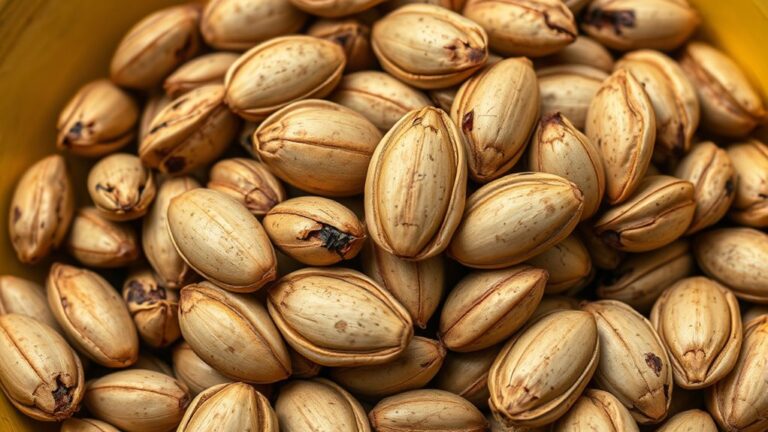
Drying seeds correctly is essential to preserve their viability for future planting. To dry seeds, start by separating them from any fruit or pods, then spread them out in a single layer on a paper towel or mesh screen in a well-ventilated, shaded area. Avoid direct sunlight and high temperatures, allowing the seeds to air dry for several days until they feel hard and no longer sticky to the touch.
Proper seed drying prevents mold growth and decay, which directly impacts seed longevity and germination rates. Freshly harvested seeds often contain residual moisture that can cause spoilage during storage. Using gentle drying methods helps maintain seed vitality, especially for sensitive varieties like tomatoes, peppers, or herbs. This step is particularly vital if you want to save seeds for the next growing season or share them with others.
This article will cover the step-by-step process of how to dry seeds safely, including ideal drying environments, tools you need, and techniques suited for common seed types. Additionally, it will explore tips on the best way to store seeds after drying to maximize their shelf life.
Understanding Why Proper Seed Drying Matters
The Role of Moisture in Seed Viability
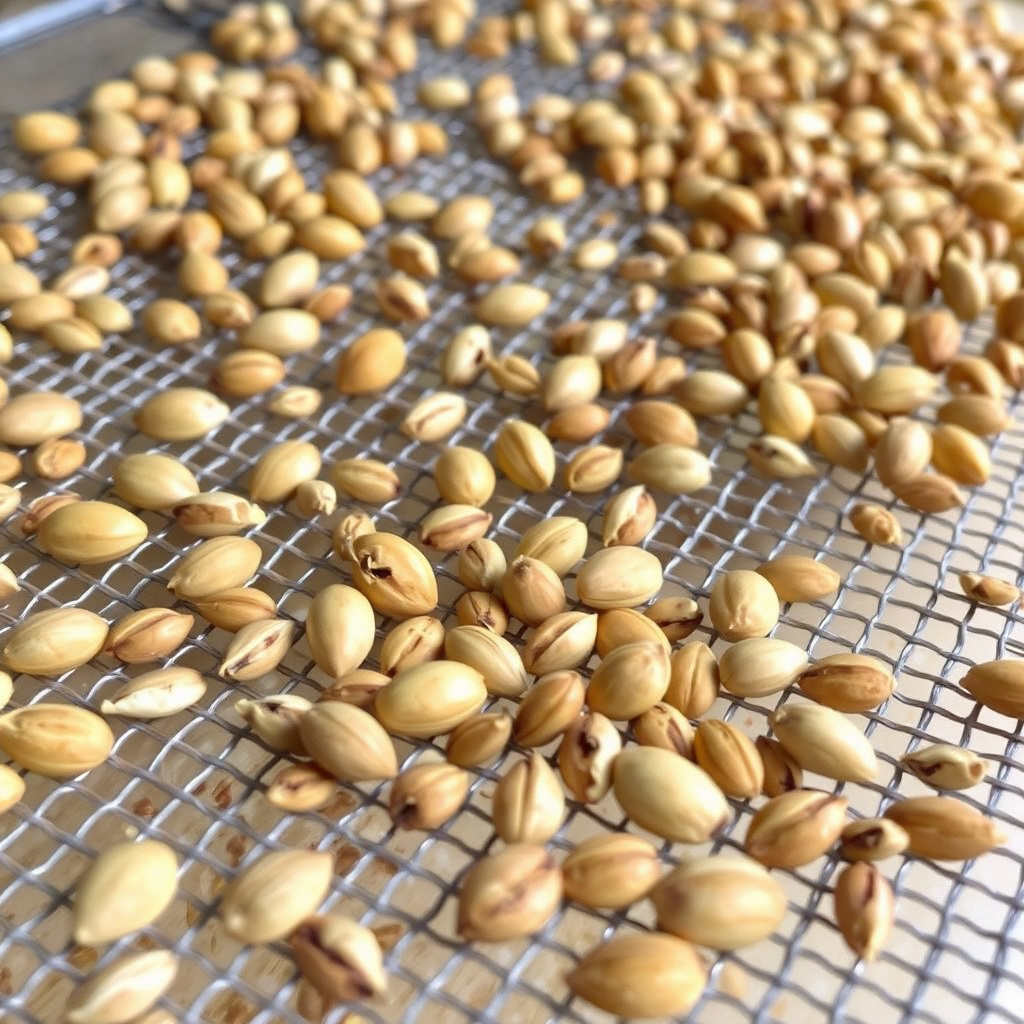
Seeds with high moisture content are prone to developing mold and fungal growth during storage, which significantly reduces their germination potential. Drying lowers moisture levels to a safe threshold, preserving the seed's internal structures necessary for sprouting.
Each seed type has an ideal moisture level for storage, but generally, seeds should be dried to roughly 5-8% moisture content. Achieving this balance ensures that seeds remain dormant and viable instead of rotting or losing vitality.
Consequences of Improper Drying
Seeds that are dried too quickly or exposed to heat can become brittle or lose their germination ability. Conversely, inadequate drying leaves residual moisture, inviting pests and fungal decay during storage.
Ineffective drying often results in a lower germination rate, wasted effort growing plants from poor-quality seeds, and potential loss of valuable seed stock, especially for heirlooms or rare species.
Preparing Seeds for Drying
Cleaning Seeds Before Drying
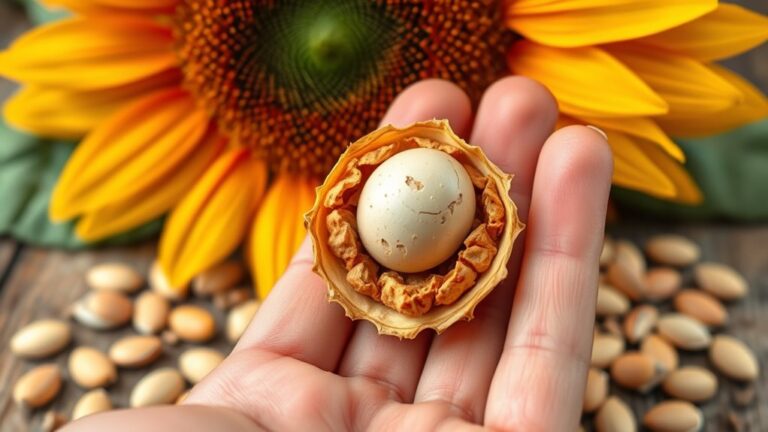
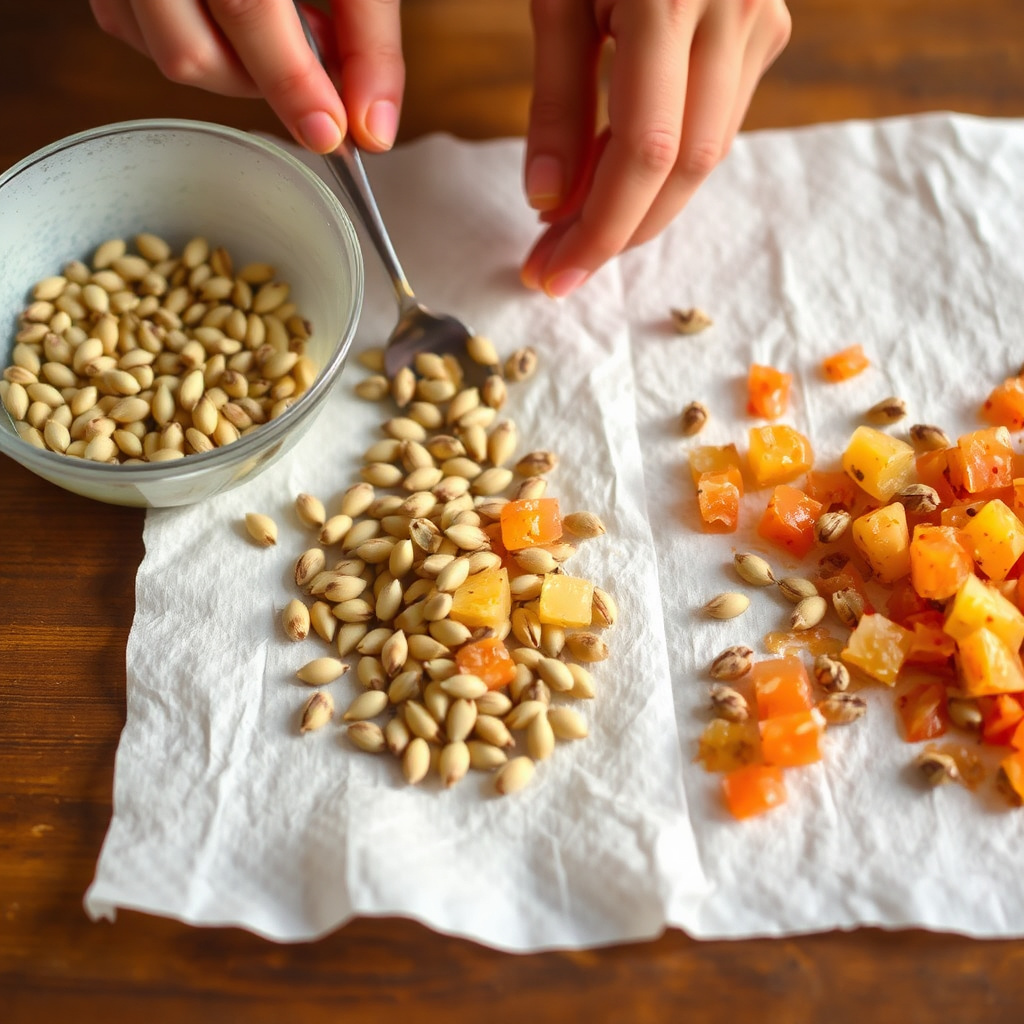
Start by extracting seeds from fruits, pods, or flowers. Remove any pulp, flesh, or sticky residue as these materials retain moisture and encourage mold. Use gentle rubbing or rinsing under cool water if needed, then pat dry with a soft towel.
Be careful not to damage seeds during cleaning, as any physical harm can lower viability rates. Allow rinsed seeds to drain thoroughly before laying them out to dry.
- Separate seeds from surrounding plant material
- Rinse seeds gently when necessary
- Pat dry with cloth before air drying
Choosing a Suitable Drying Surface
Selecting the right surface is key to even drying and airflow. Paper towels, parchment paper, screen mesh trays, or unglazed ceramic tiles work well because they don't trap moisture and allow air circulation around the seeds.
Avoid plastic or sealed containers during drying to prevent moisture buildup. Also, keep seeds spread out in a single layer to speed drying and avoid clumping.
- Use breathable, non-absorbent drying surfaces
- Avoid stacking or overlapping seeds
- Keep seeds spaced evenly to improve airflow
Ideal Conditions for Drying Seeds
Temperature and Humidity Levels
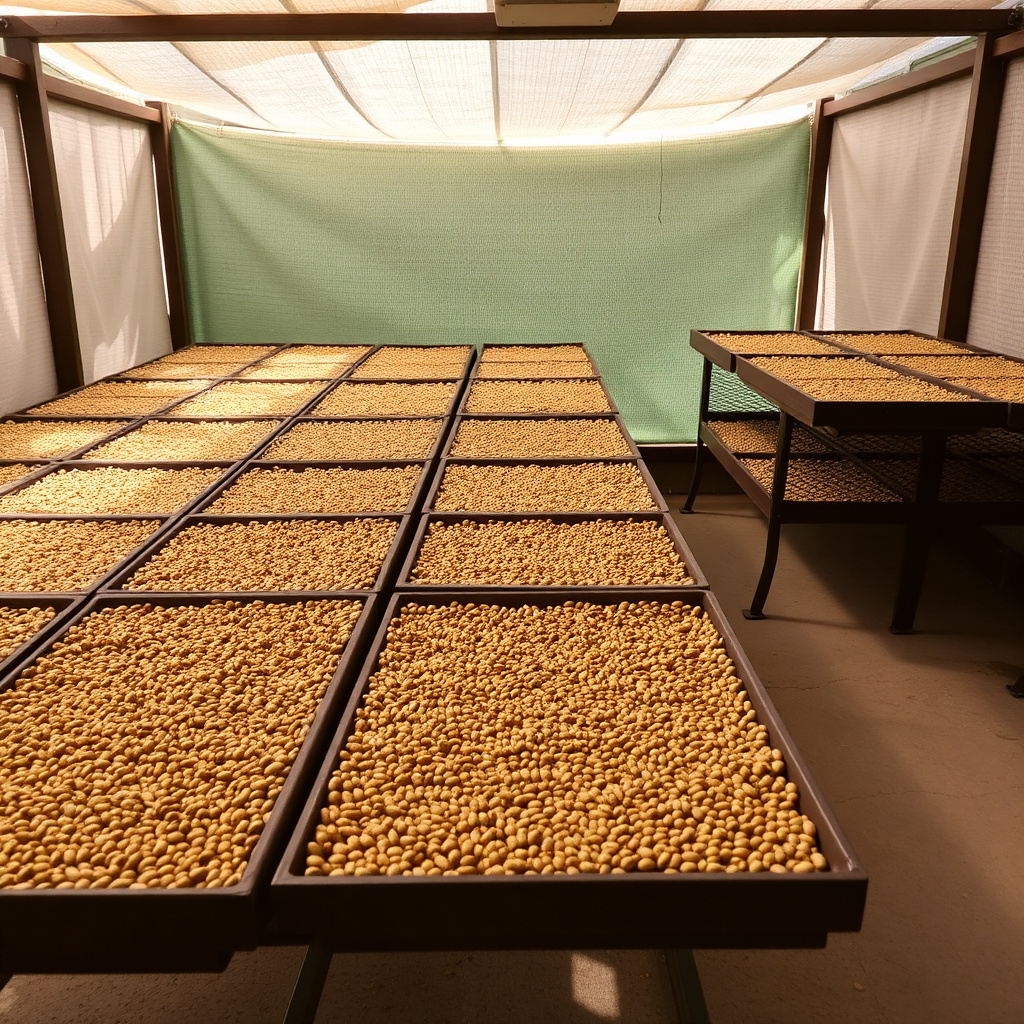
Maintain a moderate room temperature around 65-75°F (18-24°C) with low humidity during drying. High temperatures can damage seeds while excessive moisture prevents proper drying. A well-ventilated area away from direct sunlight is ideal.
Use a fan to enhance air circulation if needed, but avoid blowing air directly so seeds don't scatter. If ambient humidity is high, placing seeds near a dehumidifier can speed drying.
- Keep temperature between 65-75°F (18-24°C)
- Ensure relative humidity stays below 50%
- Avoid direct sunlight exposure
For more on this, see our related guide: How to Plant Seeds at the Right Depth for Successful Growth.
Common Drying Timelines
Seed drying time varies by type and ambient conditions but generally ranges from 3 to 14 days. Larger or fleshier seeds like pumpkins may need longer, while smaller seeds like lettuce dry faster.
Monitor seeds daily by feeling their texture; they should become dry, firm, and no longer sticky or pliable before storing. Avoid rushing the process by applying artificial heat.
- Check seeds daily for dryness
- Expect 3-14 days depending on seed size
- Avoid rapid drying with heat
Step-by-Step Seed Drying Methods
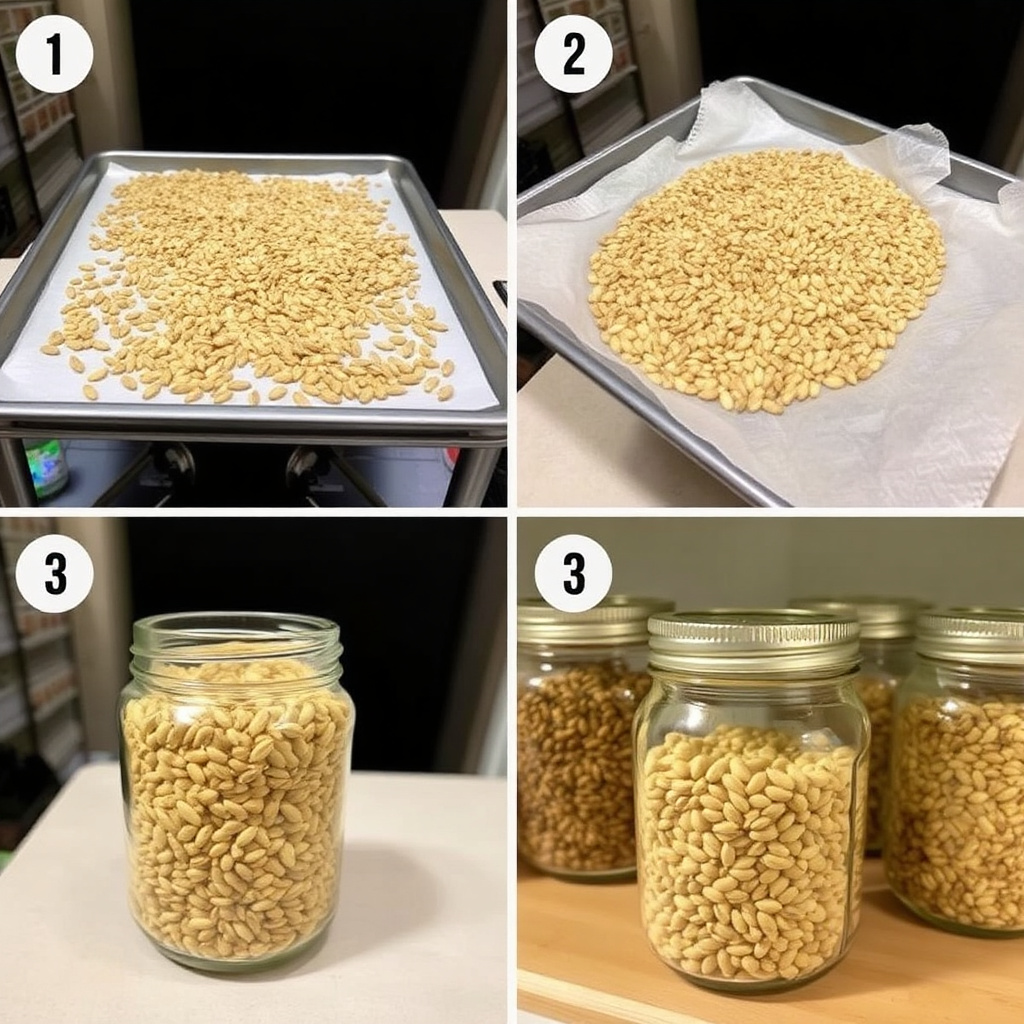
Air Drying Seeds Indoors
Spread cleaned seeds on a breathable surface in a single layer inside a dry, shaded room with good airflow. Stir or rotate seeds every couple of days to ensure even drying.
This method works well for most seeds and avoids exposing them to damaging sunlight or temperature extremes.
- Use paper towels or mesh trays
- Keep seeds spread evenly
- Rotate periodically for uniform drying
Using Desiccants for Faster Drying
For faster moisture removal, place seeds in an airtight container with desiccants like silica gel packets. This helps maintain low humidity around seeds but works best after initial air drying to reduce mold risk.
Monitor seeds closely to avoid overdrying, which can reduce germination potential if seeds become brittle.
- Include silica gel packets or powdered milk
- Seal seeds in airtight jars
- Check regularly to prevent overdrying
Storing Seeds After Drying
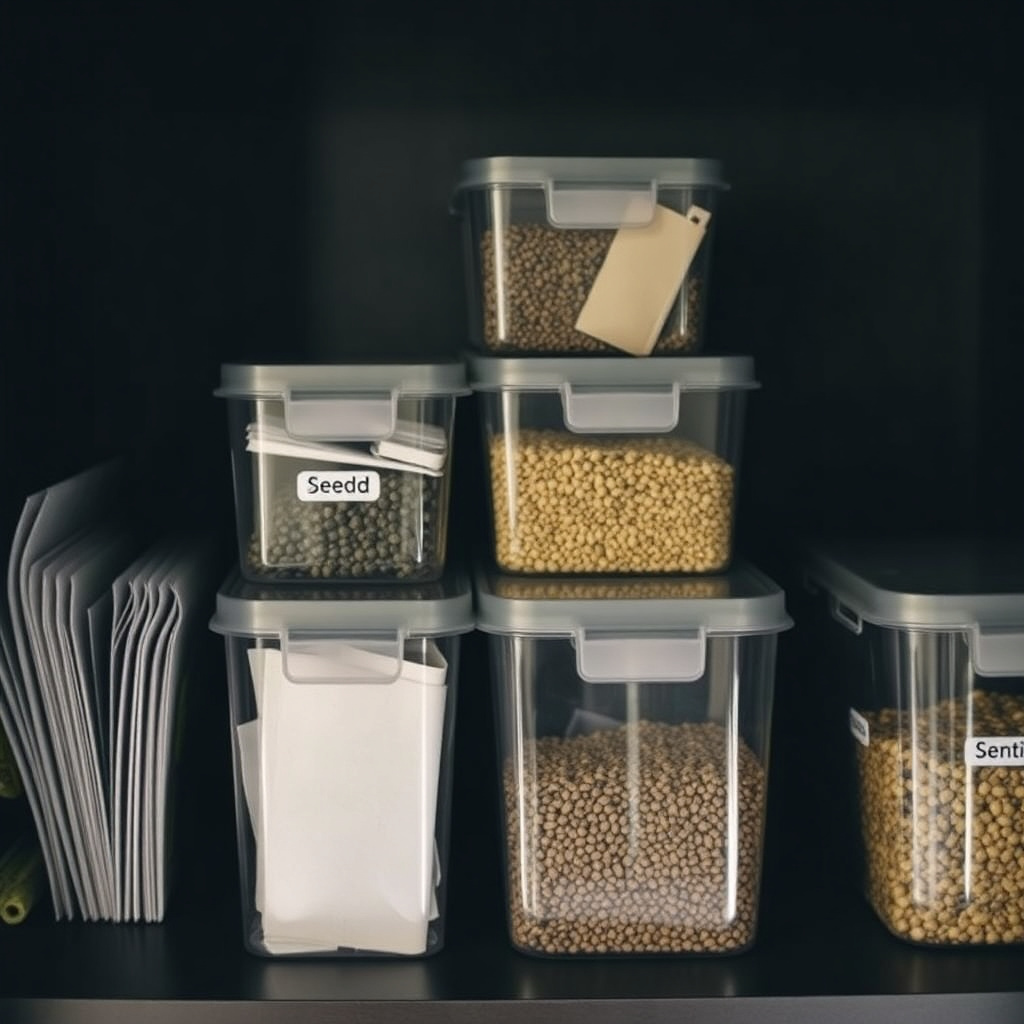
Selecting Containers for Long-Term Storage
After drying, place seeds in airtight containers such as glass jars with rubber seals, metal tins, or sturdy zippered bags. These containers minimize moisture entry and protect seeds from pests.
Label containers clearly with seed type and date of drying to keep track of freshness.
- Use airtight, moisture-proof containers
- Label seeds with variety and date
- Avoid plastic bags without seals
For more on this, see our related guide: What Causes Seeds to Lose Viability and How to Prevent It.
Optimal Storage Conditions
Store dried seeds in a cool, dark place to prolong viability. Ideal temperatures range between 32-41°F (0-5°C), such as a refrigerator or cellar. Avoid fluctuating temperatures or warm areas that increase seed metabolism and shorten lifespan.
Avoid exposure to sunlight or humidity spikes which encourage mold or premature germination.
- Keep in refrigerator or cool cellar
- Ensure low humidity storage area
- Protect from light and temperature swings
Special Considerations for Different Seed Types
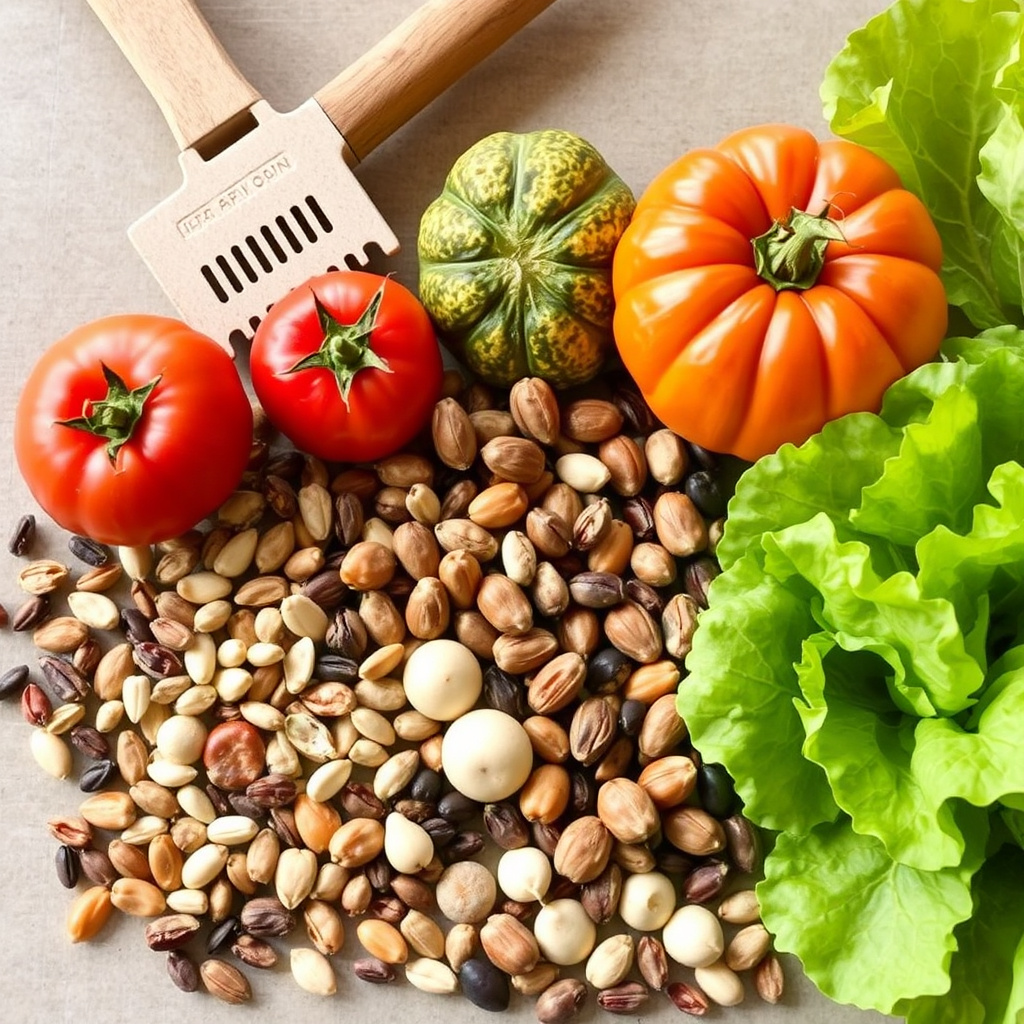
Drying Seeds from Fruits Versus Pods
Seeds enclosed in fleshy fruits like tomatoes require thorough removal of pulp and longer drying times to avoid fermentation. Pod seeds like beans dry faster but must be cleaned of pod remnants to prevent mold.
Understanding the origin of seeds helps tailor drying strategies to their moisture content and susceptibility to decay.
For more detailed scientific background on seed drying and storage, see Seed drying and storage techniques. Seed drying and storage techniques.
Handling Delicate or Tiny Seeds
Very small seeds such as lettuce or basil need gentle handling and often air dry best on fine mesh screens to prevent loss. They dry quickly but can be mistaken for dust if handled carelessly.
Delicate seeds may benefit from drying in less windy indoor settings to avoid scattering and damage.
Comparison of Seed Drying Methods
Here is a quick overview comparing common seed drying methods by speed, complexity, and suitability for different seed types.
| Method | Drying Speed | Ease of Use | Best Seed Types | Risk of Damage |
|---|---|---|---|---|
| Air Drying | Slow (3-14 days) | Easy | All types, especially delicate seeds | Low |
| Desiccant Drying | Moderate (1-5 days) | Moderate | Small or medium seeds after initial drying | Moderate if overdone |
| Oven Drying | Fast (hours) | Challenging | Hardy seeds only, caution advised | High risk of heat damage |
| Sun Drying | Variable (days) | Easy but weather dependent | Hardy seeds, less delicate types | High in direct sunlight |
Frequently Asked Questions
Can seeds be dried in the sun?
While sun drying can be used for hardy seeds, direct sunlight exposes seeds to heat and UV that can reduce viability. It is safer to dry seeds in shaded, well-ventilated areas indoors.
How do I know when seeds are fully dry?
Fully dried seeds usually feel hard and brittle but not crumbly. They lose their sticky or moist texture and can safely be stored without risk of mold.
Is it necessary to clean seeds before drying?
Yes, cleaning seeds of pulp, pods, or debris helps prevent mold growth and speeds drying. Leaving residue on seeds can trap moisture and cause spoilage.
Can all types of seeds be dried the same way?
Different seeds vary in moisture and sensitivity. Generally, air drying in cool, dry conditions works well, but some seeds may need special care based on size and origin.
How long can dried seeds be stored?
If properly dried and stored in cool, dry, airtight conditions, many seeds remain viable for 1 to 5 years, although longevity depends on seed type.
Key Takeaways
- Dry seeds by spreading them in a single layer in a cool, shaded, and ventilated space.
- Clean seeds thoroughly to remove moisture-retaining debris before drying.
- Avoid heat and direct sunlight to protect seed viability during drying.
- Store fully dried seeds in airtight containers in cool, dark places.
Conclusion
Knowing how to dry seeds properly is fundamental for gardeners and seed savers who want to maintain seed viability and ensure strong germination rates. By controlling moisture through gentle air drying and keeping seeds away from heat or direct light, you safeguard the seed’s biological integrity. This approach helps avoid common pitfalls like mold growth or seed deterioration, so you can rely on your seed stock for future planting seasons.
For reliable results, start by cleaning seeds thoroughly and then drying them on breathable surfaces indoors under stable temperature and humidity. Air drying works well for the majority of seed types, including large seeds like beans and smaller ones like lettuce. Using desiccants can accelerate drying when conditions are humid, but be cautious not to overdry. After drying, store seeds in labeled airtight containers placed in a refrigerator or cool cellar to extend shelf life.
The next step after learning how to dry seeds is to invest a little time into organizing and cataloging your saved seeds. This practice maximizes their longevity and your gardening success. Whether you’re preserving heirloom varieties or home garden staples, mastering gentle drying and storage gives you control and confidence for the next growing season. Try these methods with a small batch to start, then build your collection with confidence.