10 Steps to Grow Pumpkin Seeds Successfully
Growing your own pumpkin seeds can be incredibly rewarding, but many people struggle with getting a good harvest. If you’ve ever felt frustrated trying to grow pumpkins or unsure where to start, you’re not alone.
The good news is, with a little guidance, you can master the process and enjoy a bountiful pumpkin patch.
To grow pumpkin seeds successfully, start by choosing healthy, disease-resistant heirloom seeds from reputable sources.
Prepare your garden bed with compost and well-drained soil in a sunny location. Plant seeds 1-2 inches deep, spacing them 3-4 feet apart after the soil warms.
Water consistently, use organic fertilizers, and apply mulch to retain moisture.
Harvest when pumpkins turn deep in color and store seeds properly.
Keep learning to master each step for a bountiful pumpkin harvest.
Key Takeaways
- Select healthy, high-quality heirloom pumpkin seeds that have good germination rates and are resistant to diseases.
- Prepare well-drained, nutrient-rich soil with compost and organic matter, making sure it gets full sun.
- Plant seeds about 1-2 inches deep, spacing them 3-4 feet apart. Do this after the soil warms above 70°F and the danger of frost has passed.
- Water deeply and use mulch to keep the moisture in. Keep an eye out for pests and treat them organically if needed.
- When your pumpkins are fully ripe, harvest them. Then clean, cure, and store the seeds in a cool, dry place for next year’s planting.
How to Choose the Best Pumpkin Seeds for Growing
Choosing the right pumpkin seeds is key to a successful harvest. Start with heirloom varieties, which usually have richer flavors and adapt better to your local climate.
Look for reputable seed sources to ensure you’re getting quality and genuine seeds. Check germination rates to see how likely your seeds are to sprout reliably; higher rates mean better chances of success.
Think about disease resistance traits, especially if your area has common pumpkin illnesses. Pay attention to growth habits, whether you want sprawling vines or bush-type plants, so they fit your garden space.
Proper seed storage matters too. Keep seeds in a cool, dry place to maintain their viability. Climate adaptability is also important—choose seeds suited for your growing conditions to boost growth.
Finally, compare flavor profiles to pick seeds that will produce pumpkins you’ll love to eat. By considering these factors carefully, you’ll give yourself the best shot at a bountiful pumpkin harvest.
Preparing Your Garden Bed for Pumpkins
To give your pumpkin seeds the best start, it’s really important to prepare your garden bed carefully. First, focus on improving the soil quality—adding compost or organic matter can make a big difference. Make sure to pick a spot that gets plenty of sunlight throughout the day because pumpkins love the sun!
A well-prepared bed is like laying a solid foundation for your plants. When the soil is rich and well-drained, your pumpkin plants will have a much better shot at growing healthy and strong. So, take some time to get everything just right before you plant your seeds!
Soil Preparation Techniques
Preparing your garden bed is essential for healthy pumpkin growth. To set the stage, focus on improving soil fertility and structure. Use composting methods to add rich organic matter, making sure your soil is nutrient-dense.
Check the soil pH, aiming for a slightly acidic to neutral range of 6.0 to 7.0, and adjust it if needed. Loosen the soil to promote good drainage and help roots grow easily.
Remove weeds and debris to prevent them from competing for nutrients. Mix in compost or aged manure for extra nutrients and create a smooth, level surface for even seed placement.
Picture a freshly tilled bed with dark, crumbly soil, teeming with life and ready to nurture your pumpkin seeds from the start. Proper soil prep sets the foundation for a successful pumpkin harvest.
Optimal Planting Area
Once your soil is well-prepared with the right nutrients and structure, choosing the ideal planting area for pumpkins is key to helping them thrive. Pick a spot that gets full sunlight—at least 6 to 8 hours a day—to encourage healthy growth and fruit development.
Avoid shaded or low-light areas because pumpkins need plenty of sunlight to grow well. Think about planting near beans, corn, or marigolds; these companions can boost soil health and help keep pests away.
Make sure the area has good drainage and enough space for the sprawling vines, which can grow several feet. Clear the ground of weeds and debris before planting.
When Is the Best Time to Plant Pumpkin Seeds Outdoors?
Timing is key when planting pumpkin seeds outdoors because it affects how well they germinate and how much you’ll harvest. The best time to plant depends on your local climate and frost dates.
Plant pumpkin seeds outdoors after frost danger passes for optimal growth and harvest.
Ideally, wait until the danger of frost has passed and soil temperatures stay above 70°F.
For spring planting, choose a period when the soil has warmed up—usually a few weeks after the last frost. This helps prevent your pumpkin seeds from being stunted by cold soil or frost damage.
Picture planting on a warm, sunny day with moist, ready soil. You’ll want conditions like:
- Warm soil temperatures above 70°F
- No more frost in the forecast
- Clear, sunny spring days
- Soil moisture at its peak
- A stable, consistent climate
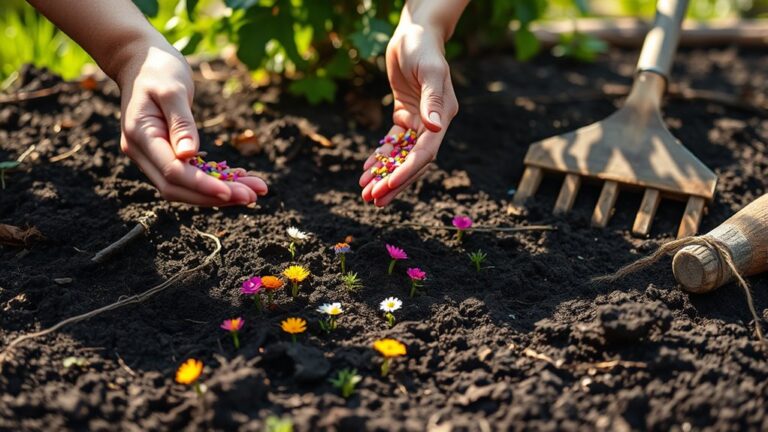
How to Plant Pumpkin Seeds for Healthy Growth
To guarantee your pumpkin seeds grow healthy and strong, plant them at the right depth and space them appropriately. Generally, planting seeds about 1 to 2 inches deep works well.
Make sure to space the seeds 3 to 4 feet apart, depending on the pumpkin variety, to give them room to spread out. Choosing the right pumpkin varieties suited to your climate and soil can also boost healthy growth.
Before planting, verify your seeds are properly stored in a cool, dry place to maintain viability. If you’ve kept seeds from previous seasons, check for mold or damage before planting.
Proper seed storage helps verify good germination rates and strong plants. When planting, loosen the soil and mix in organic matter to provide nutrients. Water the seeds immediately after planting to help them settle.
Follow these steps, and you’ll set a strong foundation for healthy pumpkin plants.
Watering and Fertilizing Tips for Pumpkins
Want your pumpkins to stay healthy and happy? The key is watering them just right—think deep, steady soaking rather than quick, shallow dabs. It’s all about giving them enough water without going overboard.
And don’t forget about fertilizing! Picking the right fertilizer and applying it at the right time can really give your pumpkins a boost. Just keep an eye out for signs of overwatering, like yellow leaves or mold. Spotting these early helps you keep your pumpkins growing strong from flowering all the way to harvest.
Optimal Watering Techniques
Ensuring proper watering is essential for healthy pumpkin growth. Consistent moisture helps develop strong roots and prevents stress. Use drip irrigation to deliver water directly to the soil, reducing evaporation and ensuring even moisture retention.
Water early in the morning so pumpkins have plenty of time to absorb moisture before it gets hot. Avoid overwatering, which can lead to root rot and disease. Keep the soil moist but not soggy, maintaining a steady supply of moisture.
Visualize your watering routine with these ideas: a gentle trickle of water seeping into the soil, soil staying slightly damp—not muddy, roots spreading out in moist earth, water droplets glistening on broad pumpkin leaves, and consistent moisture supporting steady growth.
This approach promotes healthy, vigorous pumpkins.
Fertilizer Types and Timing
Choosing the right fertilizers and applying them at the correct times can really boost your pumpkin plants’ growth and yield. Organic options like compost release nutrients gradually, helping plants develop healthily.
Slow release fertilizers give a steady supply of nutrients over time, so you don’t have to fertilize as often. Liquid nutrients are great during peak growth stages for quick absorption, especially when plants need a quick nutrient boost.
Timing is key—apply fertilizer when your plants are actively growing, like after transplanting or when they start flowering. Keep an eye on nutrient ratios to avoid imbalances that could slow down growth.
Signs of Overwatering
One common mistake gardeners make is overwatering pumpkin plants, which can quickly lead to problems. Signs of overwatering include drooping leaves that look limp and unhealthy, along with yellowing foliage that shows the plant is stressed.
Poor soil drainage causes excess water to stay around the roots, increasing the risk of root rot. This destructive condition kills roots and makes it hard for the plant to take up nutrients. You might also notice a soggy, spongy texture when digging around the plant’s base.
To prevent these issues, make sure your soil drains well and don’t water too often. Keep an eye out for these signs and adjust your watering schedule as needed. Overwatering can be just as harmful as drought, so finding the right balance is key.
Proper watering helps keep your pumpkin plants healthy and thriving.
How to Prevent and Manage Pests and Diseases
To keep your pumpkin plants healthy, it’s essential to prevent and manage pests and diseases early on. Start with pest identification so you can catch problems before they get worse.
Regularly inspect your plants for signs of insects or fungal infections, and act quickly if you notice anything unusual. Disease prevention also involves maintaining good soil health through proper drainage and avoiding overwatering.
Use organic treatments like neem oil or insecticidal soaps to control pests naturally. Crop rotation helps reduce soil-borne diseases and pests, while companion planting—such as marigolds—can help repel harmful insects.
Installing pest barriers can block pests from reaching your plants, and attracting natural predators like ladybugs helps manage aphids. Promoting a healthy environment through good soil care and crop diversity lowers the risk of disease.
Supporting Your Pumpkin Plants for Better Yields
Want to get the most out of your pumpkin plants? The key is to pay attention to how you water and what kind of soil you’re using. Keeping your pumpkins well-watered is super important—it helps them stay healthy and grow strong. And don’t forget about the soil; making sure it’s packed with nutrients gives your plants everything they need to thrive.
When you combine regular watering with rich, well-prepared soil, your pumpkins will develop sturdy vines and produce plenty of fruits. It’s all about giving your plants the right care so they can reach their full potential!
Proper Watering Techniques
Proper watering is essential for healthy pumpkin plants and maximizing yields. Consistent moisture prevents stress and encourages strong growth.
Use mulch benefits by applying a layer of straw or organic mulch around your plants to help retain soil moisture and regulate temperature. Drip irrigation is ideal, delivering water directly to the roots and reducing evaporation.
Water early in the morning so excess moisture can soak in and dry off during the day, which helps prevent disease. Keep the soil evenly moist but not waterlogged, as overwatering can cause root rot.
Regularly check soil moisture levels and adjust your watering schedule based on the weather. This way, your pumpkins will get the right amount of water for optimal growth and a bountiful harvest.
Nutrient-Rich Soil Preparation
Preparing your soil with the right nutrients sets the foundation for healthy pumpkin plants and higher yields. Incorporate compost benefits, such as improved soil structure and added nutrients, to give your pumpkins a strong start.
Use soil amendments like aged manure or organic matter to boost fertility and improve drainage. These amendments help create a nutrient-rich environment essential for robust growth.
Before planting, mix compost and soil amendments into the top 12 inches of soil for best results. Regularly testing your soil guarantees it maintains the proper pH and nutrient balance.
Here’s a quick guide:
| Soil Improvements | Benefits |
|---|---|
| Compost benefits | Adds nutrients and improves structure |
| Soil amendments | Increases fertility and drainage |
| Organic matter | Supports healthy root development |
| Regular testing | Maintains ideal soil conditions |
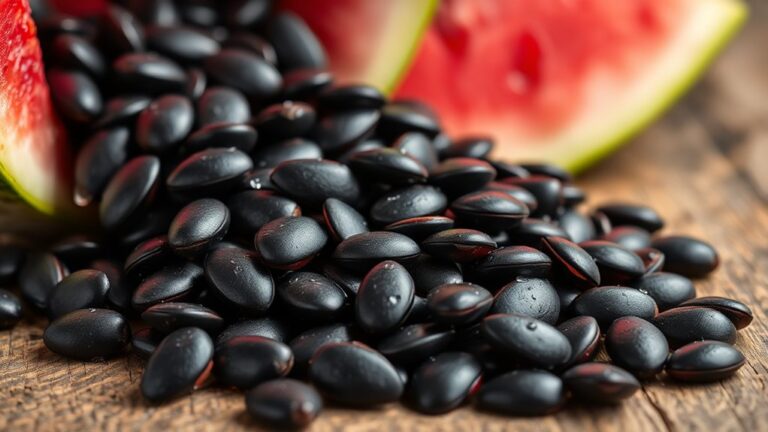
When and How to Harvest Your Pumpkins
Knowing exactly when and how to harvest your pumpkins guarantees they reach their full flavor and storage potential. To tell if your pumpkin is ready, look for key signs like a deep, uniform color, a hard rind that resists puncture, and a dry, brown stem.
Use proper harvesting techniques by carefully cutting the pumpkin from the vine with sharp scissors or pruning shears, leaving about 2-3 inches of stem intact. Timing is important; harvest when the pumpkin is fully mature, usually around 90-110 days after planting.
Visual cues like a matte surface instead of a shiny one can also indicate ripeness. Handle pumpkins gently to avoid bruising. Store them in a cool, dry place out of direct sunlight to keep them fresh.
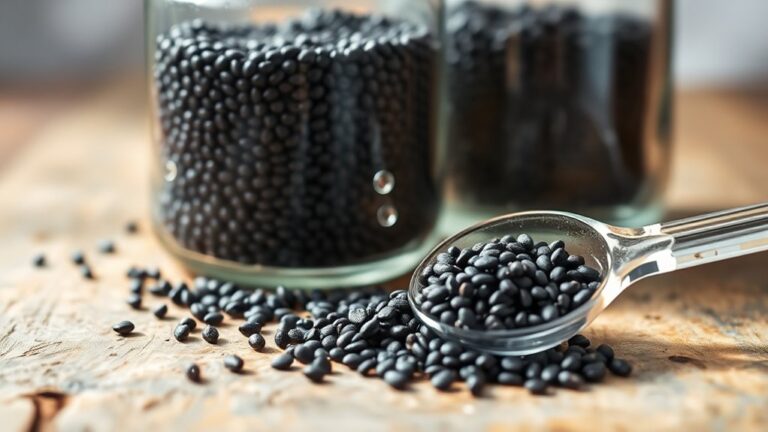
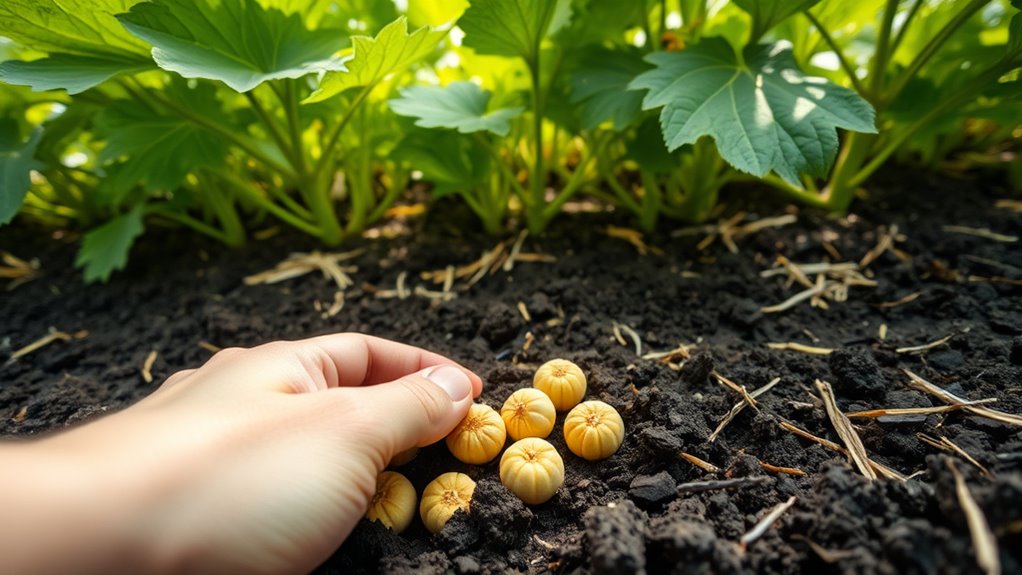
How to Save Pumpkin Seeds for Next Year
Saving pumpkin seeds for next year is easy and ensures you have healthy, viable seeds for planting. First, pick seeds from the best pumpkins—look for firm, mature, and damage-free ones. Choosing good seeds helps your plants grow strong and healthy.
After harvesting, clean the seeds well by removing any pulp. Then, dry them completely in a cool, well-ventilated spot. Once dry, store your seeds in an airtight container to keep moisture and pests out.
Use this table to help decide how to store your seeds:
| Storage Method | Container Type | Ideal Conditions |
|---|---|---|
| Airtight jar | Glass jar | Cool, dark, dry |
| Paper envelope | Paper envelope | Cool, dark, dry |
| Plastic bag | Sealable plastic bag | Cool, dark, dry |
| Seed packet | Commercial seed packet | Cool, dark, dry |
Following these steps will keep your seeds viable and ready for planting next season.
Troubleshooting Common Pumpkin Growing Problems
Even with careful seed saving and planting, pumpkin growers often face problems that can affect their crop’s health and yield. To troubleshoot, start by spotting pests early through pest identification. Look for chewed leaves, wilting vines, or tiny insects on your plants.
For disease prevention, make sure there’s good air circulation and avoid watering from above, which can cause fungal issues. Common problems include powdery mildew, wilt, and rot.
Visualize your pumpkin patch as you check for discolored or spotted leaves that might signal disease. Look for webbing or insects crawling on the vines. Also, watch for soft, rotting patches at the base of the plant.
Keep an eye out for wilting vines even if you’re watering properly. Check for unusual spots or holes in the fruit, which could indicate pests or disease.
If you find any issues, remove infected plants quickly. Applying organic pesticides or practicing crop rotation can also help. Staying vigilant now prevents bigger problems later and leads to healthier pumpkins and a successful harvest.
Frequently Asked Questions
What Are the Best Companion Plants for Pumpkins?
You should plant squash companions like beans and corn near your pumpkins, as they benefit each other’s growth. Marigolds act as pest deterrents, keeping harmful insects away. Nasturtiums attract beneficial insects that help control pests.
These companion plants create a healthy, balanced garden environment and boost your pumpkins’ yield. By choosing the right squash companions and pest deterrents, you set your pumpkins up for a successful, productive season.
How Long Does It Take for Pumpkin Seeds to Germinate?
Pumpkin seeds usually germinate within 7 to 14 days. To ensure successful sprouting, keep the soil consistently moist and avoid letting it dry out completely.
Maintain the temperature around 70-85°F (21-29°C), as warmth helps speed up the process. If conditions are just right, you’ll see sprouts emerge quickly.
Monitoring soil moisture and temperature is key to growing healthy seedlings. This way, you’ll enjoy a bountiful pumpkin harvest.
Can Pumpkin Seeds Be Grown Indoors Successfully?
Yes, you can grow pumpkin seeds successfully indoors with the right gardening techniques.
You’ll need a large container with good drainage, plenty of sunlight or grow lights, and warm temperatures. Keep the soil consistently moist and give your seedlings enough space to grow.
Make sure to check your plants regularly for pests and ensure they get enough light. With patience and care, your indoor pumpkin plants will thrive and produce healthy pumpkins.
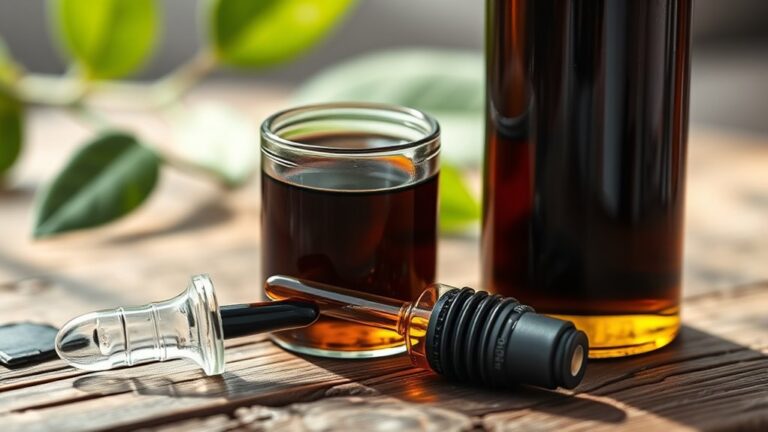
What Are Natural Methods to Improve Pumpkin Seed Germination?
Did you know soaking pumpkin seeds can increase germination rates by up to 20%? To improve germination naturally, start by soaking your seeds in water for 8-12 hours.
Make sure the soil temperature is warm, around 70-85°F, to promote healthy sprouting. This method helps break seed dormancy and boosts moisture absorption.
How Do I Identify Early Signs of Pumpkin Plant Diseases?
You can spot early signs of pumpkin plant diseases by checking your plants regularly. Keep an eye out for leaf discoloration, which can often point to fungal infections.
Look for spots, wilting, or strange patches on the leaves. Good air circulation and avoiding overhead watering help prevent these issues.
If you notice affected leaves, remove them quickly and consider using organic fungicides to keep your plants healthy and productive.
Conclusion
Growing pumpkins can be incredibly rewarding, especially when you see those vibrant fruits ripen. Did you know that pumpkins are one of the fastest-growing vegetables, sometimes reaching maturity in just 90 to 120 days?
By following these simple steps, you’ll boost your chances of a bountiful harvest. With a little patience and care, you can enjoy delicious pumpkins and save seeds for next year’s planting.
Growing pumpkins successfully ensures your garden remains fruitful season after season, making it all worth the effort.