7 Simple Steps to Plant Watermelon Seeds Successfully
Growing your own watermelons can be incredibly rewarding, but many people struggle with getting the seeds to sprout and flourish. If you’re feeling frustrated by unsuccessful attempts or unsure where to start, you’re not alone.
With a few simple steps, you can turn your garden into a watermelon paradise.
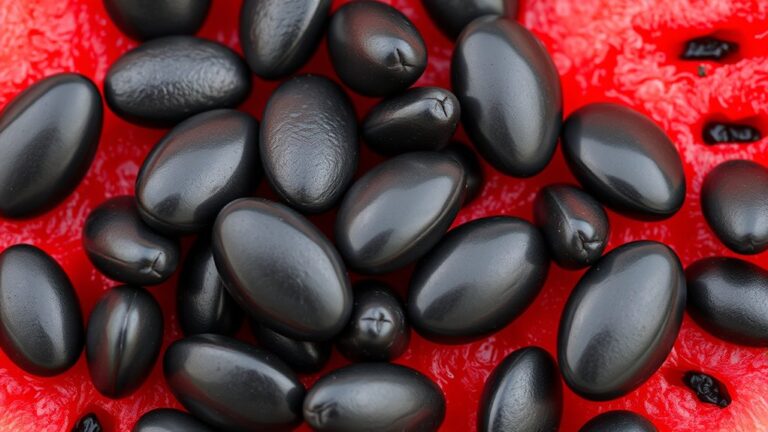
To plant watermelon seeds successfully, start by choosing healthy, high-germination seeds suited to your needs.
Prepare your soil by testing pH, adding compost, and ensuring good drainage. Plant when soil reaches at least 70°F, creating mounds spaced 3-4 feet apart with 2-3 seeds per hole.
Water consistently, mulch to retain moisture, and support vines as they grow.
For more tips on harvesting and caring for your watermelons, keep exploring these simple steps.
Key Takeaways
- Choose healthy, mature seeds with high germination rates and store them in a cool, dry place before planting.
- Prepare well-draining, slightly acidic to neutral soil (pH 6.0-7.0) by testing it and adding organic matter like compost.
- Plant seeds when the soil temperature reaches at least 70°F. Space rows 3-4 feet apart on mounds or hills.
- Water consistently using drip irrigation or soaker hoses, and mulch to keep moisture in and control soil temperature.
- Harvest melons when tendrils turn brown, the underside becomes yellow, and tapping produces a hollow sound for the best flavor.
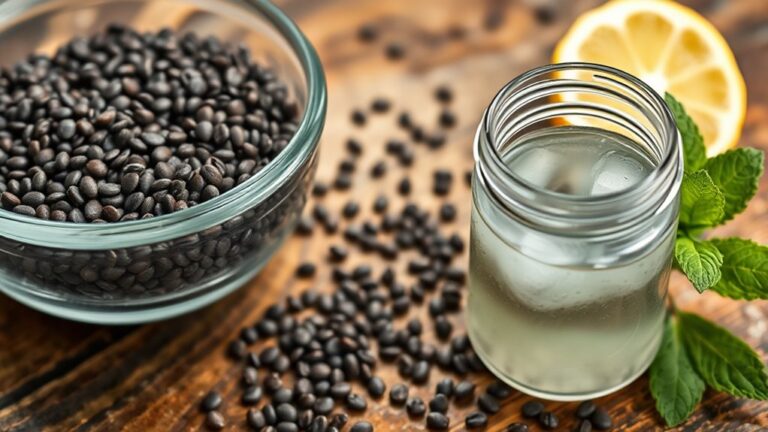
How to Choose the Best Watermelon Seeds for Your Garden
Wondering how to select the best watermelon seeds for your garden? Start by exploring different seed varieties to find ones suited to your needs. Heirloom options often deliver richer flavor profiles and unique textures, making them a great choice if taste matters most.
Check for disease resistance to make sure your plants stay healthy and productive throughout the season. Understanding growth habits helps you pick seeds that fit your space—whether you want vining types or bush varieties.
Pay attention to germination rates; higher rates mean more successful sprouting. Always buy seeds from reputable suppliers to guarantee quality.
Consider your climate’s suitability and choose seeds bred for your local conditions to boost success. By carefully evaluating these factors, you’ll pick watermelon seeds that thrive in your garden, produce delicious fruit, and fit your growing environment perfectly.
Preparing Your Soil for Watermelon Plants
Preparing your soil properly is crucial for healthy watermelon plants and bountiful harvests. Start by testing your soil’s pH, aiming for a neutral range of 6.0 to 7.0, and make adjustments with soil amendments if needed.
Incorporate organic matter like compost to improve soil structure and nutrient content, which supports healthy growth. Use good drainage techniques to prevent waterlogging, as watermelons dislike overly wet roots.
Consider companion planting with crops like corn or radishes to naturally repel pests and boost growth. Mulching with straw or shredded leaves helps conserve moisture, suppress weeds, and regulate soil temperature.
Aim for a balanced nutrient mix by adding fertilizers rich in nitrogen, phosphorus, and potassium, based on your soil test results. Regular testing helps you maintain ideal conditions and guides necessary adjustments.
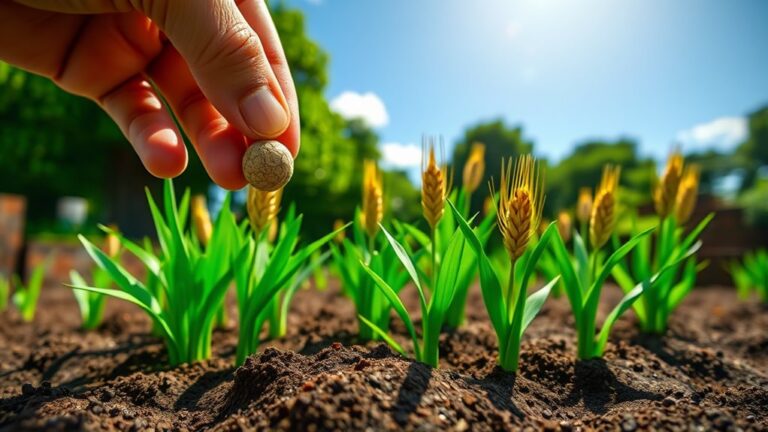
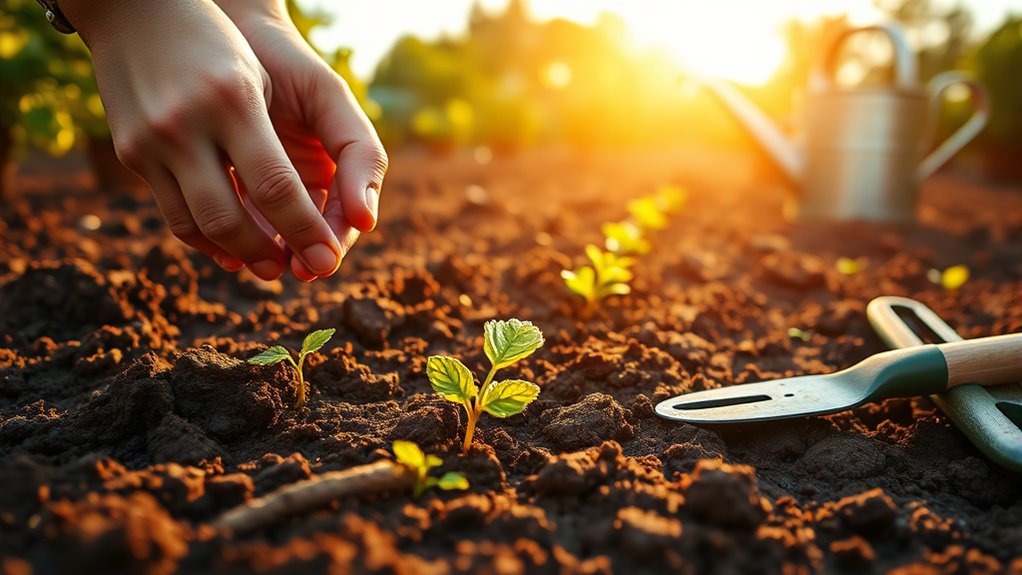
When and How to Plant Watermelon Seeds
Timing your planting is key to making sure your watermelon seeds thrive. You should plant them when the soil has warmed to at least 70°F, which gives the best conditions for seed germination. The ideal time is usually late spring or early summer, after any danger of frost has passed.
To plant, create mounds or hills about 3 to 4 feet apart. Dig shallow holes around 1 inch deep, then place 2 to 3 seeds in each hole. Cover them lightly with soil and water the area gently but thoroughly.
Getting the timing right and ensuring the soil is warm helps your seeds germinate faster and grow stronger seedlings. Avoid planting too early, as cold soil can slow germination, or too late, which might cut into your harvest time.
Tips for Watering and Caring for Watermelon Plants
Watermelon plants need consistent watering to develop healthy, juicy fruit. Proper watering guarantees strong growth and prevents stresses that can affect fruit quality. Use effective watermelon irrigation techniques, like deep watering at the base, to encourage deep root development. Adjust your watering schedule seasonally, giving more water during hot, dry periods and less when it’s cooler or wetter.
Here are some key tips:
- Water early in the morning to reduce evaporation and fungal problems.
- Keep about 1-2 inches of water weekly, depending on rainfall.
- Use drip irrigation or soaker hoses for even, targeted watering.
- Mulch around plants to help retain soil moisture and keep temperatures steady.
Following these seasonal care tips will help your watermelon plants thrive. Consistent watering promotes healthy vines and sweet fruit, while avoiding overwatering prevents root rot. Stay attentive to your plants’ needs, and you’ll be rewarded with a bountiful harvest.
Supporting Your Watermelon Vines for Better Fruit Development
If you want your watermelon vines to produce better fruit, supporting them properly is key. Using sturdy support structures helps keep the vines off the ground, which can prevent damage and reduce the risk of rot or pests. It also makes it easier for the fruits to grow straight and healthy.
And don’t forget about the soil! Planting your watermelons in nutrient-rich soil gives them all the essential nutrients they need to grow strong and produce juicy, delicious melons. With the right support and good soil, your watermelons will be on their way to a great harvest!
Proper Support Structures
Supporting your watermelon vines with proper structures is essential for healthy growth and better fruit development. Using trellis options helps keep vines off the ground, which reduces diseases and makes harvesting easier.
When practicing vine training, guide the tendrils and stems to grow along supports. This encourages better airflow and sun exposure. Here are some key steps to get started:
- Choose the right trellis material—wood, wire, or plastic—based on your space and budget.
- Install the support structure early to avoid damaging tender vines.
- Train the vines by gently tying them to the trellis, making sure they don’t get tangled.
- Regularly check and adjust ties to support growth without constricting stems.
Proper support structures promote stronger vines and larger, healthier fruits.
Nutrient-Rich Soil Conditions
A well-prepared soil rich in nutrients sets the foundation for healthy watermelon vines and larger, sweeter fruits. To optimize growth, focus on soil pH and organic matter.
Watermelons thrive in slightly acidic to neutral soil, with a pH between 6.0 and 7.0. Testing your soil regularly helps keep it within this range.
Adding organic matter like compost improves soil structure, retains moisture, and supplies essential nutrients. Incorporate compost into your soil before planting.
For the best results, ensure your soil has balanced nutrients by using organic fertilizers. Good drainage is also important—make sure excess water can flow away easily.
Aim for a loamy soil texture by mixing sand and silt. Maintaining these conditions helps your watermelon vines flourish and produce sweeter, larger fruits.
Common Watermelon Diseases and Pests (and How to Manage Them)
Watermelon plants can face a variety of diseases and pests that might really hurt your harvest if you don’t act quickly. Spotting problems early through disease signs is key to catching issues early.
Pests like aphids and cucumber beetles can threaten your crop and need prompt pest control. To keep your watermelons healthy, focus on these simple steps:
- Check your plants regularly for spots, wilting, or strange growths.
- Use organic or chemical methods to control pests like aphids and beetles.
- Remove any infected plant parts to stop the disease from spreading.
- Keep proper spacing and airflow around your plants to reduce humidity and prevent fungal infections.
How to Harvest and Enjoy Your Homegrown Watermelons
When your watermelon is ripe, you’ll notice a few signs. The tendril next to the fruit will turn brown, and the underside of the melon will start to develop a yellowish hue. These little clues can help you pick the perfect time to harvest.
Once you’ve harvested your watermelon, it’s best to store it in a cool, dry place. That way, it stays fresh and delicious for longer. When you’re ready to enjoy it, you can cut it into slices, toss it into salads, or blend it into refreshing drinks. Feel free to get creative with how you serve it—there are so many tasty ways to enjoy your homegrown watermelon!
Harvest Timing Tips
Wondering how to know when your watermelons are perfectly ripe? The key is to look for certain signs that tell you it’s harvest time.
First, check the spot where the watermelon touches the ground. It should change from white to a creamy yellow, indicating ripeness.
Next, give the melon a gentle tap. A deep, hollow sound usually means it’s ready to pick.
Then, look at the tendril nearest to the fruit. If it turns brown and dries out, that’s a good sign.
Finally, observe the skin’s sheen. Ripe watermelons often have a dull appearance rather than a shiny one.
When these signs all line up, it’s time to harvest. This way, you’ll enjoy the sweetest, juiciest watermelon at its peak.
Proper Watermelon Storage
Once you’ve harvested your watermelons at peak ripeness, proper storage is key to enjoying their fresh flavor for longer. Start by choosing healthy, mature fruits that are free of bruises or cracks for future planting.
For storage, keep the watermelons in a cool, dry place with good ventilation, ideally between 50-60°F. If you’re storing slices, wrap them tightly in plastic wrap or use airtight containers to prevent spoilage.
Be sure to watch for signs of over-ripening, like soft spots or a sour smell. Good seed selection and proper storage help preserve quality, so your homegrown watermelons stay delicious for days or even weeks after harvest.
Delicious Serving Ideas
After harvesting your homegrown watermelons, you can enjoy them in a variety of delicious ways that highlight their sweet, juicy flavor. Try these ideas to make the most of your harvest:
- Slice it up for cool, revitalizing snacks perfect for hot days.
- Make vibrant watermelon salads with feta, mint, and a drizzle of balsamic.
- Infuse water with watermelon chunks for a naturally sweet, hydrating drink.
- Freeze chunks to create homemade watermelon popsicles or smoothies.
These options celebrate the fruit’s natural sweetness and versatility, making your harvest truly special. Whether you’re serving salads or infused water, your homegrown watermelons become the star of every meal or refreshment. Enjoy the sweet satisfaction of your gardening efforts with these tasty ideas!
Frequently Asked Questions
How Deep Should I Plant Watermelon Seeds?
You should plant watermelon seeds about 1 to 2 inches deep, following proper seed depth guidelines for ideal growth. Use effective planting techniques by loosening the soil and placing the seeds horizontally, then cover them lightly with soil.
Keep the area moist and warm, making sure it drains well. This depth helps the seeds sprout easily without being too shallow or too deep, giving your watermelon plants the best start.
What Is the Ideal Spacing Between Watermelon Plants?
You should space watermelon plants about 3 to 5 feet apart to give them room to grow and prevent overcrowding. Proper soil preparation is essential, so make sure your soil is well-drained and fertile.
During growth, keep an eye out for pests and practice pest control to protect your plants. Adequate spacing helps improve air circulation, which reduces disease risks.
Plus, better airflow makes it easier to manage pest control effectively, keeping your watermelon plants healthy and thriving.
Can I Grow Watermelons in Containers?
Yes, you can grow watermelons in containers! About 80% of gardeners have success with this by choosing the right containers like large pots or grow bags.
Make sure to water regularly—about once every 2 to 3 days—as watermelons need consistent moisture to do well. Use well-draining soil and place the containers in full sun.
With these tips, you’ll be able to enjoy sweet, juicy melons right from your balcony or patio.
How Long Does It Take for Watermelons to Mature?
Watermelons typically take about 80 to 100 days to mature, depending on the variety and growing conditions. Faster-maturing types might be ready in around 70 days, while larger ones can take longer.
To ensure they ripen on time, choose watermelon varieties suited to your climate. Providing plenty of sunlight, well-drained soil, and consistent watering helps too.
Proper care helps your watermelons reach maturity faster and develop sweet, juicy fruit.
What Are Natural Methods to Improve Watermelon Flavor?
Imagine biting into a juicy, flavorful watermelon grown with care. To naturally improve its flavor, use organic fertilizers rich in potassium and phosphorus, which boost sweetness.
Companion planting with herbs like basil or marigolds helps repel pests and improves soil health, leading to tastier melons. These simple methods create a thriving environment.
Conclusion
With these simple steps, you’re planting the seeds of summer’s sweetest reward. Watch your watermelon vines dance under the sun, bursting with juicy promise.
As you nurture each plant, you’re creating a symphony of growth and flavor, turning your garden into a lush oasis.
Soon, your homegrown watermelons will be ripe and ready to burst with sweetness—nature’s treasure tucked right in your backyard.
Happy gardening and even happier eating!