How to Test Seed Germination: A Step-by-Step Guide for Gardeners
Testing seed germination is a simple process to find out how many seeds in a batch will sprout before planting. By placing a sample of seeds on a damp paper towel and keeping them warm, you can check how many successfully begin to grow within a specific time frame, usually about a week or two. This quick test helps you decide whether to sow all your seeds or buy new ones.
Understanding seed germination rates helps gardeners save time and resources by avoiding planting seeds with low viability. Since some seeds may lose their ability to sprout after storage or due to poor conditions, testing can reveal how fresh and potent a seed batch is. This insight is especially valuable for rare or expensive seeds, allowing you to optimize your garden’s productive potential.
This article will explain how to perform a seed viability test in detail, list the materials you need, and describe best practices for interpreting the results. We will also cover factors that affect germination rates and recommend tips to improve germination success.
Materials Needed for Seed Germination Testing
Choosing the Right Seeds for Testing
Select a representative sample of seeds from your batch to get an accurate estimate of overall germination. Typically, testing 10 to 20 seeds provides meaningful results without consuming too many seeds, especially if they’re rare or expensive.
Avoid seeds that appear damaged, shriveled, or discolored, as these typically have lower germination potential and may skew your test results. Using fresh, well-stored seeds ensures a reliable viability test.
Gathering Essential Materials
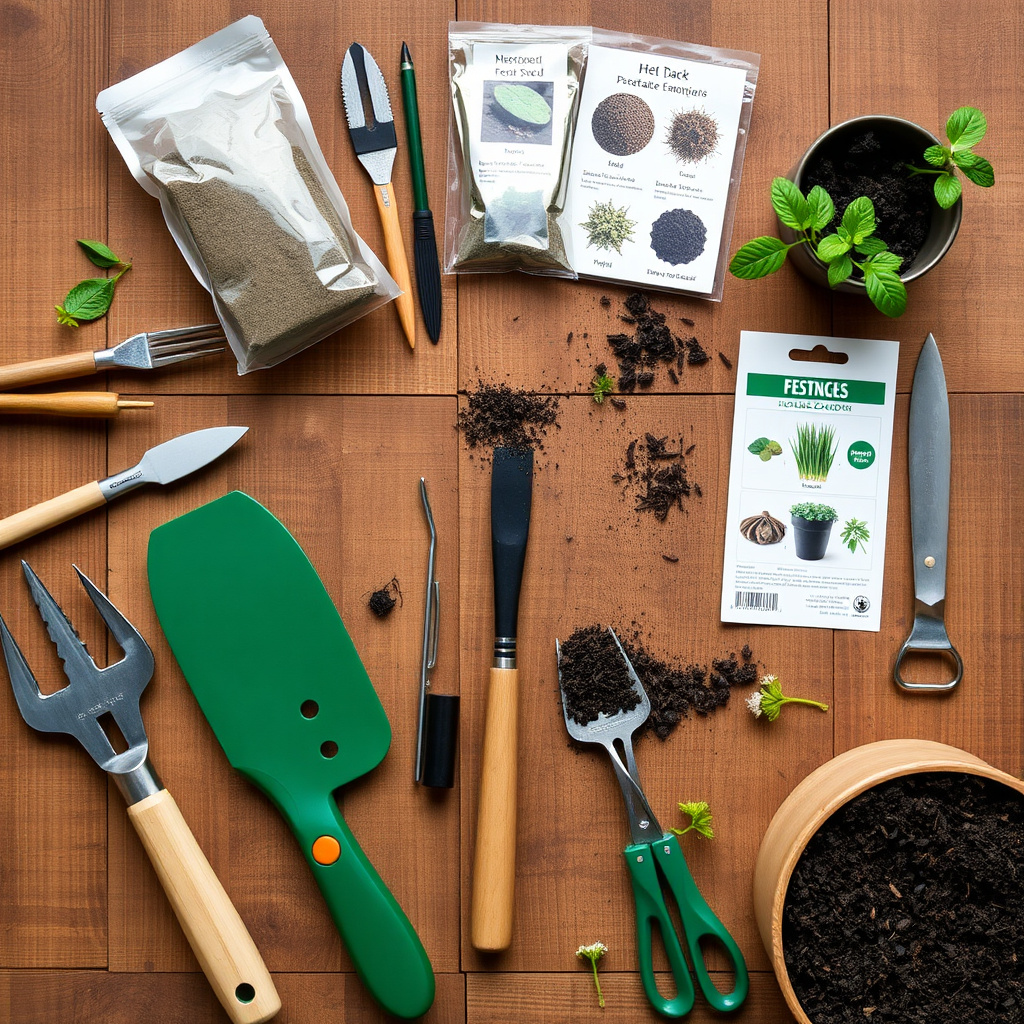
You’ll need paper towels or coffee filters, a resealable plastic bag or container to maintain moisture, water, and a warm spot with consistent temperature for the seeds to germinate. A thermometer can help monitor temperature but is not mandatory.
Ensure the paper towel is damp but not soaking wet, as too much water can cause mold growth. Using clean materials and distilled water reduces the chance of contamination.
- Paper towels or coffee filters
- Resealable plastic bags or containers
- Clean water
- Thermometer (optional)
Step-by-Step Procedure to Test Seed Germination
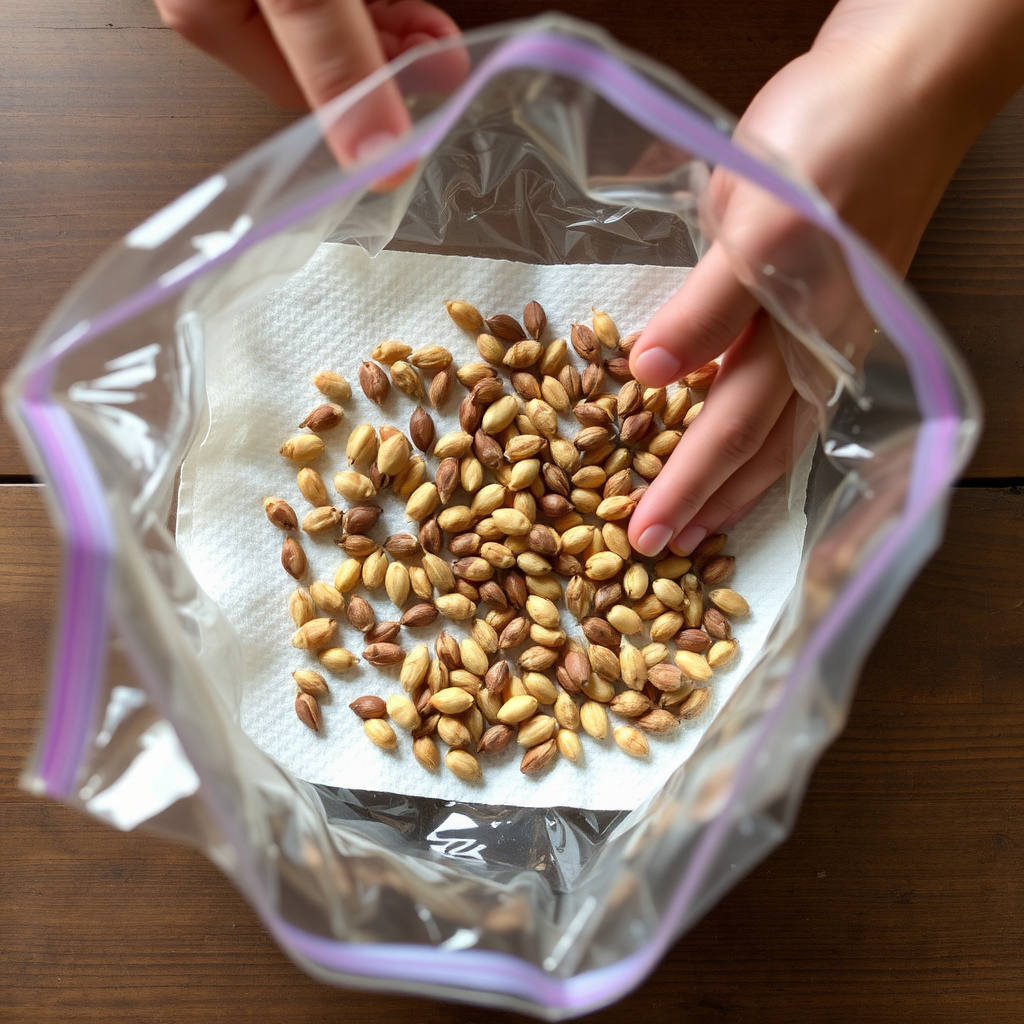
Preparing the Seeds and Setup
Lay a damp paper towel flat and evenly space the selected seeds across its surface to prevent them from overlapping. Fold the towel gently to cover the seeds, then place it inside a resealable plastic bag to maintain humidity.
Label the bag with the seed variety and date for easy reference. Avoid sealing the bag completely airtight; a slight vent allows airflow, which reduces mold risk while keeping moisture.
- Place seeds evenly on damp towel
- Fold towel to cover seeds
- Insert into plastic bag
- Label with seed type and date
- Leave slight vent for airflow
Monitoring and Recording Results
Place the bag in a warm, consistent environment, ideally between 65 and 75°F (18–24°C). Check daily for sprouting and moisture; if the towel dries out, lightly mist it with water.
After 7 to 14 days, count how many seeds have germinated by observing visible roots or shoots. Record the number to calculate the germination percentage, which indicates seed viability.
- Keep in warm place (65–75°F)
- Check daily for moisture and sprouts
- Mist towel if needed
- Count germinated seeds after 1-2 weeks
- Record results for viability calculation
Interpreting Germination Test Results
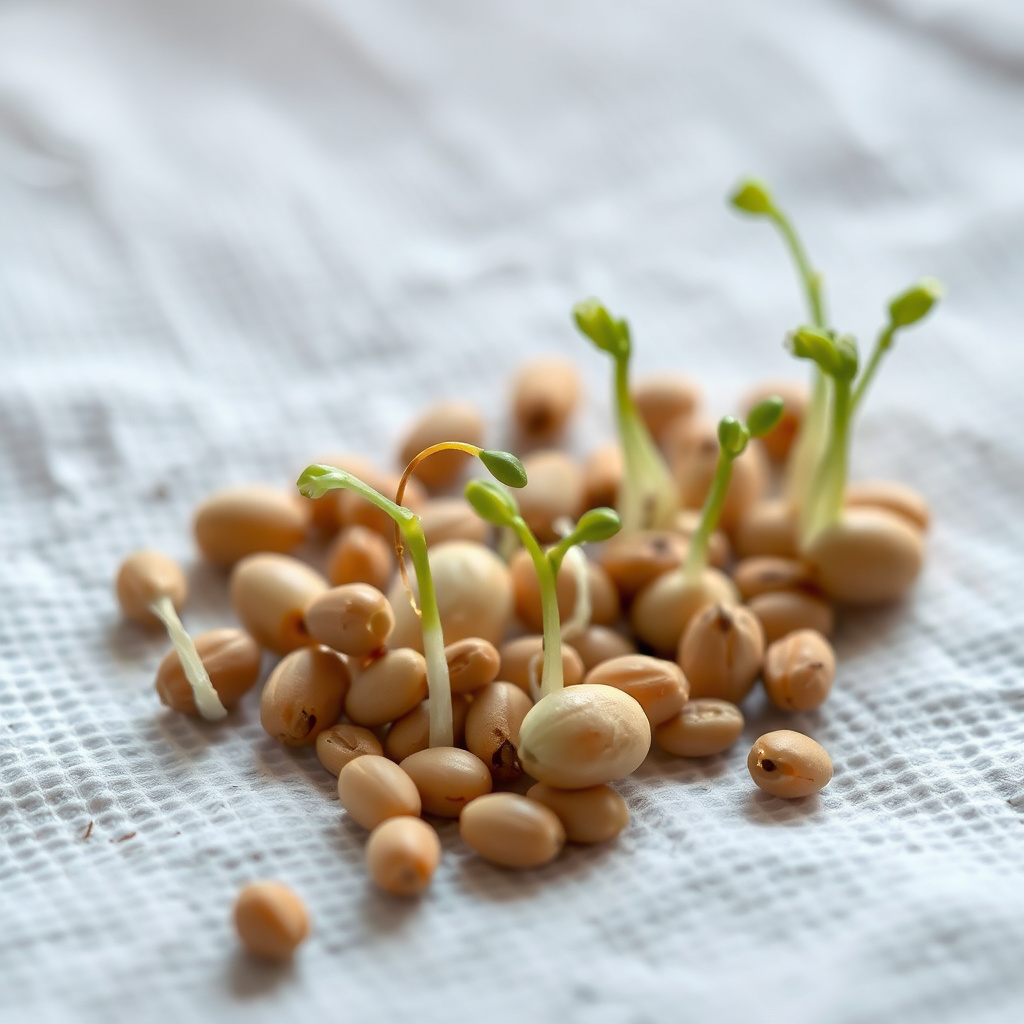
Calculating the Germination Percentage
Divide the number of seeds that sprouted by the total number tested, then multiply by 100 to get a percentage representing germination rate. For example, if 15 of 20 seeds sprouted, the germination rate is 75%.
This percentage helps determine if the seed batch is viable enough to plant as is, or if it requires purchasing fresher seeds or sowing extra to compensate for poor germination.
For more on this, see our related guide: How to Compare Seed Varieties for Successful Gardening.
Understanding What the Results Mean
A high germination percentage (above 85%) indicates healthy seed viability, while rates below 50% suggest the seeds may be too old or improperly stored. Low viability seeds might still produce some plants but require more seeds sown to achieve desired crop density.
Knowing seed viability allows gardeners to plan planting strategies effectively and avoid wasted space, time, and expense.
Factors Affecting Seed Germination and Viability

Impact of Storage Conditions
Seeds stored in cool, dry, and dark environments maintain viability longer compared to those exposed to heat, moisture, or sunlight. Improper storage accelerates seed aging and reduces germination rates.
Often, seed packets include storage recommendations; following these tips helps prolong seed life and improves the accuracy of germination tests.
Seed Age and Type Influence
Some seed varieties naturally have shorter viability periods than others; for example, carrot seeds may last only 2–3 years, while tomato seeds can remain viable for over 5 years when stored well.
Older seeds often require longer germination times or special pre-treatment like scarification or soaking to improve viability test results.
Improving Germination for Low Viability Seeds

Pre-Soaking and Scarification Techniques
Soaking seeds in lukewarm water for several hours softens seed coats, helping some hard-coated seeds absorb moisture and sprout more readily. Scarification involves lightly nicking or sanding seed surfaces to break dormancy.
These techniques can boost germination rates, especially for older seeds or those with naturally tough seed coats.
- Soak seeds in water 6-12 hours
- Use sandpaper to gently scarify hard seeds
- Avoid damaging the embryo inside
For more on this, see our related guide: How to Read a Seed Catalog: A Complete Guide for Gardeners.
Optimizing Temperature and Moisture
Maintaining a consistent warm temperature and even moisture encourages reliable germination. A heat mat can provide steady warmth, while misting keeps paper towels damp but not soaked.
Regularly monitoring and adjusting conditions during the seed viability test leads to more accurate germination results.
Practical Tips for Conducting Seed Germination Tests
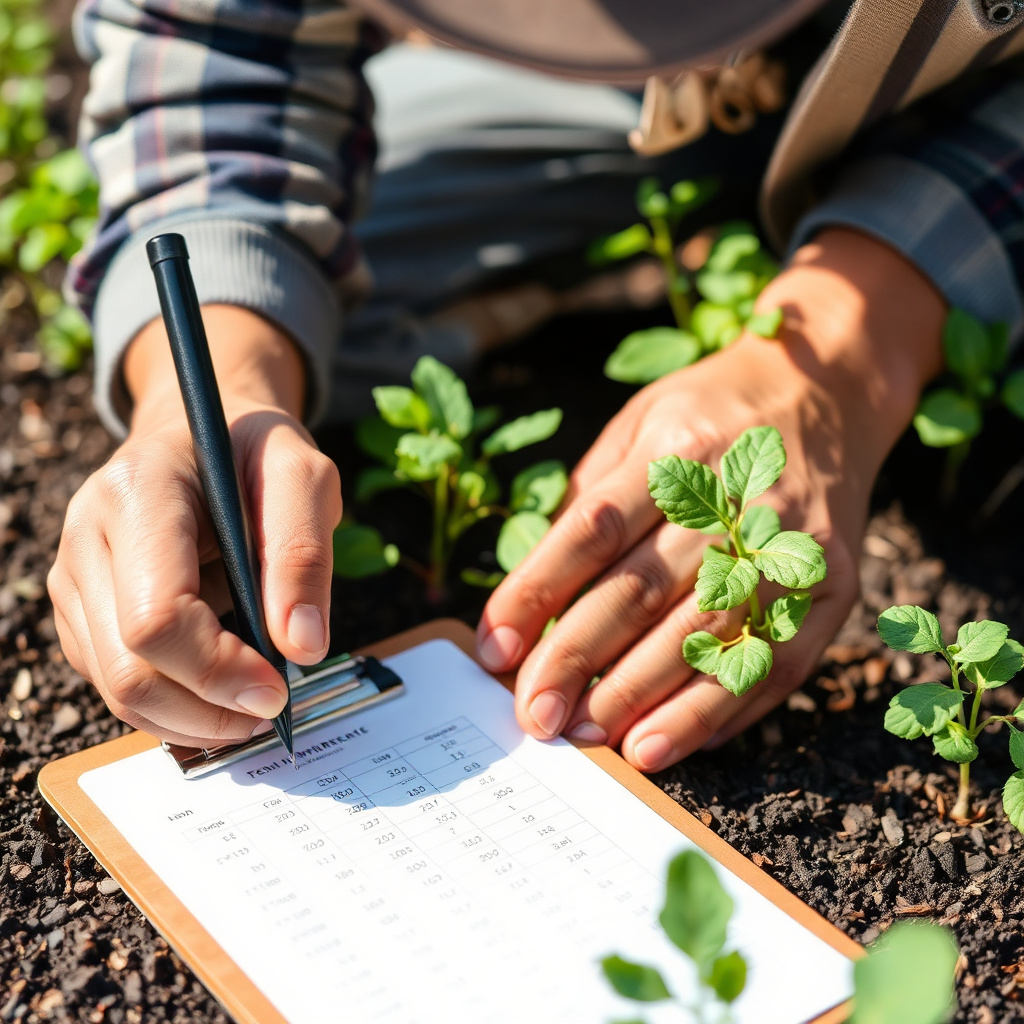
Avoiding Common Mistakes
Do not overcrowd seeds on the paper towel, as this restricts airflow and can lead to mold or false negatives in germination. Also, avoid overwatering, which promotes fungal growth, and under-watering, which dries out seeds.
Using clean materials and labeling tests clearly prevents confusion and improves reliability.
For more detailed scientific background on seed germination processes, visit the Seed germination overview on Wikipedia. Seed germination overview on Wikipedia.
Using Germination Tests for Garden Planning
Germination tests enable gardeners to estimate how many seeds to plant to reach desired plant numbers, reducing waste. When viability is low, sowing extra seeds or investing in fresher seed batches helps achieve robust crop stands.
Regularly testing seeds before planting seasons prepares you for gardening success and harvest predictability.
Seed Germination Testing Methods Compared
Here’s a comparison of common seed viability test methods, highlighting ease, accuracy, and materials needed.
| Method | Accuracy | Time Needed | Materials Required |
|---|---|---|---|
| Paper Towel Test | High | 7-14 days | Paper towels, plastic bag, water |
| Soil Test | Medium | 10-21 days | Soil, pots, water |
| Sand Germination Test | High | 7-14 days | Clean sand, trays, water |
| Germination Chamber Test | Very High | 7-10 days | Controlled chamber equipment |
| Tetrazolium Test | Very High | 1-2 days | Chemical reagents, lab setup |
Frequently Asked Questions
How many seeds should I test to get accurate germination results?
Testing 10 to 20 seeds usually provides a good indication of the entire batch’s viability without using excessive seeds, especially for valuable or rare varieties.
Can I reuse seeds that didn’t sprout in the germination test?
Usually, seeds that don’t germinate during testing have lower viability and are unlikely to sprout when planted. However, you might try special treatments like soaking or scarification before planting.
What is the best temperature for seed germination tests?
A consistent warm temperature between 65°F and 75°F (18–24°C) is ideal for most seeds to germinate effectively during viability testing.
How long should I wait to see if seeds will germinate?
Most seeds show signs of germination within 7 to 14 days during testing, but some varieties may require longer or special treatments.
Is the paper towel method better than planting seeds in soil for testing?
The paper towel method provides faster and clearer results since it’s easier to monitor sprouting without soil’s obscuring factors, making it the preferred seed viability test for most gardeners.
Key Takeaways
- Test seed germination by placing seeds on damp paper towels in a warm area.
- Calculate germination percentage to estimate seed viability and plan planting.
- Proper storage and handling significantly affect seed germination rates.
- Special treatments like soaking can improve germination for older seeds.
Conclusion
Testing seed germination provides gardeners with valuable information about the viability of their seeds before starting a crop. By conducting a simple, controlled test, you can avoid planting seeds that have little chance of sprouting, saving time, space, and effort in your garden. The germination test is a practical, accessible step that helps improve the reliability of your planting plans through straightforward observation and calculation of germination percentages.
For those working with diverse or older seed collections, the seed viability test is essential. Methods such as the paper towel germination test offer a balance of ease and accuracy. When low germination rates emerge, complementing this knowledge with pre-treatment techniques like seed soaking or scarification can help increase sprouting success. Selecting seeds with high viability or planning to sow extra seeds ensures healthy plant populations and bountiful harvests.
Your next step should be setting up a germination test for any seed batches you plan to use soon. Gather simple materials like paper towels and plastic bags, allocate a warm spot, and track results carefully. This low-effort process gives a clear picture of seed health and guides more confident gardening decisions, turning seed packets into flourishing plants.