How Do You Make Delicious Baked Pumpkin Seeds?
Looking for a way to turn pumpkin seeds into a tasty, crispy snack? You’re not alone — many people struggle with getting that perfect crunch and flavor.
Luckily, making delicious baked pumpkin seeds at home is simple and rewarding.
To make delicious baked pumpkin seeds, start by scooping, cleaning, and thoroughly drying the seeds to guarantee they stay crispy.
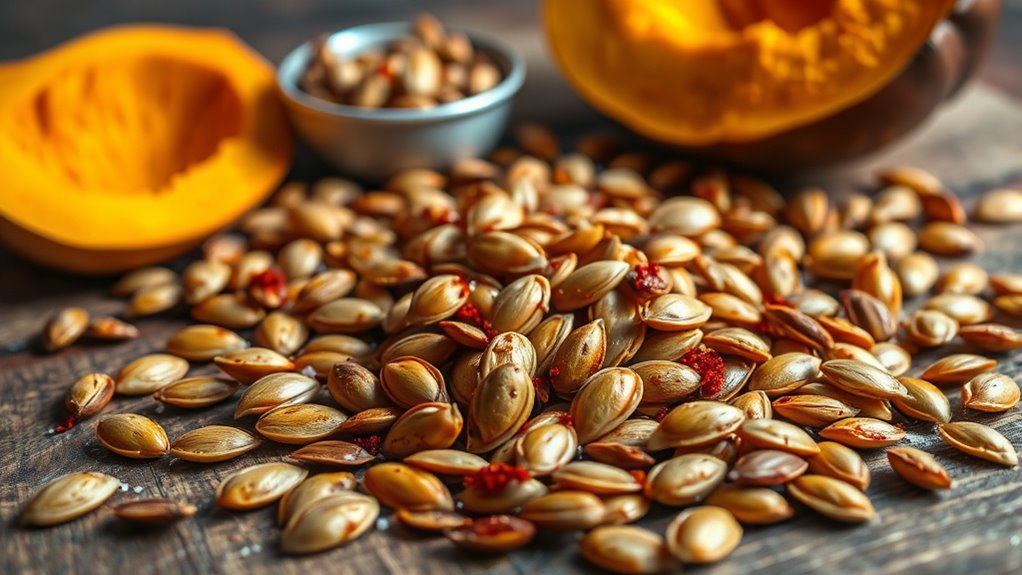
Toss them with your favorite seasonings, like salt, spices, or sweet options, then spread them evenly on a baking sheet.
Bake at 300°F to 350°F for 15-20 minutes, stirring occasionally until golden.
Let them cool completely before enjoying.
If you want to perfect your technique, keep exploring tips for flavoring and storage.
Key Takeaways
- Carefully scoop, clean, and dry pumpkin seeds to make sure they’re free of pulp and moisture. This helps them turn out crispy and delicious.
- Toss the seeds with your favorite seasonings so they’re evenly coated. That way, each bite gets a balanced burst of flavor.
- Bake at 300°F to 350°F for 15-20 minutes. Stir them occasionally until they’re golden brown and crunchy.
- Feel free to experiment with different flavors—sweet, savory, or spicy—to find your perfect combination.
- Once baked, let the seeds cool completely. Store them in airtight containers in a cool, dark place to keep them fresh and crunchy.
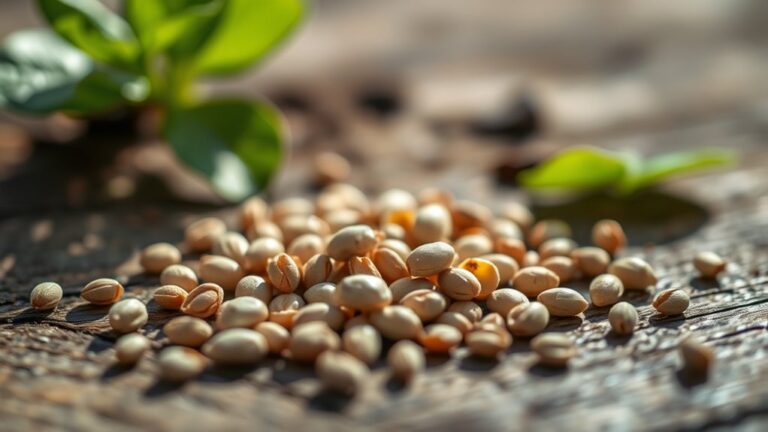
Gather and Prepare Your Pumpkin Seeds for Baking
Gather your pumpkin seeds by carefully scooping them out from the pumpkin’s cavity. Starting with a fresh, firm pumpkin helps ensure the seeds will taste better. Use gentle carving techniques to avoid damaging the seeds or bringing in unwanted debris.
As you remove the seeds, separate them from the stringy pulp and put them into a bowl of water. This makes it easier to clean off any leftover pumpkin flesh. Be gentle so you don’t break the seeds or damage their shells.
Once you’ve collected all the seeds, rinse them thoroughly to wash away any remaining pulp and fibers. Good seed sourcing and careful carving set the stage for delicious baked pumpkin seeds.
Rinse seeds thoroughly to remove pulp, ensuring crispy, delicious baked pumpkin seeds.
Pay attention to detail when preparing the seeds. This helps them bake evenly and develop that perfect crispy texture. With your seeds ready, you’re all set to create a tasty, homemade snack.
Clean and Dry Pumpkin Seeds for Crispy Results
To get those pumpkin seeds nice and crispy when you bake them, it’s really important to get rid of any extra moisture. Just take some paper towels and gently pat the seeds dry. Make sure they’re thoroughly dry before you move on. This little step makes a big difference and helps you get that perfect crunch in every bite!
Remove Excess Moisture
Before you start roasting, it’s essential to remove excess moisture from the pumpkin seeds. Techniques like spreading the seeds on a clean towel or paper towels help absorb surface water.
You can also gently pat them dry with a towel or use a salad spinner to quickly remove excess moisture. Proper drying ensures the seeds are as dry as possible, which is key for crispy baked results.
Avoid leaving moisture on the seeds, as wetness can lead to sogginess or uneven roasting. Make sure to give the seeds enough time to dry thoroughly before seasoning and baking.
Removing excess moisture sets the stage for crispy, delicious pumpkin seeds that are perfectly toasted and flavorful.
Ensure Thorough Drying
Ensuring thorough drying is key to getting crispy pumpkin seeds. Any leftover moisture can make them soggy or unevenly roasted.
To control moisture well, spread the seeds in a single layer on a towel or baking sheet. Let them air dry for several hours or overnight so all surface moisture evaporates.
Patting the seeds dry with a clean cloth or paper towels before baking helps remove extra water. Proper moisture control stops steam from forming during roasting, making your seeds crunchier.
Don’t rush this step—tiny amounts of moisture can ruin the texture. Taking the time to dry your seeds thoroughly will give you a crisp, satisfying snack once baked.
Use Paper Towels
Using paper towels is a great way to make sure your pumpkin seeds are completely dry before roasting. This simple step helps improve your drying process and results in crispier seeds.
Start by spreading the seeds on a clean paper towel and gently patting them dry. Press and blot to remove excess moisture, but avoid rubbing vigorously, which can hurt the seeds.
Once most of the moisture is gone, flip the seeds over and repeat if needed. Proper drying helps the seeds roast evenly and become crunchier.
If your seeds are especially wet, let them sit on a paper towel for a few minutes or use more towels to absorb moisture faster. This quick drying step is key to getting that perfect crispy texture in your baked pumpkin seeds.
How to Choose Seasonings for Perfect Baked Pumpkin Seeds?
Picking the right seasonings can really take your baked pumpkin seeds to the next level. Think about whether you’re craving something sweet, like a bit of cinnamon, or if you prefer a savory kick with garlic and herbs. It’s all about what flavor profile you’re in the mood for!
And don’t forget to spread those seasonings evenly. That way, every seed gets coated just right, so each bite is full of flavor. Happy snacking!
Flavor Profiles to Consider
Selecting the right seasonings can turn simple baked pumpkin seeds into a tasty snack that matches your taste. You might go for spicy blends to add some heat or herbal infusions for a fresh touch.
Sweet toppings give a caramelized flavor, while nutty seasonings boost richness. Citrus zest brings bright, zesty notes that lift the seeds and add a tangy twist.
Explore global spices like cumin, paprika, or curry powder to add complex, aromatic layers. Umami flavors such as soy sauce or nutritional yeast make each bite more savory.
Seasonal herbs like sage or thyme add earthy undertones that complement other seasonings. Mixing these flavor profiles lets you create a snack that’s perfectly balanced—whether bold, sweet, savory, or spicy.
Sweet vs. Savory Options
Deciding between sweet and savory seasonings depends on the flavor profile you want and the occasion for serving your pumpkin seeds.
If you prefer sweet toppings, try cinnamon sugar, honey, or maple syrup for a deliciously sweet crunch. These flavors are great for snacks during holidays or dessert tables.
On the other hand, savory spices like smoked paprika, garlic powder, or cumin give a more robust flavor, perfect for casual gatherings or movie nights.
You can also mix herbs and spices for a unique twist. Your choice of seasoning sets the tone for your snack, so think about whether you want something sweet and indulgent or savory and satisfying.
Both options are easy to prepare and can be customized to your taste.
Seasoning Application Tips
Once you’ve picked your preferred flavor profile, applying the right seasonings can make all the difference in perfectly baked pumpkin seeds. To get an even coating and maximum flavor, toss the seeds with your seasonings while they’re still slightly damp from washing or oil. This helps the spices stick better and really boost the flavor.
Be mindful of how much you use—too much seasoning can overpower the seeds, while too little might not give enough punch. For a balanced taste, try combining complementary spices like salt and garlic, or cinnamon and sugar for a sweeter touch.
Shake or stir thoroughly to spread the seasonings evenly. Adjust the amounts to suit your taste, and don’t be afraid to experiment with different blends to find your perfect flavor.
Bake Your Pumpkin Seeds for Maximum Crunch : Temperature & Time Tips
To get your pumpkin seeds perfectly crispy, it’s all about the right temperature and baking time. The key is to find a balance that roasts the seeds evenly without burning them.
Set your oven between 300°F and 350°F for the best results. Bake for 15-20 minutes, stirring occasionally to make sure everything cooks evenly. Keep an eye on the seeds—they should turn a nice golden brown, not too dark.
Different seeds might need slight adjustments. Larger seeds, for example, might take a bit longer to crisp up. Using a thermometer can help you control the temperature precisely if you want to be extra careful.
Remember, low and slow usually works best for maximum crunch. When baking, use a single layer on your sheet and avoid overcrowding. Toss the seeds halfway through to get an even bake.
Check your seeds after about 15 minutes and keep a close watch. Let them cool completely before snacking—they’ll be crunchier once cooled down.
Troubleshoot Common Baking Problems With Pumpkin Seeds
If your pumpkin seeds aren’t getting evenly seasoned, it’s probably because the oil and spices didn’t get a good mix before baking. Just a quick toss in a bowl beforehand can make a big difference in how evenly they’re coated.
And to avoid burnt seeds, keep a close eye on your oven. You might want to lower the temperature a bit or give the seeds a stir halfway through baking. These simple tricks help ensure your seeds come out flavorful, crispy, and perfectly roasted every time.
Uneven Seasoning Coverage
Uneven seasoning coverage is a common issue when baking pumpkin seeds, often causing some seeds to be overly salty while others lack flavor. To get a balanced coating, focus on techniques that ensure even distribution.
Start by tossing the seeds thoroughly in your seasoning mixture, making sure each seed gets coated. Using a spoon or your hands helps spread the flavors more evenly. Avoid overcrowding the bowl, as this can lead to clumping.
Shake or stir the seeds often during coating and baking to promote consistent flavor. Here are some tips to improve even coverage: Use a large mixing bowl for tossing, add seasoning gradually while stirring, and consider using a spray bottle for light, even application.
You can also shake the seeds in a sealed bag or toss them midway through baking to help distribute the seasoning evenly. These simple steps will make your pumpkin seeds flavorful and perfectly coated.
Preventing Burnt Seeds
Burnt pumpkin seeds often happen when you bake at too high a temperature or leave them in the oven for too long. This causes them to develop a bitter, charred flavor. To avoid this, set your oven to a moderate temperature, about 300°F (150°C).
Keep a close eye on your seeds and check them often, especially during the last few minutes. The key is to remove them as soon as they turn golden and smell nutty. Stir or shake the baking sheet halfway through to ensure even baking.
Using parchment paper or a silicone mat can also help prevent hot spots that cause burning. With careful temperature control and paying attention to timing, you’ll get perfectly baked pumpkin seeds every time.
Flavor Ideas and Variations for Your Baked Pumpkin Seeds
There are countless flavor ideas and variations to customize your baked pumpkin seeds and suit your taste buds. You can experiment with different flavor combinations by adjusting seasoning ratios to find what you love most.
For example, a simple mix of salt and garlic powder creates a savory snack, while cinnamon and sugar add a sweet touch. Spicy lovers might enjoy cayenne pepper or chili powder, and you can even try smoky paprika for a richer flavor. To keep things balanced, start with small seasoning ratios and taste as you go.
Here are some flavor ideas to inspire you:
Explore classic, sweet, spicy, and smoky flavor combos to customize your perfect baked pumpkin seed snack.
- Classic sea salt and cracked black pepper
- Sweet cinnamon and brown sugar
- Spicy cayenne and smoked paprika
- Savory garlic powder and onion powder
- Maple syrup with a pinch of sea salt
Feel free to mix and match, adjusting seasoning ratios until you find your perfect blend.
Creative Ways to Serve and Enjoy Your Pumpkin Seeds
Once you’ve baked your pumpkin seeds to perfection, the fun really begins with exploring creative ways to serve and enjoy them. Try experimenting with different toppings like spicy chili, cinnamon sugar, or savory herbs to keep things interesting.
For serving, place them in small bowls for easy snacking or sprinkle over salads and soups to add crunch and flavor. They also pair beautifully with cheese, fruit, or yogurt, offering healthy alternatives to processed snacks.
To make your presentation festive, scatter seeds on platters or incorporate them into holiday-themed treats. They’re great as party appetizers—serve them in paper cones or decorative jars to impress your guests.
Their versatility makes pumpkin seeds perfect for casual snacking or elegant gatherings. With a little creativity, they can enhance any dish or be enjoyed as a tasty, nutritious standalone treat.
How to Store Pumpkin Seeds to Keep Them Fresh and Crunchy
To keep your pumpkin seeds fresh and crunchy, proper storage is key. After roasting, let them cool completely before putting them away.
Use airtight bags or containers to keep moisture out, which can make them go stale. Keep your seeds in a cool, dark spot like a pantry or cupboard, away from sunlight and heat.
If you’re storing a lot, divide them into smaller portions. This helps avoid opening the main container repeatedly. Airtight bags help maintain their crunchiness and keep out air and humidity.
Label containers with the date you stored them so you can keep track of how fresh they are. For longer storage, you can freeze pumpkin seeds in airtight bags.
Just squeeze out as much air as possible before sealing. These simple steps will keep your baked pumpkin seeds deliciously crunchy for weeks to come.
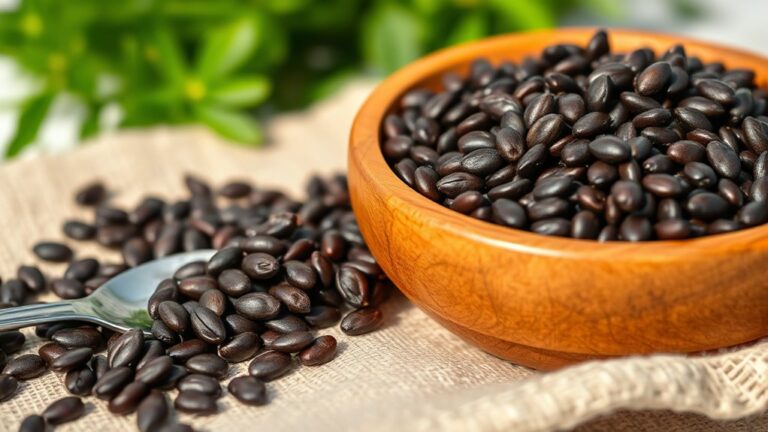
Benefits of Eating Pumpkin Seeds and Their Nutritional Value
Eating pumpkin seeds offers a range of health benefits because they’re packed with essential nutrients that support your overall well-being. These tiny seeds deliver significant nutritional benefits, including healthy fats, protein, fiber, vitamins, and minerals.
Consuming them can boost your immune system, improve heart health, and promote better sleep thanks to their magnesium content. Plus, they’re rich in antioxidants that fight free radicals, reducing inflammation and lowering disease risk.
Here’s a quick look at their nutritional value:
| Nutrient | Benefits | Daily Value Percentage |
|---|---|---|
| Magnesium | Supports muscle and nerve function | 37% |
| Zinc | Boosts immune health | 15% |
| Healthy Fats | Promote heart health | – |
| Protein | Maintains muscle and energy | 8 grams per ounce |
Incorporating pumpkin seeds into your diet offers powerful health advantages, making them a nutritious snack option.
Frequently Asked Questions About Baked Pumpkin Seeds
Have questions about baking pumpkin seeds? You’re not alone! Many wonder about storage, seasoning, and health benefits.
First, baked pumpkin seeds stay crunchy for about a week if kept in an airtight container. Want to boost flavor? Try fun toppings like cinnamon sugar, chili powder, or parmesan cheese.
Curious about health benefits? Baked seeds are packed with magnesium, zinc, and antioxidants, making them a nutritious snack.
Do you need to know the best oven temperature? Typically, 300°F (150°C) works well for even roasting.
Wonder how to tell when they’re done? Look for a golden-brown color and a crispy texture.
And yes, you can customize seasonings to suit your taste buds or dietary needs.
So, whether you’re snacking or adding them to salads, baked pumpkin seeds are versatile and healthy.
Keep experimenting, and enjoy your delicious, nutritious treat!
Frequently Asked Questions
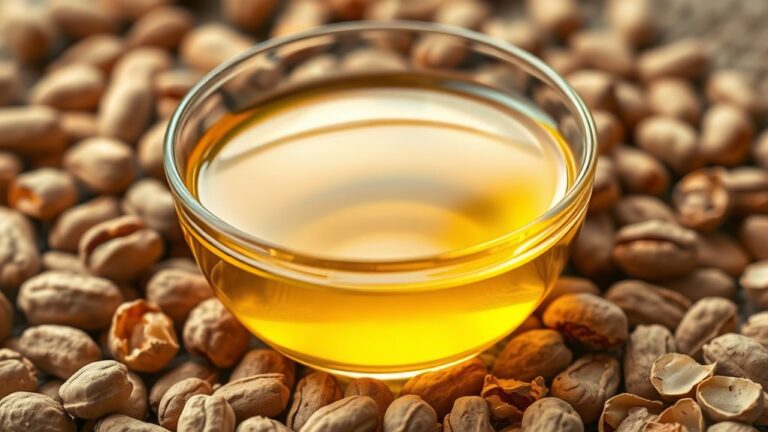
Can I Bake Pumpkin Seeds Without Oil?
Yes, you can bake pumpkin seeds without oil. Just rinse and dry your seeds thoroughly, then toss them with your favorite seasonings like herbs or spices, avoiding oil.
Baking without oil still gives you health benefits, like lower fat content, while letting you enjoy the crunch and flavor. Keep an eye on them so they don’t burn.
And that’s it! You’ll end up with a tasty, healthy snack without any added oil.
How Long Do Baked Pumpkin Seeds Stay Fresh?
Baked pumpkin seeds stay fresh for about one to two weeks if stored properly. Investigate the theory that airtight containers extend freshness; it’s true.
Check your pumpkin seed storage for signs like a stale aroma, sogginess, or mold, which indicate they’ve gone past their freshness date.
To get the most out of their shelf life, keep them in a cool, dry place. For longer storage, consider refrigerating them.
Are Pumpkin Seeds Gluten-Free and Vegan?
Yes, pumpkin seeds are both gluten-free and vegan, making them a healthy addition to your diet. They offer nutritional benefits like healthy fats, protein, and minerals, perfect for boosting energy and supporting overall health.
You can use them in various culinary ways, such as salads, trail mixes, or as a crunchy topping. Incorporating pumpkin seeds into your meals is an easy way to enjoy their tasty flavor and health perks.
What’s the Best Way to Remove Pumpkin Seed Shells?
To remove pumpkin seed shells effectively, start by soaking the seeds in warm water for a few hours. This helps loosen the shells, making them easier to remove.
After soaking, gently peel off the shells using your fingers or a small brush. Taking your time makes the process smoother and less messy.
For the best flavor, consider roasting the seeds after removing the shells. Just make sure you dry the seeds thoroughly first to get that perfect crunch.
Can I Reuse Leftover Pumpkin Seed Seasoning?
Absolutely, you can reuse leftover pumpkin seed seasoning! Think of it as a treasure chest—just store your seasoning in an airtight container, away from light and moisture, to keep its flavor.
When reusing, give it a taste first. If the flavors are still vibrant, sprinkle it on new seeds or mix it with other seasonings for exciting flavor combos.
Proper storage keeps your snacks flavorful and your creativity soaring!
Conclusion
Now that you know how to make delicious baked pumpkin seeds, you’re all set to enjoy a healthy, crunchy snack.
Did you know that pumpkin seeds are packed with magnesium? Just a handful can support over 60% of your body’s magnesium needs.
So, next time you carve a pumpkin, remember that those seeds can be transformed into a tasty, nutritious treat.
Happy baking and snacking with your homemade baked pumpkin seeds!