10 Easy Steps to Successfully Plant Seed Potatoes
Growing your own seed potatoes can feel overwhelming, especially if you’re new to gardening. You’re not alone—many people struggle with getting started or ensuring a successful harvest. But don’t worry, planting seed potatoes is simpler than you think with a few easy steps.
To successfully plant seed potatoes, start by choosing firm, blemish-free tubers with healthy eyes, and consider disease resistance.
Prepare your garden bed or container by loosening soil and mixing in compost.
Cut large tubers into pieces with at least one eye and let them rest to heal.
Plant the pieces 3–4 inches deep, spaced about 10–12 inches apart.
Water deeply, mulch to retain moisture, and protect against pests.
As your plants grow, monitor their progress, and you’ll soon enjoy a rewarding harvest filled with tips to guarantee success.
Key Takeaways
- Choose healthy, blemish-free seed potatoes with at least one eye for planting.
- Prepare the garden bed by loosening the soil, removing debris, and mixing in compost for added nutrients.
- Cut larger tubers into pieces with one eye each, then let them rest so they can heal before planting.
- Plant seed pieces 3-4 inches deep and about 10-12 inches apart in well-drained, loose soil.
- Water deeply, mulch to help retain moisture, and make sure there’s proper spacing for healthy growth.
How to Choose the Best Seed Potatoes for Your Garden
Are you unsure how to select the best seed potatoes for your garden? Start by exploring different seed potato varieties. Look for healthy, firm potatoes with no signs of sprouting or disease.
Choosing the right seed potato depends on your climate and the flavor you want, but don’t forget about disease resistance. Resistant varieties help protect your crop from common issues like blight and pests, reducing the need for chemical treatments.
Choosing disease-resistant seed potatoes enhances your crop’s health and reduces chemical needs.
When selecting seed potatoes, go for certified disease-free options from reputable suppliers. Avoid potatoes with cuts, bruises, or discoloration, as these can hide diseases.
Keep in mind that some varieties are better suited for specific growing conditions or culinary uses, so choose accordingly. By selecting high-quality seed potatoes with strong disease resistance, you set yourself up for a healthy, productive harvest.
Proper selection now guarantees your garden’s success later.
Preparing Your Garden Bed or Container for Planting
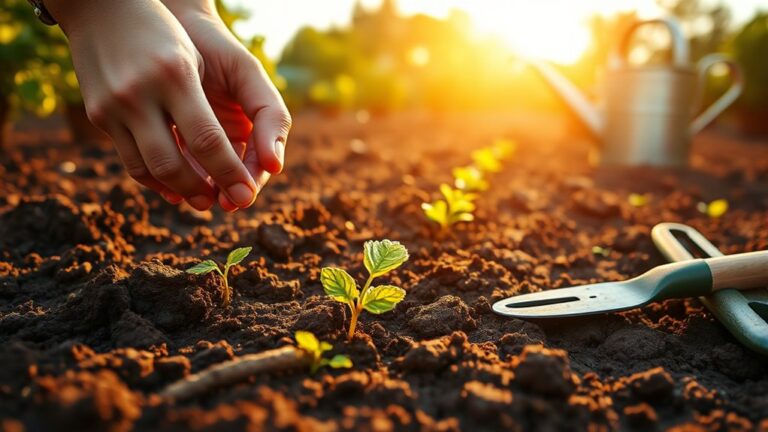
Once you’ve selected healthy seed potatoes, the next step is to prepare your garden bed or container to give them the best start. For garden beds, loosen the soil to about 8-12 inches deep, and make sure to remove weeds, rocks, and debris.
Mix in compost or well-rotted manure to improve the soil and boost nutrients. If you’re using containers, opt for large pots or grow bags with drainage holes. Fill them with a high-quality, well-draining potting mix rich in organic matter.
Ensure the container size offers enough space for the seed potatoes to grow comfortably. Whether in the ground or in a pot, make sure the soil or mix is loose and aerated so roots can develop easily.
Proper soil preparation helps retain moisture and provides essential nutrients. This sets a strong foundation for healthy plant growth. Taking these steps now will give your seed potatoes the best environment to thrive.
How to Cut and Chit Seed Potatoes for Better Growth
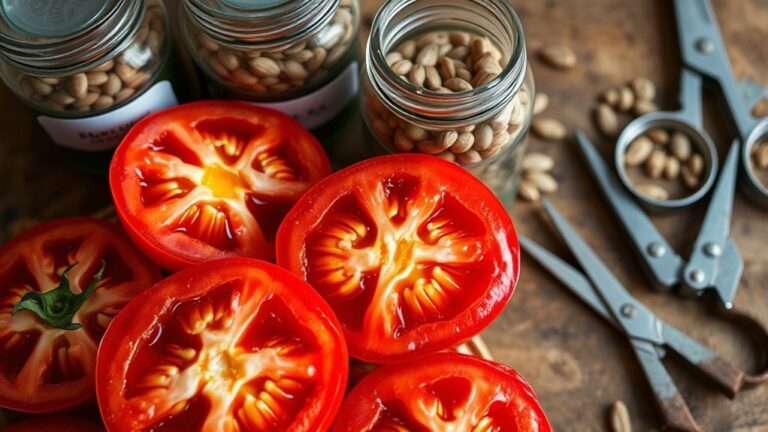
Getting your seed potatoes ready is pretty straightforward, but there are a few key things to keep in mind. First, pick healthy, disease-free tubers. You want to avoid any potatoes that look damaged or show signs of illness. Once you’ve got the good ones, you’ll want to cut them into smaller pieces, making sure each piece has at least one eye. This helps ensure each piece can sprout properly.
When you’re cutting the potatoes, try to be gentle but precise so you don’t crush the eyes. Proper cutting techniques are important because they give each piece enough eye development for sprouting. After you’ve cut your seed potatoes, the next step is chitting — which is basically letting the sprouts develop a bit before planting. This process helps strengthen the sprouts and gives them a head start, making your plants more likely to grow strong and healthy.
All these steps work together to boost your potatoes’ growth potential. In the end, you’ll end up with a stronger, more productive crop that’s ready to give you a good harvest.
Selecting Seed Potatoes
Choosing the right seed potatoes is key to a healthy, productive crop. Start by selecting firm, blemish-free tubers to give your plants the best beginning.
Think about the variety that suits your growing conditions and taste preferences. Picking the right one can make all the difference.
Go for seed potatoes with strong disease resistance to protect your plants from common issues like blight and pests. It’s an important step in ensuring a good harvest.
When choosing, look for these key traits: firm, undamaged skins, no signs of mold or rot, proven disease-resistant varieties, and the right size for your planting season.
Cutting Technique Tips
After selecting healthy seed potatoes, the next step is preparing them for planting by cutting and chitting. When cutting, make sure your knife creates proper angles—about 45 degrees—to promote smooth healing and reduce rot risks.
Always cut larger potatoes into pieces with at least one or two eyes each. This helps maintain seed viability. Use a clean, sharp knife to make clean cuts and prevent unnecessary tissue damage.
Allow the cut pieces to rest in a dry, cool spot for a couple of days so the cuts can form a protective layer. This process improves seed viability by reducing the chance of disease.
Proper cutting technique boosts your chances of healthy, vigorous plants and a successful harvest.
Chitting Process Benefits
Chitting, or sprouting the seed potatoes before planting, offers several benefits that can lead to stronger, more productive plants. It helps you spot healthy, vigorous eyes and encourages early growth.
The benefits of chitting include faster emergence, larger tubers, and better yields. Temperature plays a key role; keeping potatoes in a cool, bright spot promotes proper sprout development without the risk of rot.
Proper chitting also helps reduce disease risk because you can discard weak or damaged seed pieces. Giving your seed potatoes a head start makes sure they’re ready to grow when you plant them.
- Speeds up sprout development
- Promotes uniform growth
- Improves tuber size and yield
- Reduces planting stress
How to Plant Seed Potatoes at the Right Depth and Spacing
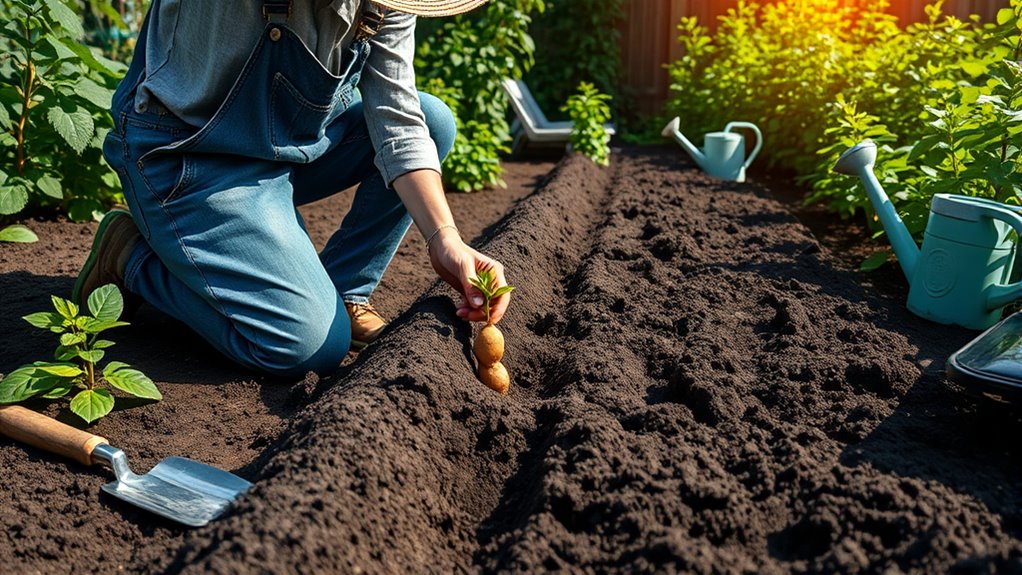
To make sure your potatoes grow healthy and strong, you want to plant your seed potatoes at the right depth—usually around 3 to 4 inches deep. It’s a good idea to keep them about 12 inches apart so each plant has enough room to grow. But don’t forget, you can tweak this a bit depending on your soil type.
If your soil is loose and sandy, you might want to plant the seed potatoes a little deeper. On the other hand, if your soil is heavy and clay-like, it’s better to go shallower. Adjusting your planting depth based on your soil can really help your potatoes thrive!
Proper Depth for Planting
Planting seed potatoes at the right depth is key to healthy growth and a good harvest. Usually, you want to plant them about 3 to 4 inches deep, but this can vary depending on soil conditions and the type of potato.
Make sure to check your planting calendar to pick the best time, usually in early spring. Proper depth helps keep the soil moist and protects the tubers from sunlight.
Keep these tips in mind for ideal planting depth:
- Check that the soil is moist but not soaked.
- Use a deeper planting depth for larger seed potatoes.
- Don’t plant them too shallow, as they could dry out or get exposed.
- Make sure the soil is loose enough for roots to grow but firm enough to hold the tubers in place.
Optimal Spacing Between Tubers
Ensuring proper spacing between seed potatoes is key for healthy growth and a good harvest. Giving each plant enough room helps them develop fully and reduces competition for nutrients.
Aim for 10 to 12 inches between tubers in each row. This spacing allows for good airflow and helps prevent disease. Between rows, leave about 2 to 3 feet for easy harvesting and maintenance.
Here’s a simple table to guide you:
| Tuber Spacing | Garden Layout |
|---|---|
| 10-12 inches | Between tubers in row |
| 2-3 feet | Between rows |
| 10-12 inches | For additional plants |
| 2-3 feet | To allow tool access |
| Consistent spacing | For even growth |
Proper spacing makes a big difference in growing a successful potato crop.
Adjusting Depth for Soil Types
The type of soil in your garden really affects how deep you should plant seed potatoes. Sandy soils with poor moisture retention need shallower planting, around 2-3 inches, to prevent them from drying out.
On the other hand, clay soils that hold a lot of moisture are better suited for planting a bit deeper, about 4-5 inches, to prevent oversaturation and rot. Adjusting your planting depth based on soil type helps ensure healthy tuber development.
Here are some tips to keep in mind:
- For sandy soil, plant 2-3 inches deep for better moisture access.
- In clay soil, go for 4-5 inches to avoid oversaturation.
- Loamy soil works well at around 3-4 inches, balancing moisture and aeration.
- Improving soil drainage by adjusting planting depth can help prevent rot and promote growth.
Getting the depth right is key to keeping your seed potatoes healthy and maximizing your yield.
Watering and Mulching for Healthy Potato Plants
Watering and mulching are key to keeping your potato plants healthy and vigorous. Proper watering ensures your plants get enough moisture without becoming waterlogged.
Water deeply at the base of the plants, especially during dry spells, to promote strong root growth. Mulching materials like straw, grass clippings, or shredded leaves help retain soil moisture, regulate temperature, and keep weeds down.
Water deeply at the base and mulch to retain moisture, regulate temperature, and prevent weeds.
Apply a layer of mulch around your plants, but keep it a few inches away from the stems to prevent rot. Consistent watering is especially important during tuber formation, but be careful not to overwater, as this can cause disease.
Check moisture levels regularly, especially during hot weather. Mulching not only conserves water but also shields your plants from extreme temperature swings.
What Fertilizer Do Potatoes Need? Tips for Feeding Your Plants
To keep your potatoes healthy and thriving, it’s important to give them the right nutrients at the right time. Picking the best fertilizers and applying them properly can really make a difference in your harvest. Let’s take a look at what nutrients potatoes need, which fertilizers work best, and when you should be feeding your plants for the best results.
Nutrient Requirements for Potatoes
Potatoes need a good balance of nutrients to grow healthy and produce a good harvest. Making sure the soil pH is just right and that micronutrients are in check is really important. If the soil is too acidic or too alkaline, plants won’t be able to absorb nutrients properly, which can slow their growth.
The main nutrients to focus on are nitrogen, phosphorus, and potassium. They help with leafy growth, root development, and tuber formation. To give your potatoes what they need, aim to keep the soil pH between 5.0 and 6.5 for the best nutrient availability.
Use a fertilizer high in nitrogen to keep the leaves healthy. Adding phosphorus helps develop roots and tubers, while enough potassium boosts overall plant health and helps resist diseases. Regular soil tests are a good way to keep track of nutrient levels and adjust your feeding plan accordingly.
Best Fertilizer Types
Choosing the right fertilizer is key to making sure your potatoes get the nutrients they need for healthy growth. Organic options like compost, well-rotted manure, or fish emulsion offer gentle, natural nutrition that boosts soil health over time.
When picking a fertilizer, pay attention to nutrient ratios, especially nitrogen, phosphorus, and potassium (N-P-K). Potatoes do best with balanced or slightly higher phosphorus and potassium levels, which support tuber development.
Avoid using too much nitrogen, as it can make the plants grow lots of lush foliage but hinder tuber growth. You can also opt for slow-release fertilizers or organic blends made specifically for root crops.
Applying the right type of fertilizer in the correct amounts helps ensure your potatoes grow strong, healthy, and yield a bountiful harvest.
Application Timing Tips
Timing is key when applying fertilizer to make sure your potatoes get nutrients at the right growth stages. Check your planting calendar to find the best moments to feed your plants.
For the best results, wait until the soil temperature hits about 45–50°F (7–10°C). This helps promote healthy root development. Fertilizing too early can waste nutrients, while late feeding might slow down growth.
Here are some helpful tips:
- Apply a balanced fertilizer when planting
- Side-dress with nitrogen about 3–4 weeks after planting
- Use liquid feeds during active growth
- Don’t fertilize when the soil is too cold or too hot
Following these timing tips will help your potatoes grow strong and healthy.
Protecting Your Potatoes From Pests and Diseases
To keep your potato crop healthy and thriving, it’s important to take proactive steps against pests and diseases. Regular inspections and removing affected foliage promptly can make a big difference.
Crop rotation helps reduce the risk of soil-borne diseases by preventing harmful pathogens from building up. Applying organic or chemical treatments at the right time can also deter pests like Colorado potato beetles and aphids before they cause serious damage.
Avoid overwatering and plant in well-drained soil to prevent fungal issues and rot. Keeping your garden tidy by removing debris and volunteer plants can eliminate hiding spots for pests and disease spores.
Mulching helps control soil moisture and temperature, making it harder for pests to thrive. Staying vigilant and following these practices will help protect your potatoes and ensure a healthy, bountiful harvest.
How to Monitor Growth and Know When to Harvest
Monitoring your potato plants closely as they grow is key to knowing when to harvest. By keeping an eye on their growth, you can figure out the best time to dig them up.
Look for the plant’s foliage to turn yellow and start to die back. This is usually a sign that the tubers are ready. Gently dig around the edges to check their size—aim for firm, well-formed potatoes that are of a good size.
Keep an eye on the overall health of your plants. Healthy plants tend to produce better crops, so if they look strong and vigorous, you’re on the right track.
To help you decide when to harvest, consider these points: yellowing and dying leaves, firm and well-formed tubers, consistent plant height, and no green or sprouted potatoes.
Timing is important to get the best flavor and storage life. Don’t rush it—harvesting too early can mean smaller, less developed potatoes. Patience really pays off!
Common Problems With Potato Plants and How to Fix Them
Potato plants can face several common issues that may hinder their growth or reduce your harvest, so staying alert is essential. Pest identification is key to catching problems early. Common pests like Colorado potato beetles and aphids can damage leaves and spread diseases. Regularly inspect your plants and remove pests by hand or use appropriate organic controls.
Disease prevention is just as crucial. Avoid overwatering and ensure good air circulation to help prevent blights and mold. Keep your soil well-drained and avoid working in wet conditions to limit disease spread. Rotating crops each year and removing infected plant debris also help reduce persistent problems.
If you notice discolored or wilting leaves, act quickly to identify whether pests or disease are causing the issue. Address problems promptly with targeted treatments and proper cultural practices to keep your potato plants healthy and productive throughout the season.
Harvesting, Storing, and Enjoying Your Homegrown Potatoes
When your potato plants have finished flowering and the foliage starts to yellow and die back, it’s time to harvest. Carefully dig around the plants to lift the tubers without damaging them. After harvesting, let the potatoes cure in a cool, dark place for a few days. This helps toughen their skins, making them better for storage.
To store your potatoes, keep them in a well-ventilated, dark spot with steady temperature and humidity. Avoid putting them in the fridge, as cold temperatures can turn starches into sugar.
When you’re ready to enjoy your harvest, try different recipes like roasted potatoes, mashed dishes, or hearty stews. If you have extra potatoes, preserve them by canning or dehydrating to extend their shelf life.
- Cure in a dark, cool place
- Store in a breathable container
- Use within a few months
- Experiment with preserving techniques
Frequently Asked Questions
When Is the Optimal Time to Plant Seed Potatoes?
You should plant seed potatoes in early spring, once soil preparation is complete and the weather is consistently warm, ideally around 45-50°F (7-10°C).
Make sure the soil is well-drained and loose to encourage healthy growth.
Avoid planting too early when the ground is still frozen or too wet, as this can slow down emergence.
Aim for a time when the risk of frost has passed for the best results.
Can I Plant Seed Potatoes Indoors First?
Like a modern-day gardener, you can start seed potatoes indoors to set the stage for an early harvest. Indoor growing lets you keep an eye on your sprouts and care for them before transplanting outside.
This approach gives you a head start and can help extend your growing season. It might also lead to a more plentiful harvest.
Just make sure your indoor space gets plenty of light and good ventilation for healthy sprouting and growth.
How Do I Prevent Potato Scab From Affecting My Crop?
To prevent potato scab, focus on proper soil preparation. Make sure the soil is well-drained and slightly acidic, with a pH around 5.0 to 5.5.
Incorporate organic matter and avoid overly dry conditions. Practice crop rotation by not planting potatoes in the same spot each year.
This helps reduce soil-borne pathogens and keeps your crop healthier. These steps will minimize scab risk and promote disease-free potatoes.
What Are the Signs of Nutrient Deficiency in Potato Plants?
You’ll notice nutrient deficiency symptoms like yellowing leaves, stunted growth, and poor tuber development. When leaves turn pale or show purpling, it signals phosphorus deficiency.
If they yellow between veins, it hints at magnesium shortage. And if growth stalls, nitrogen may be lacking.
Understanding these nutrient roles helps you diagnose deficiencies early so you can adjust fertilization. Recognizing these signs guarantees healthy plants and a bountiful harvest.
How Long Does It Typically Take for Potatoes to Mature?
It typically takes about 70 to 120 days for potatoes to mature, depending on the variety you choose. Early varieties can be ready in as little as 70 days, while others might take longer.
Plant your seed potatoes at a depth of 3 to 4 inches to promote healthy growth. Keep an eye on your plants as they grow.
Harvest when the foliage starts to yellow and die back, and you’ll be able to enjoy your homegrown potatoes.
Conclusion
Imagine your garden as a canvas and your seed potatoes as the brushstrokes. By choosing the right seeds, preparing your space, and caring diligently, you’re painting a vibrant masterpiece of healthy, bountiful potatoes.
With patience and attention, you’ll watch your garden grow from a simple idea into a harvest that’s rich and rewarding. Keep nurturing your plants, troubleshoot as needed, and soon you’ll reap the delicious rewards of your hard work.
Growing seed potatoes can be incredibly satisfying when you follow these simple steps. Remember, success comes from care, consistency, and a little bit of patience.
By planting seed potatoes thoughtfully and tending to them regularly, you’ll enjoy a plentiful harvest. The effort you put in now will pay off with fresh, tasty potatoes straight from your garden.