How to Plan a Grow Tent Setup for Effective Indoor Gardening
Planning a grow tent setup involves selecting the right tent size, lighting, ventilation, and equipment to create an efficient environment for your plants. One of the first steps is determining your space requirements based on the number and type of plants you want to cultivate. Proper lighting and air circulation are critical to replicating outdoor growth conditions indoors.
This setup matters because it directly influences plant health, yield, and energy efficiency. A well-planned grow tent setup helps control temperature, humidity, and light exposure while keeping pests and contaminants out. Setting up the tent correctly means fewer problems later and easier maintenance throughout the plant growth cycle.
In this article, you’ll find detailed advice on choosing the right grow tent size, types of grow lights, ventilation systems, and effective ways to organize your equipment and plants. We’ll cover common accessories and how to optimize your setup for different growing needs, ensuring your indoor gardening project flourishes from the start.
Selecting the Right Grow Tent Size

Assessing Your Space and Plant Needs
Choosing a grow tent begins with measuring your available room and estimating how many plants you plan to grow. Smaller tents, like 2×2 feet, suit hobbyists or seedlings, while larger tents, such as 4×8 feet, support bigger crops. Consider the mature size of your plants and the space they require for optimal growth.
Also factor in your ability to access the plants comfortably for watering and maintenance. Overcrowding can stunt growth and increase humidity, leading to mold or pest problems. Planning your space early prevents costly adjustments later.
- Measure available room carefully
- Estimate plant canopy size
- Consider walk-in space
- Leave room for equipment
Types of Grow Tents and Material Quality
Grow tents come in various materials and designs, typically featuring reflective interiors like Mylar to maximize light usage. The frame should be sturdy, made of steel or heavy-duty aluminum, to withstand hanging lights and filters. Zippers need to be durable to maintain a sealed environment.
Some tents include easy access features such as removable floor trays or multiple observation windows. Investing in quality materials helps maintain temperature stability and prevents light leaks, which can disrupt plant cycles.
- Reflective Mylar lining for light efficiency
- Sturdy metal frame construction
- Lightproof design with secure zippers
- Additional access points or windows
Choosing Grow Lights for Your Tent Setup

Understanding Different Grow Light Technologies
Popular grow lights include LEDs, HID (High-Intensity Discharge), and fluorescent bulbs. LEDs offer energy efficiency, low heat emission, and customizable spectrums. HID lights provide intense light but generate more heat and consume more power. Fluorescents are affordable and good for seedling stages but produce weaker light overall.
Choosing the right light depends on your plant species and growth stage. LEDs generally offer the best balance of energy use and light quality, making them ideal for most indoor gardeners.
- LED: energy-efficient and cool
- HID: intense but heat-producing
- Fluorescent: inexpensive, low intensity
For more on this, see our related guide: How to Preserve Plant Genetics: Essential Strategies for Safeguarding Biodiversity.
Positioning and Light Cycle Management
Properly positioning grow lights is vital to prevent light burn and promote uniform growth. Lights should be hung at the recommended height, adjustable as plants grow. Using timers automates light cycles, replicating natural day-night rhythms crucial for flowering and vegetative stages.
Light leaks during dark periods can stress plants; ensure your tent seals well. Reflective walls improve light distribution, enhancing efficiency and plant development.
- Maintain recommended light distance
- Use timers for consistent cycles
- Seal tent to prevent light leaks
- Leverage reflective interior for spread
Ventilation and Air Circulation Essentials in a Grow Tent Setup
Setting Up Exhaust and Intake Systems
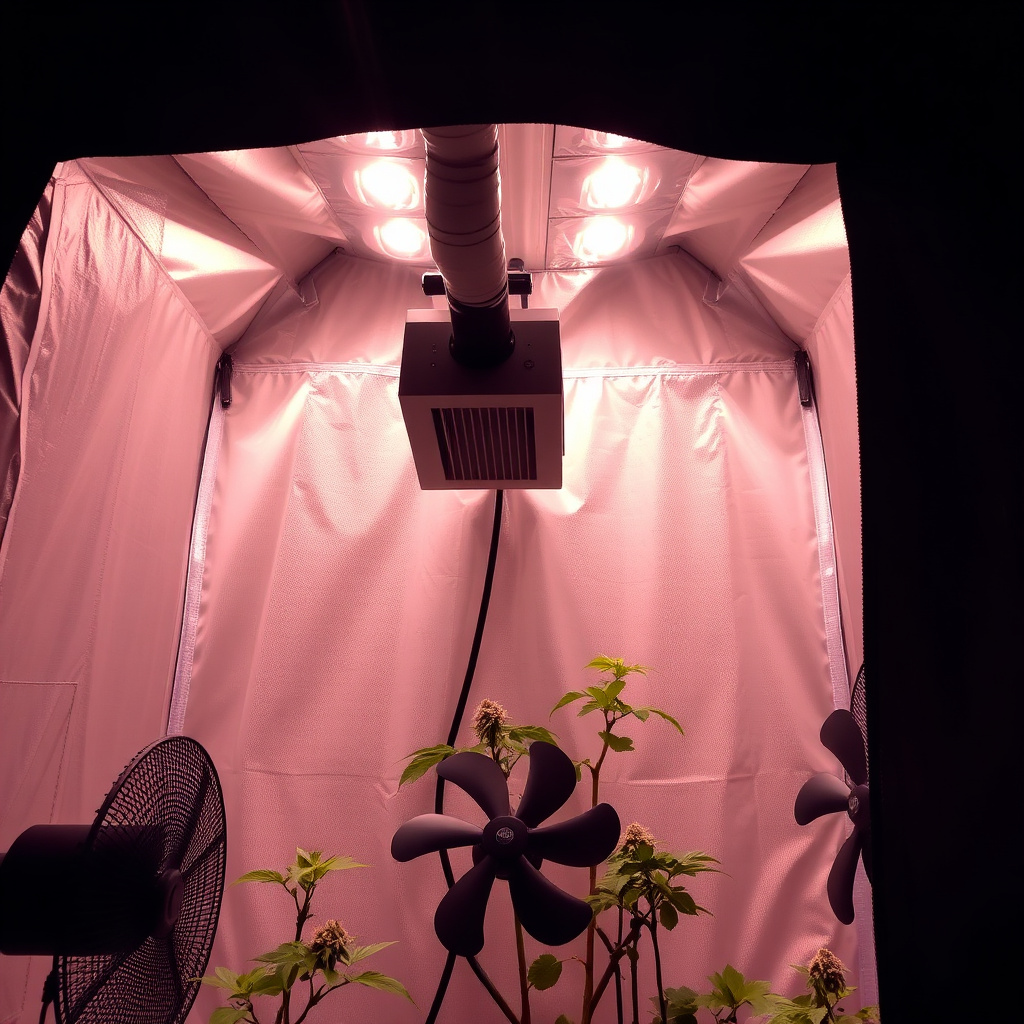
Effective ventilation removes excess heat, controls humidity, and supplies fresh CO2 for photosynthesis. An exhaust fan paired with a carbon filter expels stale air and odors. Intake vents or passive intakes bring fresh outside air in, balancing airflow within the tent.
Sizing your fans according to tent volume ensures proper air exchange. Filters with activated carbon are ideal for odor control and trapping contaminants, supporting a clean growing environment.
- Calculate tent volume to size fans
- Use carbon filters for odor control
- Combine exhaust and intake methods
- Regularly clean ventilation equipment
Maintaining Air Circulation Inside the Tent
Oscillating or clip fans inside the tent promote even air movement, preventing stagnant spots where mold or mildew can develop. Gentle airflow strengthens plant stems and helps regulate humidity around foliage.
Place fans so they do not blow directly on plants but still circulate air effectively. Adjust fan speed depending on plant growth stage and seasonal temperature changes for best results.
- Use oscillating fans for uniform airflow
- Avoid direct strong wind on plants
- Control fan speed for temperature balance
- Position to minimize hot spots
Organizing Equipment and Monitoring Your Grow Tent
Arranging Shelving and Storage Efficiently
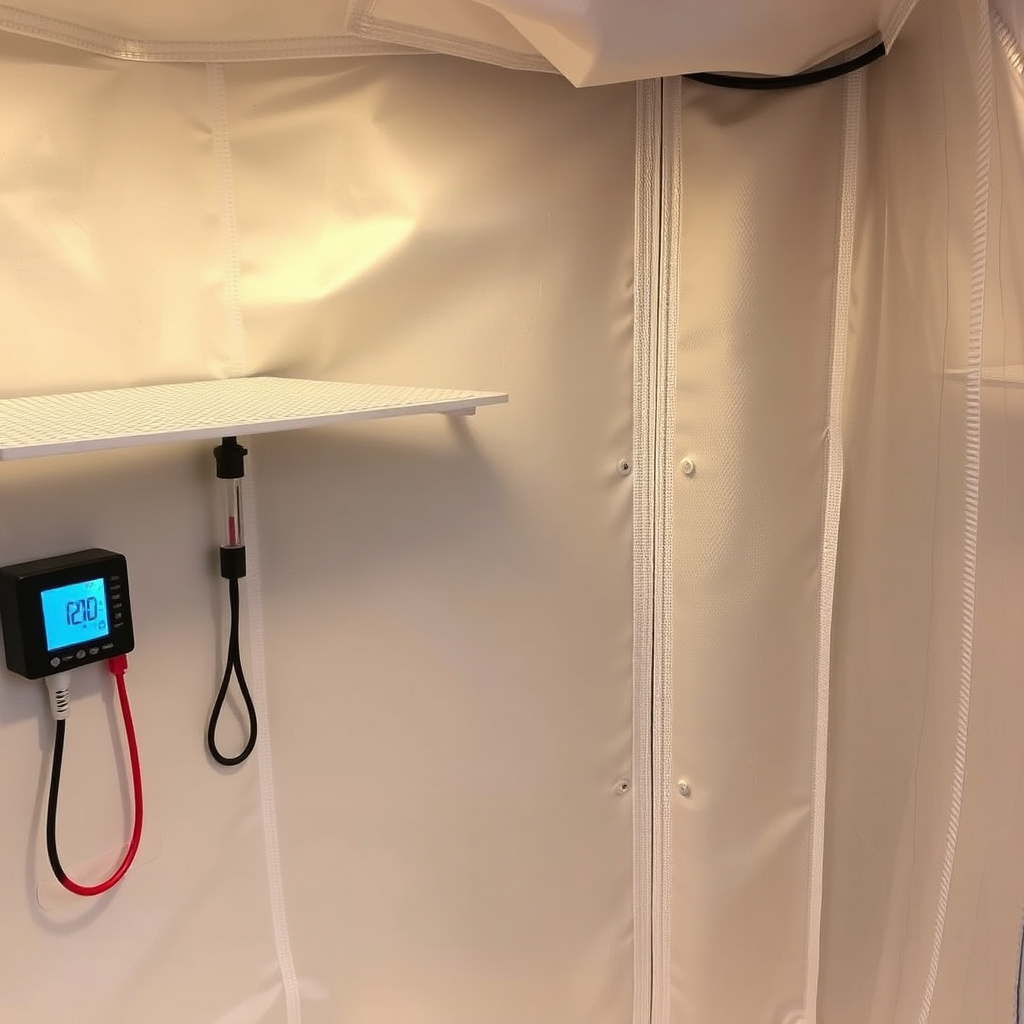
Utilize vertical shelving to maximize space inside the tent, especially for seedlings or smaller plants. Keep tools, nutrients, and spare parts organized nearby but outside the main growing area to avoid contamination.
Clear labeling of supplies simplifies maintenance and ensures you don’t miss feeding or watering schedules. Efficient arrangement also makes monitoring easier, improving plant care consistency.
- Install adjustable shelves for seedlings
- Store nutrients out of plant area
- Label supplies clearly
- Keep workspace tidy for safety
For more on this, see our related guide: Understanding Cannabis Strain Genetics: What Every Grower and User Should Know.
Using Monitors and Sensors in Your Setup
Temperature, humidity, and CO2 sensors provide real-time data to maintain ideal growing conditions. Digital meters for pH and water quality help track nutrient uptake and prevent imbalances.
Automated controllers linked to your fans and lights can adjust settings based on sensor feedback, reducing guesswork. Regularly calibrate your instruments to keep measurements accurate.
- Install temperature and humidity sensors
- Use pH and water quality meters
- Consider automated environment controllers
- Calibrate equipment periodically
Selecting the Best Grow Tent Accessories

Essential Tools to Enhance Your Setup
Accessories like humidifiers help maintain proper moisture levels, crucial during vegetative growth, while dehumidifiers prevent excess humidity during flowering. Timers guarantee consistent light cycles, and soil moisture sensors avoid over or underwatering.
Choosing the best grow tent accessories supports plant health and minimizes manual adjustments, making your overall setup more efficient and user-friendly.
- Humidifiers for moisture control
- Dehumidifiers to prevent mold
- Timers for lighting schedules
- Soil moisture sensors
For further reading and technical details, the grow tent article on Wikipedia offers an informative overview. grow tent article on Wikipedia.
Upgrading with Automation and Remote Monitoring
Advanced growers may incorporate smart controllers that automate irrigation, lighting, and ventilation based on sensor data. Remote monitoring apps enable tracking and adjusting parameters from smartphones, ideal for busy schedules or travel.
Automation ensures stable growth conditions and reduces risks of human error. Such upgrades can enhance yield quality and free up time for gardeners.
- Automated irrigation systems
- Smart lighting and ventilation control
- Remote monitoring via mobile apps
- Integration with environmental sensors
Grow Tent Setup Categories Comparison
Here’s a comparison of different grow tent setup categories based on size, lighting, ventilation, and price to help you choose what fits your needs.
| Category | Tent Size (ft) | Lighting Type | Ventilation System | Estimated Cost ($) |
|---|---|---|---|---|
| Basic Starter Setup | 2×2 | Fluorescent | Passive Intake, Small Exhaust Fan | 150-250 |
| Intermediate Hobby Setup | 4×4 | LED | Active Intake and Exhaust with Carbon Filter | 400-700 |
| Advanced Grower Setup | 4×8 | High-Power LED or HID | High-CFM Fans with Carbon Filters, Multiple Circulation Fans | 900-1500 |
| Automated Smart Setup | 3×3 to 4×4 | Full Spectrum LED with Timers | Variable Speed Fans, Environmental Sensors, Automation | 1000-2000 |
Frequently Asked Questions
How do I control temperature inside a grow tent?
Control temperature by using exhaust fans to expel hot air and intake vents to bring in cooler air. Using oscillating fans assists in even air distribution. In some cases, an air conditioner or heater may be necessary depending on external climate.
What type of grow light is best for beginners?
LED grow lights are often best for beginners because they are energy-efficient, produce less heat, and offer adjustable spectrums tailored to different growth stages, reducing risk of light burn.
Can I use a grow tent in a small apartment?
Yes, grow tents are ideal for small spaces like apartments since they contain light, control odors, and maintain environmental conditions effectively without disturbing neighbors.
How often should ventilation equipment be cleaned?
Ventilation equipment such as fans and carbon filters should be cleaned or replaced every few months to maintain airflow quality and prevent dust buildup that can reduce performance.
Is it necessary to monitor humidity in a grow tent setup?
Monitoring humidity is important because too much moisture can encourage mold growth, while too little can stress plants. Using humidity sensors helps maintain the right balance for healthy development.
Key Takeaways
- Choose a grow tent size based on plant count and space availability.
- Select appropriate grow lights suited to your plants and growth stages.
- Maintain airflow with exhaust fans, intake vents, and internal circulation fans.
- Organize equipment neatly and use sensors for precise environment control.
Conclusion
Planning a successful grow tent setup hinges on matching your space and plant requirements with the appropriate tent size, lighting, and ventilation systems. An effective setup balances environmental factors like temperature, humidity, and light cycles to mimic natural growing conditions indoors. Attention to detail—from material quality to arrangement—reduces issues during growth and boosts overall productivity. The main keyword, how to plan a grow tent setup, really comes down to thoughtful preparation and continuous monitoring, ensuring your indoor garden thrives.
For beginners and hobbyists, a basic starter setup with a 2×2 tent and fluorescent lighting might suffice, while intermediate growers benefit from 4×4 tents equipped with LED lighting and active ventilation systems. Advanced setups add high-powered lighting and automation for precise environmental control. Accessories such as humidifiers, dehumidifiers, and timers complement the core equipment, helping maintain optimal conditions with minimal hassle. Knowing which grow tent accessories suit your needs will enhance your setup’s performance and convenience.
If you’re ready to begin, measure your grow space carefully and choose a tent size that accommodates both your plants and equipment comfortably. Invest in reliable grow lights and ventilation to create a stable environment. Add monitoring tools like humidity sensors and timers to stay informed and adjust conditions as needed. With this approach, your grow tent setup will foster healthy plant growth and maximize yields, turning any indoor space into a productive garden.