7 Simple Steps to Bake Perfect Pumpkin Seeds in the Oven
Many people love snacking on pumpkin seeds but often find themselves frustrated with how tricky it can be to get them just right. You’re not alone—perfectly roasted pumpkin seeds can seem elusive, but with a few simple steps, you’ll be able to enjoy crispy, flavorful snacks every time.
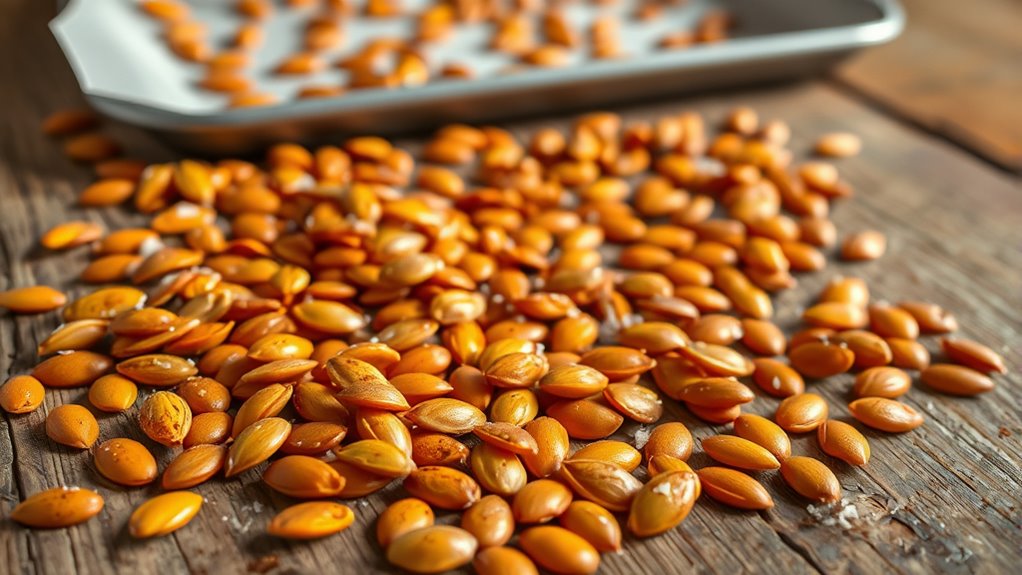
To bake perfect pumpkin seeds, start by removing and rinsing them to remove pulp, then dry thoroughly. Preheat your oven to 300°F and spread the seeds on a baking sheet. Toss them with your chosen seasonings—sweet, savory, or a mix—before baking for 15-20 minutes, stirring occasionally.
Let the seeds cool completely on a wire rack before storing in an airtight container. For helpful tips and flavor ideas, keep exploring further.
Key Takeaways
- Preheat your oven to 300°F (150°C) and make sure it’s fully heated before you start baking.
- Rinse the pumpkin seeds thoroughly, then pat them dry to remove any excess moisture.
- Toss the seeds with your favorite seasonings so they get an even coating.
- Spread the seeds out in a single layer on a baking sheet for even roasting.
- Bake for 15-20 minutes, stirring occasionally, until they’re golden and crispy.
How to Prepare Pumpkin Seeds for Baking
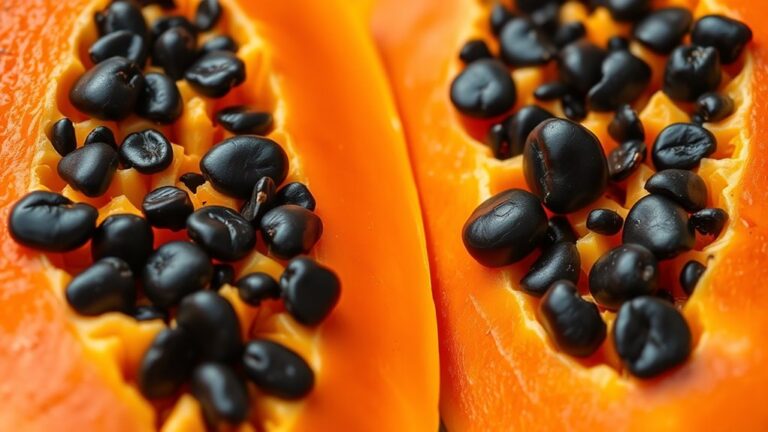
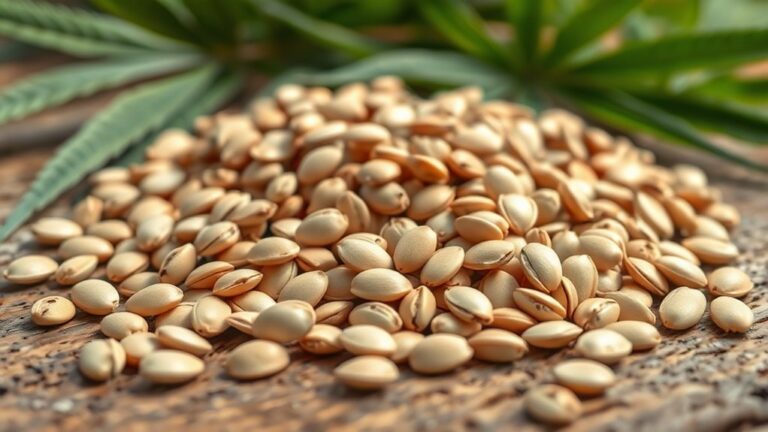
To prepare pumpkin seeds for baking, start by removing them from the pumpkin and separating them from the stringy pulp. Rinse the seeds thoroughly under cold water to wash away any remaining pulp.
Pat them dry with a clean towel or paper towels—this helps guarantee crispness during baking. You might encounter different pumpkin seed varieties, like those from sugar pumpkins or heirloom pumpkins, which can vary slightly in size and flavor but all work well for roasting.
Keep in mind that pumpkin seeds are packed with nutritional benefits. They’re a good source of protein, healthy fats, fiber, and minerals like magnesium and zinc.
Removing the seeds from the pumpkin and preparing them properly is essential to get the best texture and flavor in your baked snack. Once cleaned and dried, you’re ready to move on to seasoning and roasting for a delicious, nutritious treat.
Choosing the Best Seasonings and Flavors
Once your pumpkin seeds are cleaned and dried, choosing the right seasonings can turn them into a tasty snack. Decide if you want sweet or savory flavors to match your mood or occasion.
Season your dried pumpkin seeds with sweet or savory spices to create a delicious, personalized snack.
For a sweet twist, try cinnamon, sugar, or a drizzle of honey. These classic combos add warmth and a touch of indulgence. If savory is more your style, consider seasoning with salt, garlic powder, paprika, or chili spices for a bold kick.
You can also mix sweet and savory for unique flavor profiles, like cinnamon-sugar with a pinch of sea salt. Experimenting with herbs like rosemary or thyme adds a fresh, fragrant note. Remember, the best seasonings complement the natural nuttiness of pumpkin seeds.
Keep your flavor choices simple at first, then adjust to taste. The goal is to enhance, not overpower, the seeds’ natural crunch and flavor.
How to Set Your Oven for Perfect Results
Getting your oven set correctly is key to perfectly roasted pumpkin seeds. First, set the oven temperature to around 300°F (150°C), which is ideal for even roasting without burning.
Making sure the oven is at the right temperature helps the seeds cook uniformly and get that crispy texture you want. Don’t forget to preheat your oven for at least 10 minutes before adding the seeds.
Preheating ensures the heat is evenly distributed from the start, preventing uneven roasting or undercooked spots. Use an oven thermometer if you’re unsure about your oven’s accuracy, as many ovens can vary by a few degrees.
Once preheated, spread your seeds on a baking sheet with confidence, knowing the oven is ready. Proper temperature and preheating are simple steps that make a big difference in getting perfectly roasted pumpkin seeds.
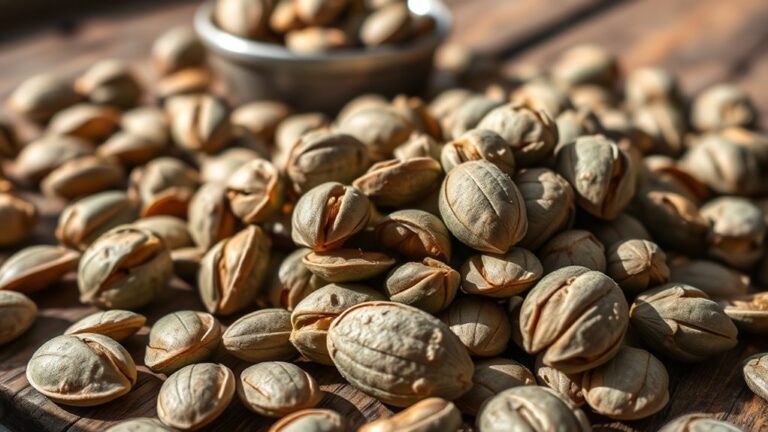
Baking Pumpkin Seeds for Crispy Perfection
Want those pumpkin seeds nice and crispy? First things first, give them a good rinse to remove any leftover pulp or residue—no one wants soggy seeds! Once they’re clean, you can get creative with your seasonings. Toss them in your favorite spices or herbs, making sure each seed gets coated evenly—that’s how you get that perfect flavor punch. Trust me, taking the time to clean and season properly really makes a difference in achieving that irresistible crunch.
Proper Cleaning Techniques
Before you start roasting your pumpkin seeds, it’s essential to thoroughly clean them to make sure they turn out crispy and delicious. Proper cleaning begins with rinsing the seeds—gently wash them under cold water to remove any pulp, string remnants, or dirt.
Use the right tools, like a fine mesh strainer or colander, to make rinsing easier and more effective. Be sure to agitate the seeds gently to loosen debris.
Avoid soaking the seeds for too long to prevent spoilage. Remove any leftover pumpkin flesh for extra crispiness.
Drain and pat the seeds dry with a clean towel to ensure they crisp up properly. Good cleaning techniques set the foundation for perfectly roasted, crispy pumpkin seeds.
Optimal Seasoning Methods
Ever wonder how the right seasoning can take your roasted pumpkin seeds from good to crispy perfection? It’s all about picking the right flavor combos that match what you like.
For a classic taste, try salt with a little garlic powder or smoked paprika for that smoky depth. If you’re into something sweeter, sprinkle cinnamon and a touch of sugar before baking.
Want bold flavors? Experiment with chili powder, cumin, or curry powder. Make sure to toss the seeds well so they get evenly coated—this helps them turn out crispy.
Keep in mind, less is more. Overdoing the seasoning can overpower the natural nutty taste. Adjust everything to your liking and bake until they’re golden and crispy.
The right seasoning makes your pumpkin seeds irresistibly flavorful and perfectly crispy.
Cooling and Storing Your Baked Pumpkin Seeds
Once you’ve finished baking your pumpkin seeds, spread them out on a wire rack to cool quickly and evenly. Proper cooling helps keep them crispy and flavorful.
You can let them cool at room temperature or place them in a cool, dry spot. Just make sure they’re fully cooled before storing to prevent moisture buildup.
After cooling, store your seeds in airtight containers or resealable bags to keep them fresh and crunchy. Keep them in a cool, dark place away from humidity, which can make seeds soggy.
Label the containers with the date so you know how fresh they are. Proper storage not only preserves their flavor but also extends their shelf life.
Follow these simple steps for crunchy, delicious pumpkin seeds every time!
Troubleshooting Common Baking Problems
Even experienced bakers encounter common issues that can affect the texture and flavor of your pumpkin seeds. One frequent problem is uneven roasting, often caused by inconsistent oven temperature fluctuations. To fix this, verify your oven is properly calibrated and use an oven thermometer for accuracy.
Even seasoned bakers face challenges like uneven roasting caused by temperature fluctuations.
If your seeds aren’t crispy enough, try baking time adjustments—extend the baking time slightly, but keep a close eye to prevent burning. Conversely, if they become too dark too quickly, reduce the oven temperature slightly for more even cooking.
Another issue is burnt or bitter seeds, which happen when they’re over-baked or exposed to high heat. Regularly check on the seeds during baking, especially near the end, to prevent over-roasting. Adjust baking time and oven temperature as needed, and keep in mind that every oven is different.
Troubleshooting these common problems will help you achieve perfectly roasted, flavorful pumpkin seeds every time.
Creative Flavor Variations for Pumpkin Seeds
After mastering the basics of roasting pumpkin seeds, you can get creative with different flavors to level up your snack game. Try experimenting with a variety of fun and tasty options to suit your preferences.
For sweet variations, coating seeds with cinnamon sugar or a honey glaze makes them irresistible. If you prefer savory flavors, season them with garlic powder, smoked paprika, or sprinkle some Parmesan cheese on top.
Want a spicy kick? Use chili powder, cayenne, or hot sauce to add heat and excitement. You can also get gourmet with blends like rosemary and thyme, or add nutty touches like toasted sesame or chopped almonds.
International flavors open up even more possibilities—think curry powder, soy sauce, or Mediterranean herbs. During the holidays, warm spices like pumpkin pie spice or nutmeg create a cozy vibe.
Herbal infusions with parsley, basil, or dill add a fresh, vibrant taste. With these ideas, you can craft personalized, addictive pumpkin seed snacks that truly elevate your baking game.
Frequently Asked Questions
How Long Can Baked Pumpkin Seeds Be Stored?
You can store baked pumpkin seeds for up to two weeks if you keep them in an airtight container.
Make sure they’re completely cooled before sealing to keep them fresh.
Store them in a cool, dry place away from direct sunlight for the best results.
If you want to keep them longer, try freezing them in a sealed bag. This can extend their freshness for up to three months.
Proper storage tips will help keep your seeds crunchy and delicious for longer.
Can I Bake Pumpkin Seeds Without Oil?
Yes, you can bake pumpkin seeds without oil, making for a healthier snack. The seeds will still crisp up nicely, letting their natural flavors shine through.
If you want to add some flavor, try seasoning them with spices, herbs, or just a light sprinkle of salt before baking. Bake at the same temperature, but keep a close eye so they don’t stick.
This oil-free method gives you crunchy, tasty pumpkin seeds that are perfect for snacking or adding to your recipes.
What Is the Best Way to Remove Pumpkin Seed Hulls?
To remove pumpkin seed hulls effectively, try hulling techniques like soaking the seeds in warm water. This helps soften the hulls, making them easier to remove.
After soaking, use your fingers or a small brush to gently rub off the hulls. This makes hull removal much simpler.
Alternatively, you can roast the seeds slightly to loosen the hulls. Then shake or rub them in a towel to help remove the hulls more easily.
These methods help you get cleaner, hull-free pumpkin seeds with less effort.
How Do I Prevent Seeds From Burning?
To prevent your pumpkin seeds from burning, keep a close eye on the roasting temperature—around 350°F is ideal. Stir the seeds occasionally so they cook evenly.
Tossing the seeds in oil and spices before roasting helps protect them from direct heat. This also adds flavor and keeps them crispy.
Watch the seeds during the last few minutes of roasting. Remove them promptly once they turn a nice golden color. That way, you’ll get crispy, tasty seeds without burning.
Are There Health Benefits to Eating Pumpkin Seeds?
Yes, eating pumpkin seeds offers great health benefits. They’re packed with nutrients like magnesium, zinc, and healthy fats that support your immune system and heart health.
You can add them to your snacks for a nutritious boost. Snacking on pumpkin seeds can boost your energy levels and supply essential nutrients.
Just remember to enjoy them in moderation to get the most benefits. They’re a smart, tasty addition to a healthy diet.
Conclusion
So, after all that effort, you might wonder if those perfectly baked pumpkin seeds are really worth it.
Ironically, the real reward isn’t just in the crispy crunch or the bold flavor but in mastering the simple art of patience and precision.
Who knew that such humble seeds could teach you so much about enjoying small, delicious victories?
Enjoy your snack—crafted with care and maybe a little bit of irony.
And remember, when it comes to baking pumpkin seeds, patience and attention to detail make all the difference.