How to Germinate Old Seeds Successfully: Techniques to Boost Viability
Germinating old seeds can be a challenge, but it is possible to bring them back to life using specific techniques that encourage sprouting despite their age. The key to successfully germinating old seeds lies in understanding their viability and providing optimal conditions such as pre-soaking, scarification, or stratification depending on the seed type.
Seed viability diminishes over time, especially if seeds weren’t stored properly, which makes it essential to treat older seeds with care to coax out any remaining life. This process helps gardeners salvage heirloom varieties or seeds saved from previous seasons without immediately discarding them due to age.
This article explores step-by-step methods to germinate old seeds, practical tips for improving success rates, how to test seed viability, and advice on storage to extend seed lifespan. Whether you’re dealing with vegetable, flower, or herb seeds, these strategies will give you a better chance at healthy sprouts.
Understanding Seed Viability and Its Impact on Germination
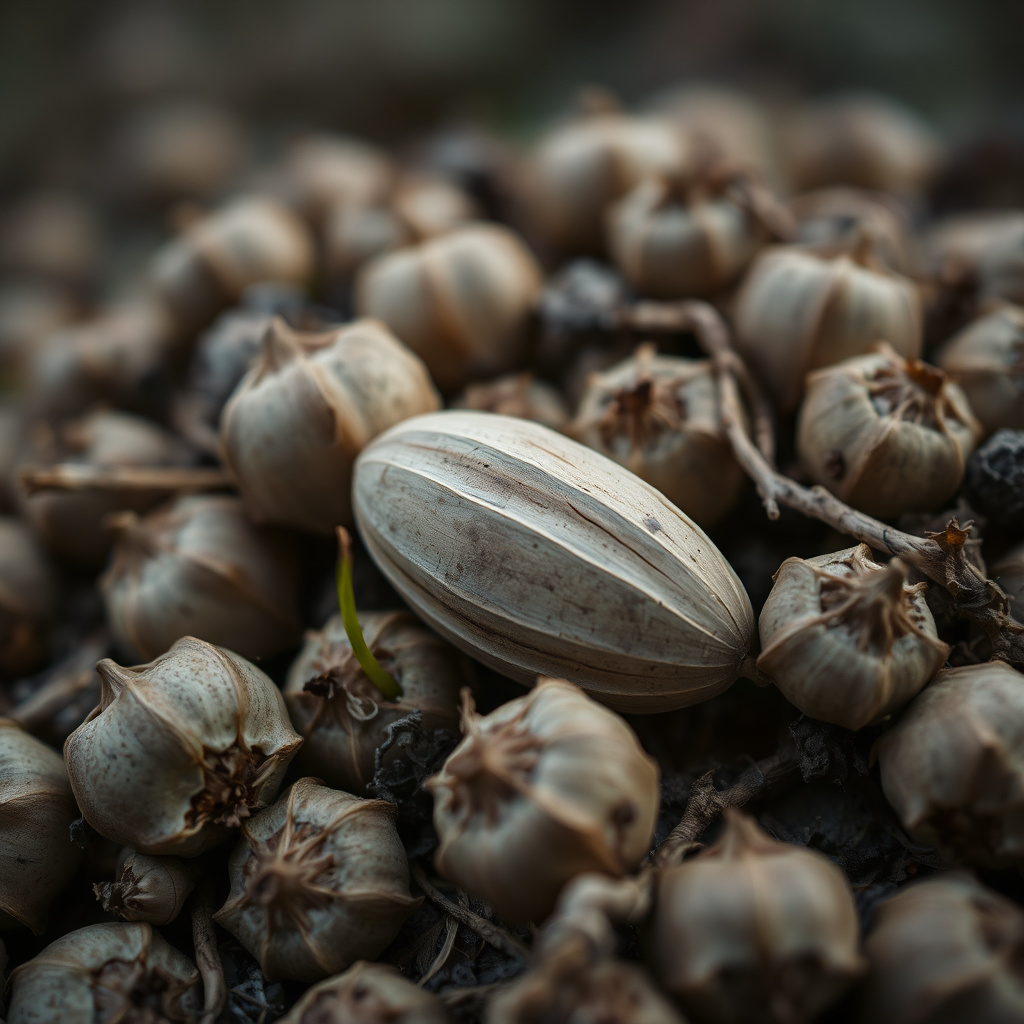
What Affects Seed Viability Over Time
Seed viability decreases primarily due to age, moisture, temperature fluctuations, and storage conditions. Seeds that have been exposed to high humidity or temperature swings lose their vitality quicker because these factors accelerate cellular degradation.
Different seed species also have varying longevities; for example, tomato seeds might remain viable for up to 4-5 years under good conditions, whereas onion seeds often lose viability after just one year.
- Moisture leads to mold and decay
- High temperatures speed up aging
- Lack of oxygen during storage affects survival
- Seed coat integrity influences longevity
How Seed Viability Testing Works
Testing viability before planting old seeds saves time and effort by identifying which seeds are still capable of germinating. Commonly, a germination test involves placing a small sample of seeds on damp paper towels in a warm environment and checking for sprouts after a set period.
A successful germination rate above 70% means the seed batch is generally reliable for planting; lower rates suggest needing pre-treatments or spacing out planting to compensate for losses.
- Use room temperature water for soaking
- Perform tests in controlled humidity
- Record germination percentages
- Discard or re-treat batches based on results
Pre-germination Treatments for Old Seeds
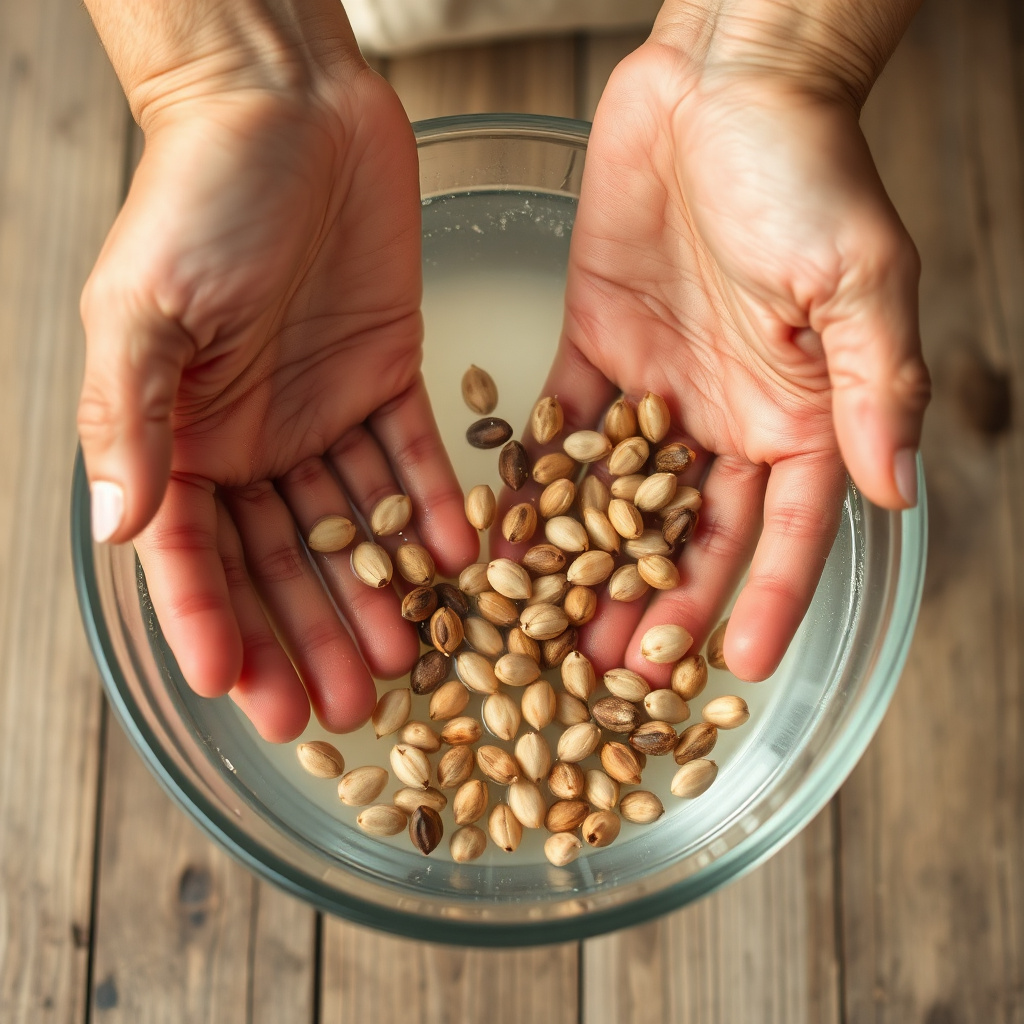
Soaking Seeds to Jumpstart Germination
Soaking old seeds in lukewarm water for 12 to 24 hours softens the seed coat and rehydrates the embryo inside, helping to stimulate the germination process. This method is especially useful for seeds with harder exteriors like beans or peas.
During soaking, it’s important to monitor seeds to prevent rotting; some gardeners add a small amount of hydrogen peroxide or use clean water for soaking to minimize fungal growth.
- Use a glass or plastic container
- Discard seeds that float (likely not viable)
- Soak seeds just enough to soften but not drown
- Rinse seeds before planting
For more on this, see our related guide: How to Germinate Old Cannabis Seeds: Effective Techniques to Boost Success.
Scarification and Stratification Techniques
Scarification involves physically breaking or softening the seed coat through sanding, nicking with a blade, or soaking in warm water to improve water absorption. This is common for seeds with very tough coatings like morning glory or lotus.
Stratification mimics winter conditions by chilling moist seeds in a refrigerator for weeks to break dormancy. This treatment suits cold-climate wildflower seeds or perennials that require cold periods for germination.
- Use gentle abrasion tools for scarification
- Keep stratified seeds moist but not soaked
- Label seeds clearly during stratification
- Follow species-specific temperature and duration guidelines
Ideal Germination Conditions for Reviving Old Seeds
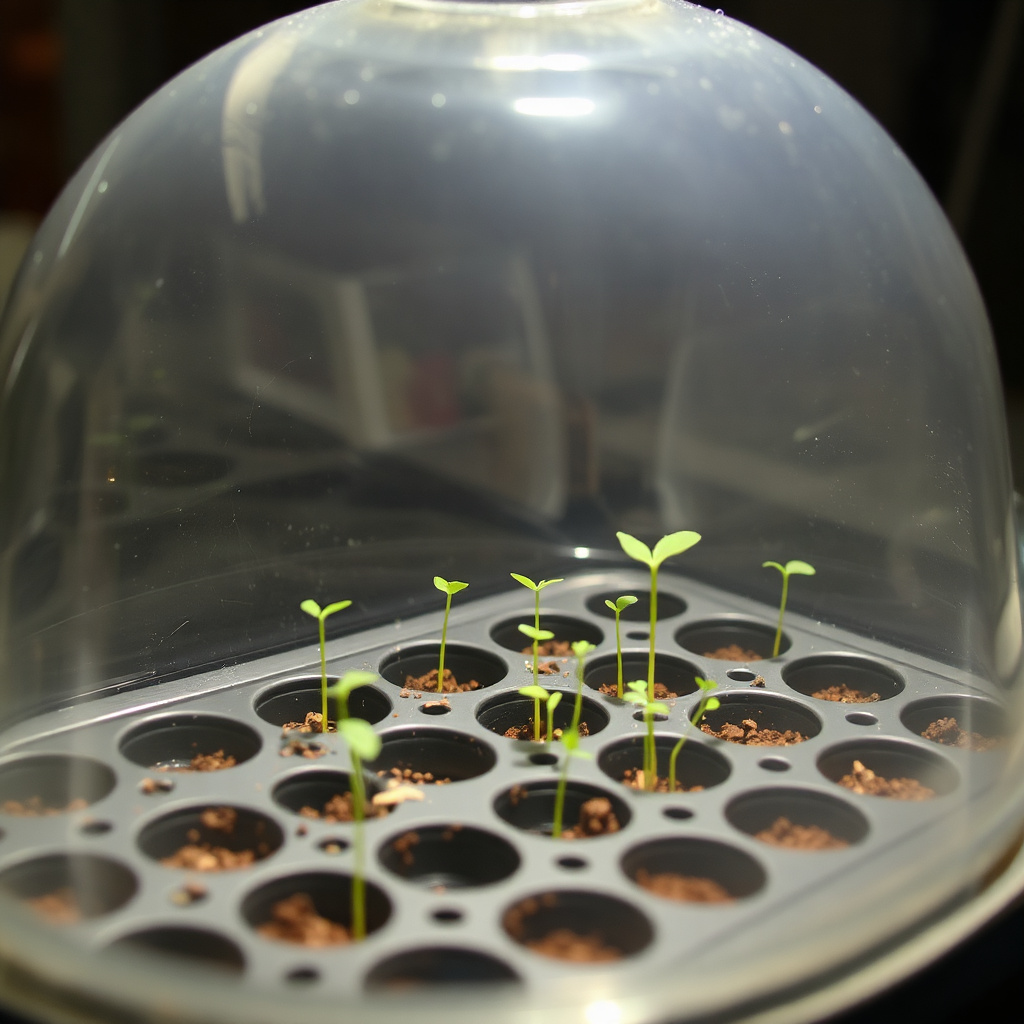
Temperature and Moisture Control
Old seeds often need very stable and slightly warmer temperatures to germinate well, generally between 70 to 85°F. Maintaining consistent moisture levels without waterlogging is vital; too dry and seeds won't sprout, too wet and seeds can rot or develop damping-off.
Using humidity domes or plastic covers over seed trays can maintain moisture levels and improve success with older seeds, while bottom heat sources like seed mats can encourage imbibition and faster sprouting.
- Keep growing medium moist but well-drained
- Avoid drastic temperature fluctuations
- Use fluorescent or LED grow lights for extended daylight
- Ventilate the cover occasionally to prevent mold
Using Suitable Growing Mediums
Light, sterile media like seed-starting mix or fine vermiculite provide an excellent environment for old seeds to germinate by ensuring good aeration and moisture retention without excess nutrients that might encourage fungal growth.
Avoid garden soil that can harbor pathogens and compete for moisture, which jeopardizes fragile seedlings derived from older seeds.
- Use clean seed-starting mixes
- Consider adding perlite for drainage
- Sterilize media if reusing
- Ensure medium is evenly moist before sowing
Monitoring and Caring for Seedlings from Old Seeds
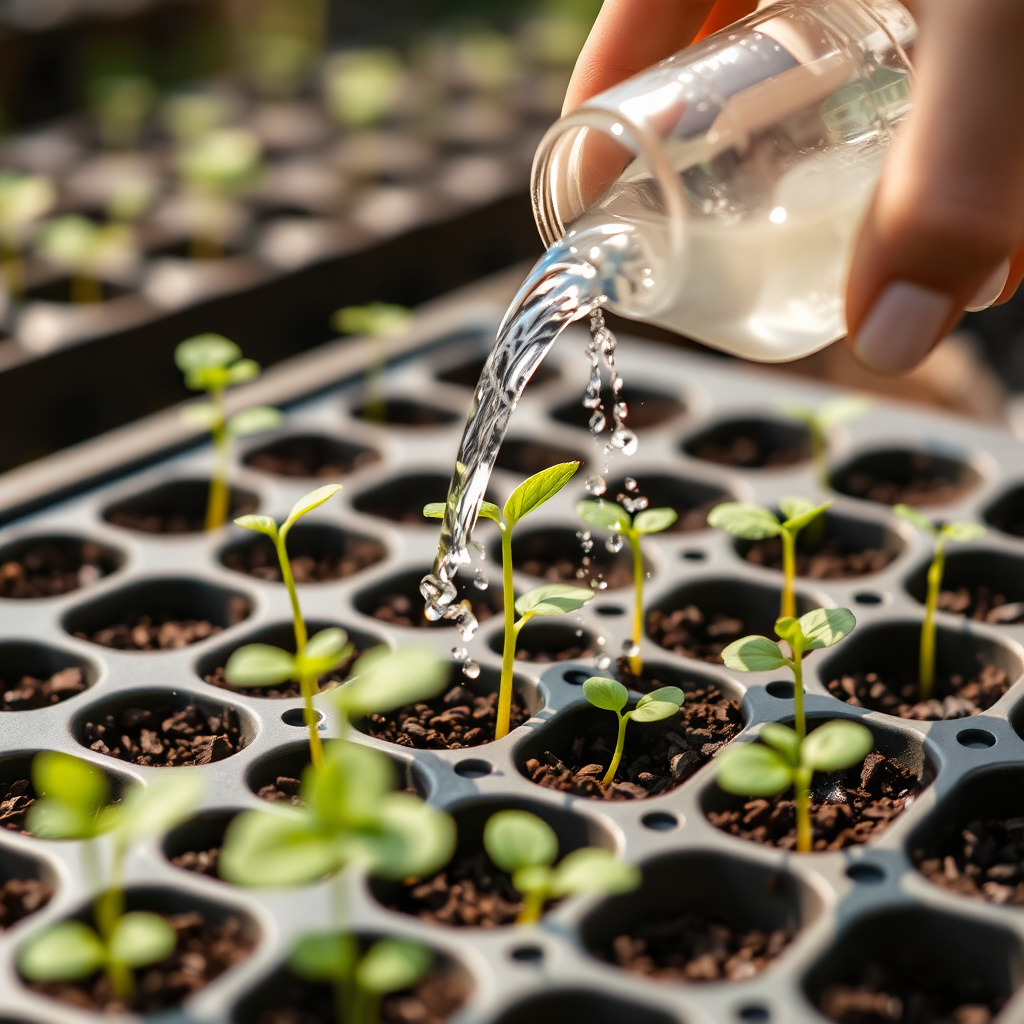
Recognizing Early Signs of Successful Germination
Emerging radicles (tiny roots) or cotyledons (seed leaves) indicate successful germination. Old seeds sometimes sprout more slowly or unevenly, so patience is required—some seeds may take double the normal time to break soil.
Watch for mold or discoloration on un-germinated seeds as a sign to adjust watering or replace the growing medium.
- Check daily for sprout appearance
- Remove any moldy seeds promptly
- Keep humidity consistent during early growth
- Avoid overwatering seedlings
For more on this, see our related guide: Can Old Cannabis Seeds Still Germinate? A Practical Guide.
Transplanting and Hardening Off Seedlings
Once seedlings develop true leaves and appear sturdy, carefully transplant them into larger pots with nutrient-rich soil to encourage healthy root development. Handle roots gently as older seed-derived seedlings can be delicate.
Gradually expose seedlings to outdoor conditions over one to two weeks to toughen them up, a process called hardening off, improving survival when planted outside.
- Use clean pots and fresh potting soil
- Water seedlings after transplanting
- Introduce sunlight gradually
- Protect from wind and pests during hardening off
Storage Tips to Extend Future Seed Viability
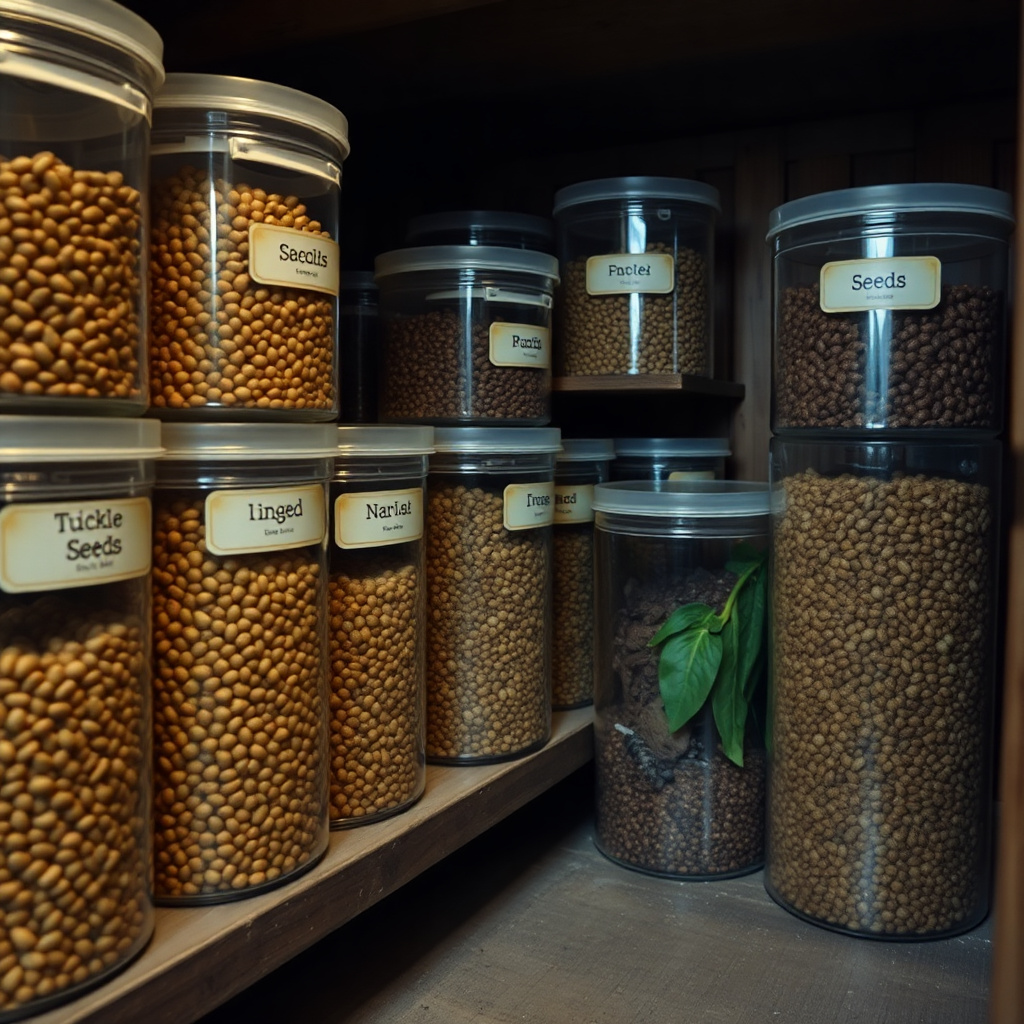
Best Practices for Seed Storage
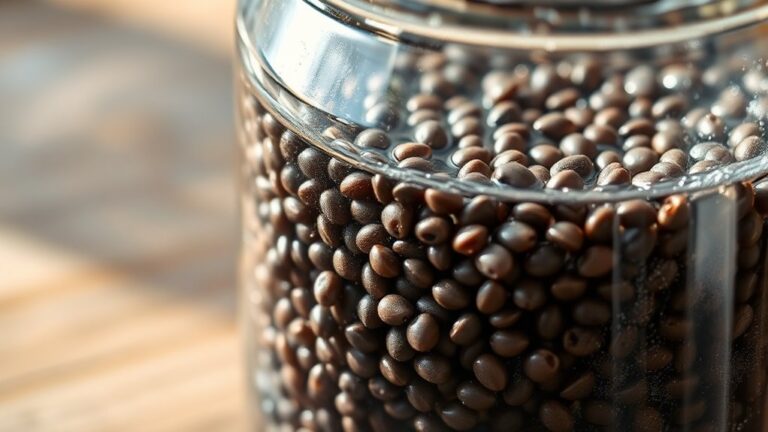
Proper seed storage is the first line of defense against loss of viability. Store seeds in airtight containers away from heat, moisture, and light. Dry seeds thoroughly before sealing to avoid mold growth.
Cool environments such as refrigerators or dedicated root cellars maintain low temperatures and humidity, prolonging seed lifespan significantly compared to ambient room temperature storage.
- Use glass jars or sealed plastic bags
- Include silica gel packets to absorb moisture
- Label containers with seed type and date
- Avoid frequent temperature fluctuations
For more technical details on the biology and phases of seed germination, see this comprehensive resource on seed germination on Wikipedia. Seed germination on Wikipedia.
Packaging and Labeling Techniques
Separating seeds by batch and type prevents cross-contamination and helps track viability over years. Use moisture-proof packaging and record detailed info including harvest date, seed source, and any treatments applied.
Good organization aids in rotating older seeds first and recognizing when to perform viability testing again for specific seed lots.
- Use moisture-proof envelopes or foil packets
- Create a seed inventory log
- Mark planting instructions clearly
- Store packets in a cool, dark location
Comparison of Germination Methods for Old Seeds
Here’s a comparison of common germination techniques tailored to old seed batches with their pros, cons, and best-use cases.
| Method | Advantages | Disadvantages | Best For |
|---|---|---|---|
| Soaking | Rehydrates and softens seed coat quickly | Risk of seed rot if over-soaked | Hard-coated seeds like beans, peas |
| Scarification | Improves water uptake for tough coats | Can damage seeds if done improperly | Seeds with very hard coats like morning glory |
| Stratification | Breaks dormancy by cold exposure | Takes weeks; requires refrigeration | Perennials and cold-climate wildflowers |
| Direct Sowing | Natural germination environment | Lower success with aged seeds | Seeds with naturally short dormancy |
| Using Seed Starting Mix with Heat Mat | Stable moisture and warmth improve germination | Cost and equipment required | Most seed types including old seeds |
Frequently Asked Questions
Can all old seeds be germinated successfully?
Not all old seeds will germinate due to loss of viability over time. However, using pre-germination treatments and proper care can improve success rates for many seed types, especially if stored well.
How can I tell if old seeds are still viable?
Conduct a germination test by placing a small number of seeds on moist paper towels in a warm spot. If at least 70% sprout within the usual timeframe, the seeds are considered viable.
Does scarification damage the seed if done incorrectly?
Yes, excessive scarification can harm the embryo inside the seed. Using gentle abrasion methods and caution helps avoid damage while improving water absorption.
Is it better to start old seeds indoors or outdoors?
Starting old seeds indoors allows better control over temperature and moisture, increasing chances of success compared to direct outdoor sowing.
How should I store seeds after harvest to maximize viability?
Store seeds in cool, dry, and dark conditions within airtight containers. Properly dried seeds last longer and maintain higher viability.
Key Takeaways
- Old seeds lose viability but can often still germinate with proper treatments.
- Testing seed viability helps avoid wasting time and resources.
- Pre-germination methods like soaking, scarification, and stratification improve sprouting chances.
- Proper storage dramatically extends seed lifespan and future germination success.
Conclusion
Germinating old seeds challenges gardeners to apply tailored methods that compensate for natural viability loss over time. Evaluating seed condition and using techniques such as soaking or cold stratification provides a direct path to restoring growth potential in many aged seeds. Combining reliable seed viability testing prior to planting can save effort, allowing focused care on the most promising batches.
Specific scenarios include scarification for seeds with tough coats like morning glories or soaking older bean seeds to soften the seed coat and jumpstart germination. For perennials requiring cold periods, stratification replicates their natural cues. Using seed-starting mixes with stable moisture and bottom heat supports delicate seedlings from older seed stock. Proper storage after harvesting or purchasing fresh seeds prevents further loss, making future germination easier.
If you have a seed collection that has sat unused for years, apply these practical steps: test viability first, apply seed-specific pre-treatment, provide stable warmth and moisture, then nurture seedlings carefully until transplanting. These actions improve success rates and allow you to preserve rare or favorite plants from older seeds. For ongoing seed storage and care practices, consult trusted gardening resources geared toward seed saving and germination.