How to Tell if Seeds Are Viable: A Clear Guide to Successful Gardening
Knowing how to tell if seeds are viable is essential for any gardener aiming to grow healthy plants. Viable seeds have the capacity to germinate and develop into strong seedlings, while non-viable seeds will fail to sprout. The simplest ways to check viability include visual inspection, physical tests, and practical germination tests.
Many gardeners waste time planting seeds that won’t grow because they can’t distinguish between old or damaged seeds and healthy ones. Testing seed viability before planting saves effort, space, and resources. It helps you plan better and boosts your chances of a productive garden.
This article explores several practical methods to test seed viability, from straightforward visual cues to DIY germination trials. We will also discuss factors affecting seed viability, storage tips, and common mistakes to avoid, so you can confidently assess the quality of your seeds.
Understanding Seed Viability and Why It Matters
What Does Seed Viability Mean?
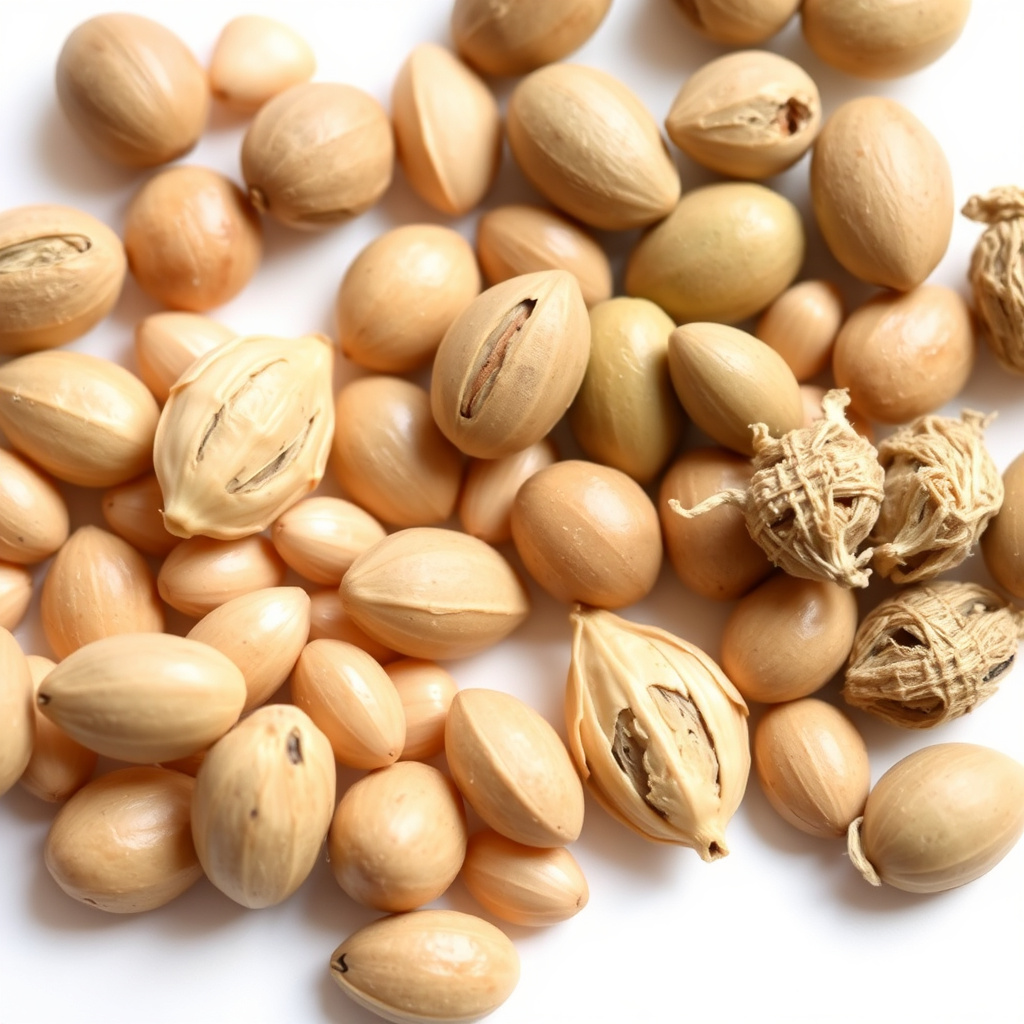
Seed viability refers to a seed's potential to germinate under suitable conditions. Viable seeds contain living embryos capable of developing into mature plants when exposed to the right environment—appropriate moisture, temperature, and oxygen.
Non-viable seeds are dead or damaged embryos, often due to age, poor storage, or physical harm. Planting non-viable seeds results in poor germination rates, wasted effort, and delayed gardening progress.
Factors Influencing Seed Viability
Seed viability depends on genetic makeup, harvest quality, moisture content, and storage environment. High humidity, fluctuating temperatures, and exposure to pests or fungi reduce seed life.
Seeds vary in natural longevity; some species maintain viability for decades, while others only last a few years. Knowing your seed type's typical viability span helps manage planting expectations.
Visual and Physical Methods to Test Seed Viability

Identifying Healthy Seeds by Appearance
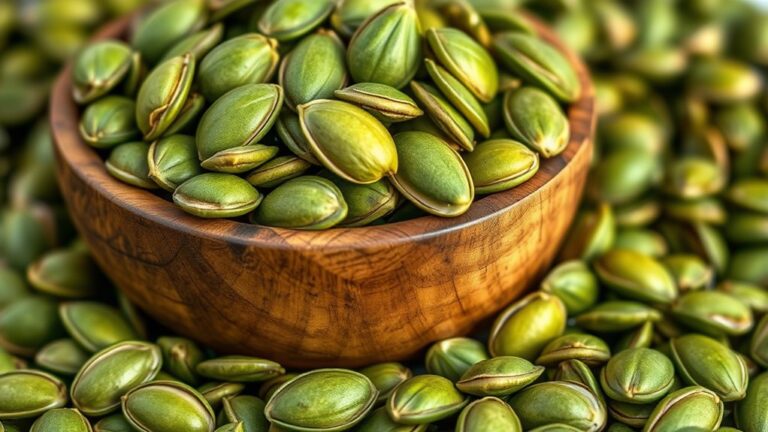
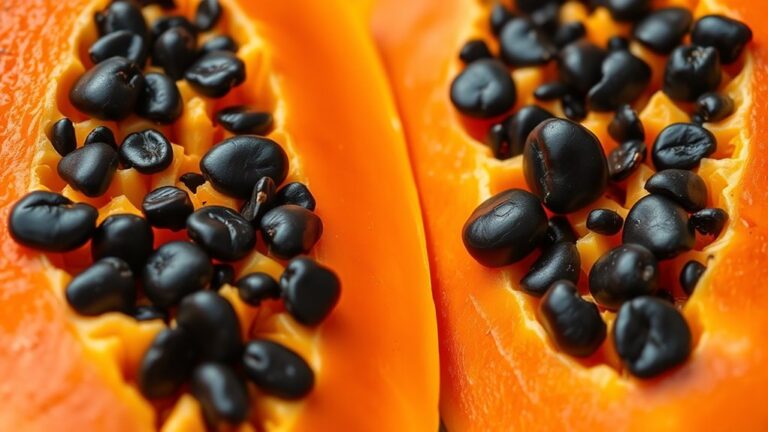
Healthy seeds usually have a plump, firm texture and consistent color characteristic to their species. Avoid seeds that look shriveled, cracked, discolored, or moldy, as these signs often indicate non-viability.
Some seeds may have natural markings or varying hues, but firmness and lack of surface flaws are reliable indicators. For example, bean seeds that appear dull or crumbly generally do not germinate well.
The Touch and Pressure Test
Gently squeeze individual seeds between your fingers to check if they are firm. Soft or brittle seeds usually have dead or damaged embryos. This tactile method helps quickly weed out obviously non-viable seeds.
Be cautious with small or delicate seeds as excessive pressure may harm them. Combining this test with visual inspection improves accuracy without damaging potentially viable seeds.
Using the Seed Germination Test to Confirm Viability

Setting Up a Simple Germination Test
A seed germination test provides a real-world check of viability by encouraging seeds to sprout under controlled conditions. Use a damp paper towel, place seeds evenly spaced on it, fold, and seal them inside a transparent plastic bag to maintain moisture.
Keep the bag in a warm, dark spot with stable temperatures typical for the seed type. After the recommended period, usually 5-14 days, check how many seeds have sprouted to estimate viability percentage.
- Use paper towels or coffee filters to hold seeds
- Moisten but avoid soaking seeds
- Label the kind and date for accurate tracking
- Conduct tests with at least 10-20 seeds for reliable results
For more on this, see our related guide: How to Tell When a Plant Is Ready to Harvest for Perfect Timing.
Interpreting Germination Test Results
Count the number of sprouted seeds versus those that didn’t bud. A germination rate above 80% generally indicates good seed viability, while rates below 50% suggest old or poorly stored seeds.
Use the rate to adjust the quantity of seeds you plant or decide if you need fresh seeds. This method directly shows your seeds’ potential, more reliably than just appearance or touch.
Advanced Techniques and Tools for Seed Viability Assessment

Float Test: Separating Viable Seeds by Water Density
The float test involves placing seeds in a container of water and observing whether they sink or float after several minutes. Typically, viable seeds are denser and sink, while empty or damaged seeds float.
Although this method is popular, it is not foolproof as some viable seeds may float due to trapped air or seed coat characteristics. Use it alongside other tests for better accuracy.
- Fill a clear container with room-temperature water
- Place seeds gently in water
- Wait 10-15 minutes and note which seeds float
- Discard floating seeds with caution
Using a Seed Viability Tester or X-ray Analysis
Professional seed labs sometimes use X-ray imaging to check internal seed integrity without harming the seed. It reveals embryo condition, insect damage, or fungal infections unseen externally.
Some home gardeners may access seed viability testers that use electrical conductivity or other sensors to estimate seed health. These tools provide rapid assessments but may not be practical for casual gardeners.
Best Practices for Seed Storage to Maintain Viability
Ideal Conditions for Long-Term Seed Storage
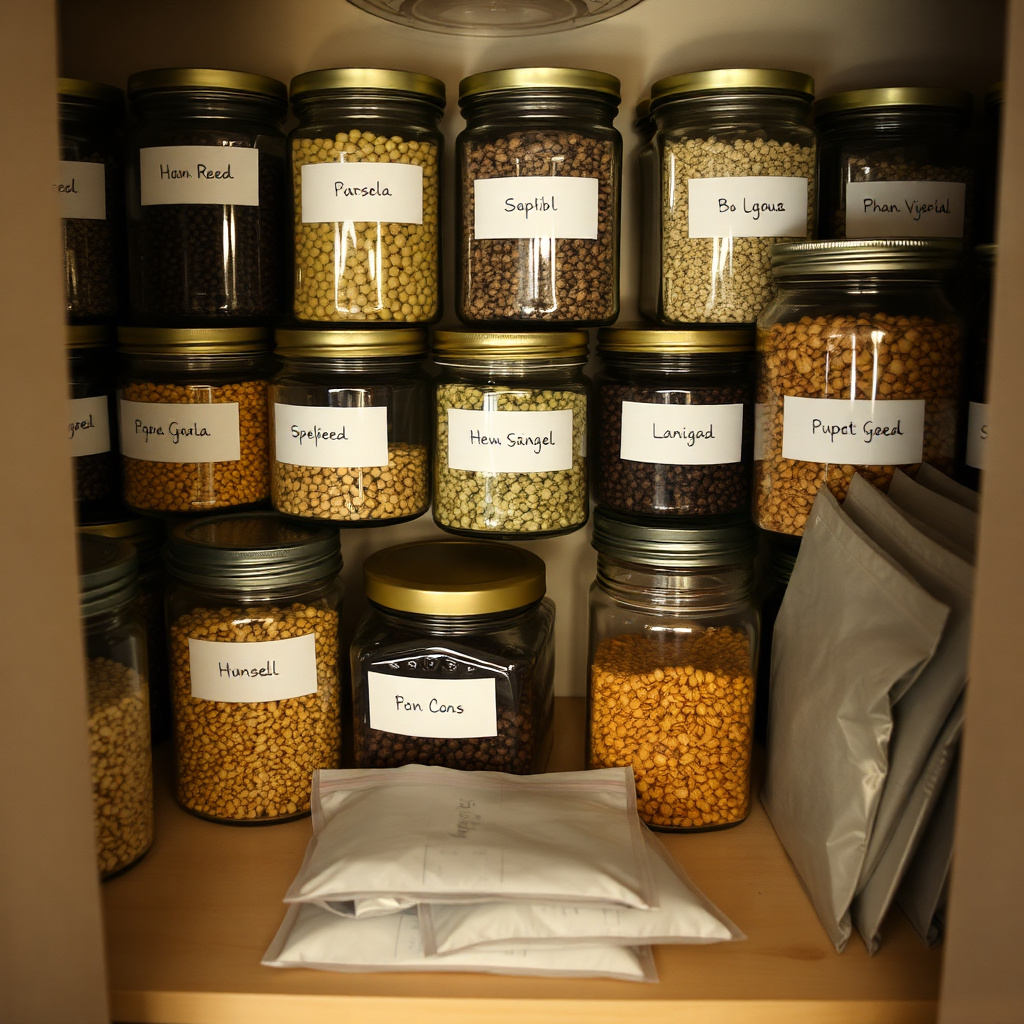
Seeds remain viable longest when stored in cool, dry, and dark environments. Cool temperatures between 32°F and 50°F slow down metabolic decay and moisture loss.
Low humidity—below 8-10%—prevents mold growth and premature germination. Airtight containers like glass jars or sealed envelopes help maintain stable conditions.
- Store seeds in airtight containers
- Keep away from sunlight and heat sources
- Add desiccants like silica gel packets to absorb moisture
- Label containers with seed type and date
For more on this, see our related guide: How to Germinate Old Cannabis Seeds: Effective Techniques to Boost Success.
Avoiding Common Storage Mistakes
Exposing seeds to fluctuating temperatures or moisture cycles drastically reduces viability. Do not store seeds in plastic bags unchecked as humidity can accumulate and cause mold.
Avoid storing seeds near chemicals or foods that emit ethylene gas, which can trigger early germination. Regularly check older seeds to assess viability before planting season.
Frequently Overlooked Signs and Tips for Improving Germination

Hints from Seed Packaging and Expiry Dates
Seed packets often have a packed or expiration date indicating shelf life. Seeds older than this date could have reduced viability and should be tested first before planting.
Seeds saved from previous seasons also benefit from germination testing, especially if storage conditions weren’t ideal or if you’re unsure of their age.
For more scientific details on seed viability, refer to this comprehensive resource. seed viability.
Pre-Planting Treatments to Increase Germination Success
Certain seeds benefit from scarification (scratching the seed coat), soaking, or stratification (cold treatment) to improve germination rates. These techniques help overcome dormancy barriers in some species.
Following species-specific treatment guidelines boosts success, especially when seeds have marginal viability. This adds an extra step but can dramatically improve your gardening outcome.
- Scarification for hard-coated seeds like morning glories
- Cold stratification for species like lilacs or cones
- Soaking seeds overnight before planting
Seed Viability Testing Methods Comparison
Here is a comparison of common seed viability tests based on accuracy, ease of use, and practicality for home gardeners.
| Method | Accuracy | Time Required | Equipment Needed |
|---|---|---|---|
| Visual Inspection | Moderate | Immediate | None |
| Touch Test | Low to Moderate | Immediate | None |
| Germination Test | High | 5-14 days | Paper towel, plastic bag |
| Float Test | Moderate | 10-15 minutes | Water container |
| X-ray Analysis | Very High | Minutes | Specialized equipment |
Frequently Asked Questions
Can old seeds still germinate?
Old seeds can sometimes germinate if they were stored properly and have retained viability, but the germination rate usually declines as seeds age.
How long does a seed germination test take?
Most seed germination tests take between five and fourteen days, depending on the species and environmental conditions.
Does soaking seeds affect viability?
Soaking seeds can help soften hard seed coats and improve germination; however, soaking seeds too long can decrease viability by causing damage or rot.
Is the float test reliable for all seeds?
The float test gives a quick estimate but isn't reliable for all seed types as some viable seeds may float and some non-viable seeds may sink.
What's the best way to store seeds at home?
Store seeds in cool, dry, and dark conditions within airtight containers to preserve viability and prevent moisture damage.
Key Takeaways
- Visual and touch tests can quickly screen seed viability but are not fully reliable alone.
- The seed germination test is the most accurate way to determine viability at home.
- Proper seed storage dramatically extends viability and germination potential.
- Advanced methods like X-ray imaging provide detailed assessment but are typically inaccessible to casual gardeners.
Conclusion
Determining seed viability involves balancing quick observational methods with more accurate, time-intensive testing approaches. Paying attention to seed appearance and firmness helps remove obviously non-viable seeds early. Still, confirming viability through a seed germination test gives the most reliable forecast for garden success. Awareness of the factors affecting seed longevity and applying suitable storage methods further supports you in maintaining a healthy seed collection for future growing seasons. The process empowers you to maximize planting efforts and ultimately enjoy robust plant growth.
For gardeners working primarily with saved or older seeds, the seed germination test stands out as the best tool to anticipate germination success. If you have access to seed testing facilities, advanced tools like X-ray analysis can rapidly identify internal seed damage. For less technical users, a combination of visual inspection, basic tests such as the float test, and germination trials usually suffices. Always pair these methods with proper seed storage techniques to maintain viability. Choosing the right approach depends on your gardening scale and available resources but adopting even simple tests improves overall outcomes.
Start by selecting a small batch of seeds and performing a germination test before committing to large-scale planting. Maintain seeds in cool, dry conditions, and periodically test seed batches older than one or two years. Consistently using this strategy reduces wasted seeds and gives you confidence in your garden’s potential. Ultimately, recognizing viable seeds early helps you allocate time and effort efficiently, leading to healthier plants and a more satisfying gardening experience.