How to Start Seeds Indoors
Starting seeds indoors can feel overwhelming, especially if you’re new to gardening. Many people struggle with getting their seedlings off to a strong start or worry about choosing the right supplies. But don’t worry—you’re not alone, and with a few simple tips, you’ll be growing healthy plants in no time.
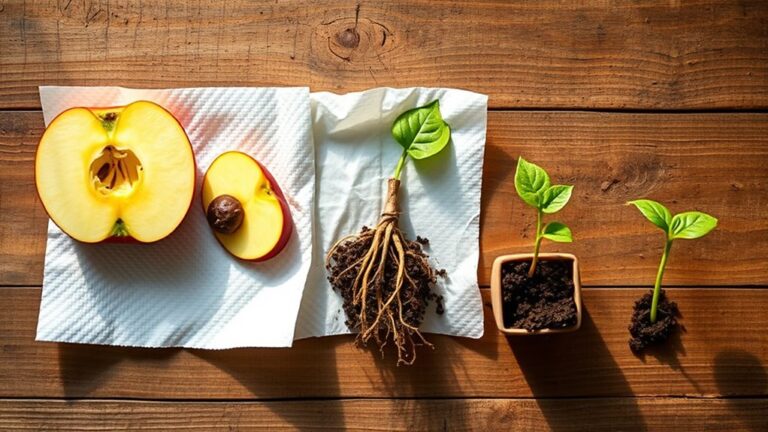
To start seeds indoors, choose healthy, heirloom varieties from reputable suppliers. Prepare light, well-draining soil mixed with compost, and fill trays or pots evenly.
Plant seeds at the recommended depth, keeping the soil moist but not waterlogged, and provide plenty of light using grow lights if natural sunlight is limited. Maintain a warm, stable environment around 65-75°F, and monitor humidity and airflow to prevent issues.
If you want to master every step, investigate more tips below.
Key Takeaways
- Choose high-quality, heirloom seeds that are good for indoor growing and check that they’re viable before planting.
- Prepare a light, well-draining soil mix with organic matter like compost to give your seeds the best start.
- Use grow lights and keep the temperature steady between 65-75°F for the best germination results.
- Sow your seeds at the recommended depth, keep the soil moist, and make sure there’s good air circulation around your seedlings.
- When they’re ready, harden off your seedlings and transplant them outdoors when conditions are just right.
Choosing the Right Seeds for Your Indoor Garden
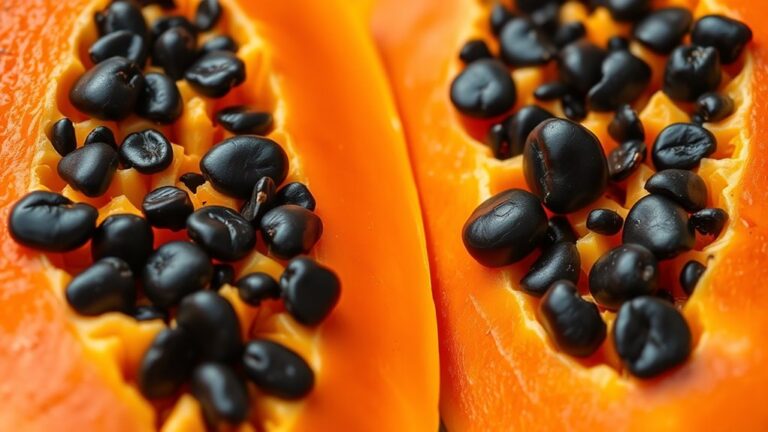
Choosing the right seeds is crucial for a successful indoor garden, especially if you’re just starting out. When picking seeds, go for heirloom varieties because they often taste better and adapt well to different conditions. These seeds are open-pollinated, so they produce plants true to the parent, giving you reliable results year after year.
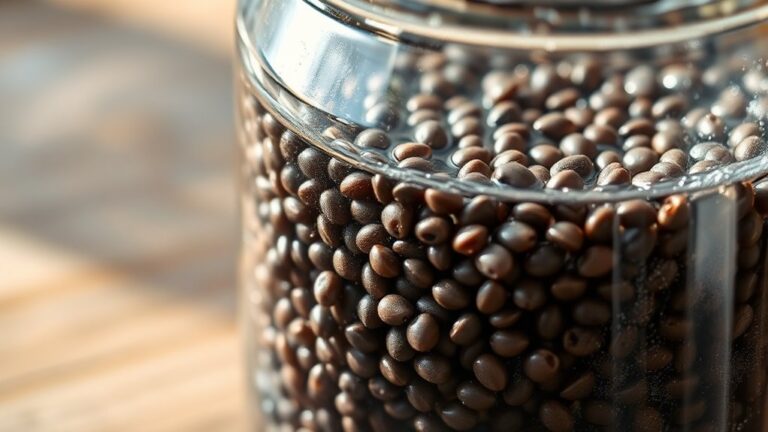
It’s also important to check seed viability, which shows how likely the seeds are to germinate successfully. Always buy from reputable suppliers who test their seeds for high viability rates. Avoid old or poorly stored seeds, as they may not sprout well.
Think about your indoor environment and choose seeds suited for it, like compact or dwarf varieties. By selecting quality heirloom seeds with high viability, you’re setting a strong foundation for healthy, productive plants.
This careful approach ensures your indoor garden will grow successfully from the very start.
Setting Up Your Indoor Seed-Starting Space
First, pick a spot that gets plenty of light and stays at a steady temperature. A sunny windowsill or a heated greenhouse can be perfect. Just make sure it’s a place where your seedlings can thrive without too much fuss.
Next, gather all your gardening supplies and keep them nearby. That way, everything you need — like pots, soil, and seeds — is within easy reach. If your space doesn’t get enough natural light, set up some grow lights to give your seedlings the extra brightness they need.
Finally, keep an eye on the light and temperature levels. Consistent conditions will help your seedlings grow strong and healthy, giving them the best start in life.
Choosing the Right Location
Finding the right spot for your indoor seed-starting setup is key to healthy growth. Pick a place with plenty of light, like near a south-facing window or under grow lights, to help your seedlings stay strong.
Avoid areas with big temperature swings, as sudden changes can stress the young plants. Good air circulation is also important to prevent mold and pests, so steer clear of cramped corners or enclosed spaces.
Think about humidity levels too; a steady environment helps seedlings grow better. The spot should be easy to access for watering and caring for your plants.
Look for a space with stable temperatures, minimal drafts, and protection from pests. Choosing the right location gives your seedlings a strong start to thrive.
Organizing Gardening Supplies
Organizing your gardening supplies before setting up your indoor seed-starting space helps ensure everything you need is within reach and ready to use. Start with a supply checklist to make sure you have essential tools like seed trays, labels, and watering cans.
Use effective labeling systems to keep track of seed varieties and planting dates, which will boost your workspace efficiency. Designate a specific area for seed storage to keep your supplies organized and protected.
Incorporate organization tips such as containers for small items and clear storage bins for bulk supplies. Managing your inventory helps prevent shortages, and planning seasonally means you can stock up ahead of planting times.
Proper arrangement minimizes clutter, saves time, and makes the entire seed-starting process smoother and more enjoyable.
Controlling Light and Temperature
Controlling light and temperature is essential for healthy seed development indoors. You want to provide consistent seed heat, ideally between 65-75°F, to promote steady germination.
Use reliable light sources like grow lights that emit full-spectrum light, mimicking natural sunlight and supporting all growth phases. Proper seedling placement guarantees they receive adequate light without overheating or stretching.
Minimize temperature fluctuations by keeping your space stable, using fans or heaters if needed. Humidity control helps prevent damping-off disease and keeps seedlings healthy.
Adjust light spectrums as seedlings grow, increasing intensity gradually. Maintaining environmental stability—consistent temperature, light, and humidity—gives your seeds the best chance to develop strong, healthy roots and foliage.
What Lighting Do Seeds Need to Grow Indoors?
To help your seeds grow strong, you want to give them the right kind of light. Most seeds need bright, direct light for about 12 to 16 hours a day. But keep in mind, every type of seed can be a little different, so it’s good to check what they specifically need.
As your seeds start to grow, watch how they respond to the light. If they look tall and leggy, they might not be getting enough light, so you can increase the intensity or lengthen the time they’re under the light. On the other hand, if they seem to be burning or drying out, you might want to lower the light or move it a bit further away. Basically, just keep an eye on them and adjust as needed to keep them happy and healthy.
Ideal Light Intensity
Have you ever wondered how much light your seeds need to thrive indoors? Getting the right light intensity helps seedlings grow strong and healthy. Here are some key points to consider:
- Keep light intensity moderate. Too much can scorch your seedlings, while too little slows growth.
- Use full-spectrum lights that mimic natural sunlight to support proper seedling care.
- Position your lights close enough to give enough intensity without causing heat stress, and adjust as your seedlings grow.
Understanding the effects of light spectrum and photoperiod helps you fine-tune your indoor setup. Artificial lights like LED grow lights should provide consistent, bright light for optimal seedling growth.
Getting the right light positioning and intensity sets the foundation for healthy, strong plants from the start.
Light Duration Requirements
Ever wonder how long your seeds should be under grow lights each day to guarantee healthy germination and growth? The key is providing the right light duration. Most seeds need around 12 to 16 hours of light daily to ensure proper seed germination.
Too little light can slow down germination and weaken seedlings, while too much can cause stress or drying out. Using a timer helps keep the light cycle consistent, which is really important for healthy growth.
Keep in mind that once seedlings sprout, they still need plenty of light to develop strong, vibrant stems. Adjust the duration based on the plant type, but generally, 14 hours of light per day is a safe starting point.
Getting the right light duration is fundamental for successful indoor seed starting.
Must-Have Supplies and Equipment for Successful Seed Starting
Starting seeds indoors needs a few key supplies to help them germinate and grow strong. First, get a good seed starting kit, which usually has seedling trays and grow domes to keep the right environment.
Next, gather some essential tools like heat mats to control temperature, watering cans to keep soil moist, and seed labels to keep track of your different varieties. These small items make a big difference.
It’s also helpful to have humidity trays to keep the air around your seedlings humid and prevent drying out. This helps your seedlings stay healthy and grow better.
These supplies create a controlled space that encourages strong roots and reduces transplant shock later on. Using quality equipment that fits your needs will make starting seeds easier and more successful.
Finally, don’t forget plant markers to organize your seedlings and keep everything clear. With these must-have items, you’ll be setting a solid foundation for healthy indoor seedlings.
How to Prepare the Best Soil for Starting Seeds Indoors
If you want to give your seeds the best chance to grow, start with a good quality soil mix that’s made specifically for seed starting. It should drain well so your seeds don’t sit in water and get rotted. You can also mix in some organic matter like compost to give those tiny plants a nutrient boost right from the start. Getting your soil just right really helps ensure your seedlings grow strong and healthy from the very beginning.
Choosing Quality Soil Mix
Choosing the right soil mix is key to healthy seedling growth. You want a blend that provides the perfect balance of soil types and nutrients to support your young plants.
Here are three important tips:
- Pick a light, well-draining mix that keeps moisture in but doesn’t get waterlogged.
- Make sure the soil has a good balance of nutrients like nitrogen, phosphorus, and potassium.
- Use a sterile, high-quality seed-starting mix to prevent diseases and help your seedlings grow strong.
Avoid using garden soil, as it can be too heavy or might contain pests. Instead, choose a specialized seed-starting mix that gives your seedlings the best environment from the start.
Ensuring Proper Drainage
Guaranteeing proper drainage is key to healthy seedling growth because waterlogged soil can cause root rot and stunt their development.
Choose containers with drainage holes to prevent excess water from building up. When picking a container, think about adding gravel or broken pottery at the bottom to help water flow better.
Avoid using containers without drainage, as they trap moisture and create soggy soil. Mixing coarse materials like perlite or sand into your soil can also improve drainage.
Good container choices and drainage materials let excess water escape easily, keeping the soil moist but not soaked.
This balance encourages strong roots and healthy seedlings, giving your plants the best start indoors.
Incorporating Organic Matter
Incorporating organic matter into your soil is key to creating a nutrient-rich environment that helps your seedlings thrive. It improves soil structure, boosts microbial activity, and helps retain nutrients better.
To get the most out of your soil, try adding compost, including earthworm castings and vermicomposting, which supply essential nutrients and support healthy seedling growth.
You can also use soil amendments and organic fertilizers to balance the pH and provide vital nutrients, encouraging strong growth.
Don’t forget to incorporate organic pest control methods that naturally deter pests without harming your seedlings or beneficial microbes.
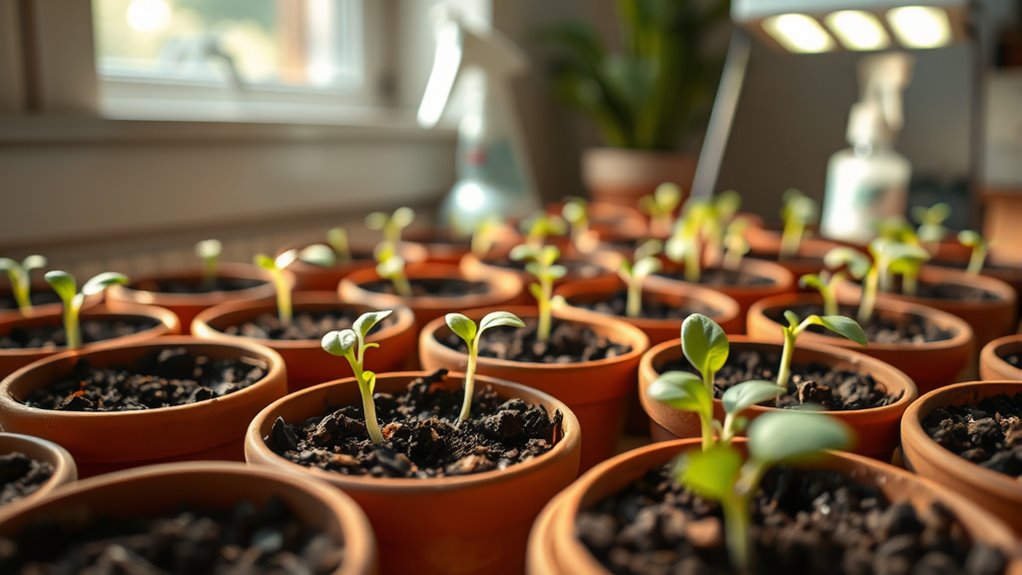
Step-by-Step: How to Sow Seeds and Keep Them Happy
Starting your seeds correctly is key to healthy growth. First, pick seed varieties that are good for indoor gardening. Fill your trays or pots with quality seed-starting mix, making sure it drains well.
Plant the seeds at the depth recommended on the packet and gently cover them with soil. Keep the soil moist but not waterlogged. Place your containers in a warm, bright spot for the best results.
If natural sunlight is limited, use grow lights to give your seedlings 12–16 hours of light daily. Maintain a consistent temperature to help the seeds germinate successfully.
As the seedlings start to grow, thin out the weaker ones so the remaining plants have enough room to develop. This will give your indoor garden a healthy start.
Watering Tips and How to Manage Humidity for Seedlings
Watering your seedlings correctly is key for healthy growth; too much or too little can slow their development. Keeping the right moisture in the soil helps roots stay strong and prevents rotting.
To manage humidity well, keep the environment humid but not soaked. Here are three simple tips to help you stay on track:
- Water consistently—check the soil daily and water when the top inch feels dry. Use a gentle spray or watering can so you don’t disturb delicate roots.
- Use a humidity dome or plastic cover—this helps keep humidity stable, stopping it from becoming too dry or too damp.
- Ventilate regularly—remove the cover daily to prevent excess humidity, which can cause mold and damping-off disease, while keeping the humidity in a healthy range.
Balancing moisture and humidity levels helps your seedlings grow strong and healthy, ready for transplanting.
When and How to Transplant Your Seedlings Outdoors
When your seedlings have grown sturdy and developed their first true leaves, it’s time to plan for transplanting them outdoors. Timing is key—wait until the risk of frost has passed and daytime temperatures are consistently warm.
Hardening off is a must. Gradually expose your seedlings to outdoor conditions over a week to reduce shock and stress. Before transplanting, water the seedlings thoroughly to support their care and make digging easier.
Choose a cloudy day or late afternoon for planting to help minimize transplant shock. Be gentle when removing seedlings from their containers, keeping the root balls intact. Space them according to the plant’s needs to prevent overcrowding.
After transplanting, water deeply and consider applying mulch if needed to keep moisture in. Proper timing and careful care will help your plants establish well and thrive outside.
Common Problems When Starting Seeds Indoors and How to Fix Them
Growing healthy seedlings indoors can sometimes come with challenges, such as uneven germination, damping-off disease, or leggy stems. To fix these issues, focus on monitoring growth and controlling the environment.
Guarantee consistent humidity and temperature to prevent damping-off disease and encourage uniform germination. Use a humidity dome and keep the room temperature steady.
Maintain steady humidity and temperature with a dome to ensure healthy, uniform seedling germination.
Promote good indoor air circulation to reduce excess humidity and help minimize pests that thrive in stagnant air.
Provide balanced seedling nutrition with proper fertilization, and watch for irregular growth patterns.
Regularly inspect your seedlings for signs of disease or pests. Practice disease prevention by sterilizing tools and avoiding overwatering.
If pests appear, treat them promptly with organic pest management methods. Maintaining ideal conditions and attentive care will help your seedlings develop strong roots and stems. This sets the stage for successful transplanting.
Top Tips for Growing Strong, Healthy Seedlings
Once your seedlings have sprouted and you’ve tackled the initial challenges, paying attention to their ongoing care makes a big difference in how strong and healthy they become. Managing pests, keeping nutrients balanced, and checking on their growth regularly are key.
Choose the right containers to prevent root problems and ensure good drainage. Keep an eye on temperature changes and moisture levels to avoid stress and diseases like damping-off. Proper timing, like starting with diluted fertilization and adjusting as they grow, promotes steady development.
Regularly monitoring your seedlings helps you catch issues early, whether pests or nutrient gaps. Pick seedling varieties that suit your environment for the best results. Here’s a quick guide:
| Aspect | Tips | Common Mistakes |
|---|---|---|
| Pest Management | Inspect regularly, use organic controls | Ignoring early signs |
| Nutrient Balance | Use balanced fertilizer, avoid overfeeding | Over-fertilization |
| Container Choices | Use breathable, drainage-friendly containers | Poor drainage |
Frequently Asked Questions
How Long Does It Take for Seeds to Germinate Indoors?
Seeds usually germinate indoors within 7 to 14 days, depending on the type and conditions. Keep an eye out for sprouting as part of the germination process.
Make sure the soil stays consistently moist, warm, and well-lit to keep your seedlings healthy. Proper temperature and moisture levels can help speed things up.
Check your seeds regularly, and if germination seems slow, adjust your environment to create the ideal conditions for your seedlings to thrive.
Can I Start All Types of Seeds Indoors?
You can start many types of seeds indoors, but not all are suitable. Focus on seed selection, choosing varieties that thrive indoors, like herbs and certain vegetables.
Check germination rates and ensure proper lighting conditions, as some seeds need more light or specific temperature ranges. Indoor varieties tend to germinate better and grow faster.
Avoid seeds that require outdoor conditions, cold stratification, or very specific environments. This way, you’ll have a higher chance of success when starting seeds indoors.
How Do I Prevent Leggy Seedlings Indoors?
To prevent leggy seedlings indoors, make sure they get enough light. Ideally, they should have 12 to 16 hours of bright, direct light each day. If natural light isn’t enough, consider using a grow light to give them a boost.
Next, focus on improving the soil quality by using a well-draining seed-starting mix. This helps promote healthy root growth and keeps the seedlings strong. Keep the seedlings close to the light source so they don’t stretch towards it.
Finally, avoid overwatering your seedlings. Too much water can cause them to become weak and spindly. Following these steps will help your seedlings grow sturdy and compact, rather than leggy and thin.
What Temperature Is Best for Seed Germination?
The best temperature for seed germination is usually between 65-75°F (18-24°C). Keep your seedling containers in a warm, steady environment to help them sprout well.
Make sure to maintain the right humidity levels to prevent the soil from drying out, but don’t let it get too wet, which can cause damping-off. Using a propagator or covering your containers with plastic can help keep humidity consistent.
Keep an eye on the temperature regularly to ensure it stays within that ideal range. This will give your seeds the best chance to germinate successfully.
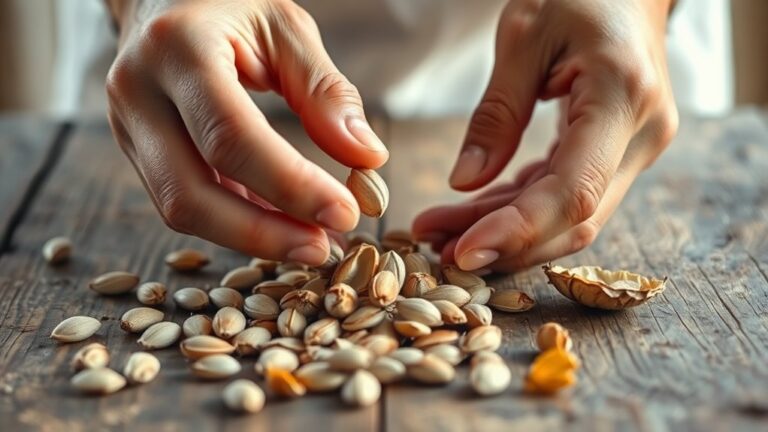
How Do I Save Seeds From My Indoor Plants?
To save seeds from your indoor plants, wait until the seed heads are fully mature and dry.
Use harvesting techniques like carefully cutting the seed pods or flower heads, then gently remove the seeds.
Store your seeds in seed storage containers, such as paper envelopes or glass jars, in a cool, dark, and dry place.
Proper seed storage helps keep them viable for future planting, and handling them carefully preserves their quality.
Conclusion
Starting seeds indoors is a rewarding way to grow your own garden, even if you’re short on space or sunlight. Don’t let worries about failure hold you back. By following these simple steps, you’ll boost your confidence and cultivate healthy seedlings.
Remember, patience and attention are key. With a little effort, you’ll soon enjoy lush, thriving plants that bring beauty and freshness to your home or garden.
Getting started with seed starting indoors is easier than you might think. Just take it step by step and watch your garden grow from the comfort of your home.