7 Simple Steps to Successfully Germinate Seeds
Starting your garden from seeds can be incredibly rewarding, but many people struggle with getting those tiny sprouts to grow strong. If you’ve ever felt frustrated watching your seeds struggle to germinate, you’re not alone.
With a few simple steps, you can boost your success rate and enjoy healthy, vibrant seedlings.
To successfully germinate seeds, first choose high-quality, appropriate seeds for your climate, and prepare them by soaking or scarifying if needed.
Next, select the best germination method—like planting directly in soil or using paper towels—and create a warm, humid environment with consistent temperatures.
Water carefully to keep seeds moist but not soaked, monitor for issues, and wait until seedlings are strong enough before transplanting.
Follow these steps, and you’ll see healthy sprouts—continue to explore how to perfect each stage for ideal growth.
Key Takeaways
- Choose high-quality seeds that are suited for your climate and soak tough-coated seeds to improve their chances of germinating.
- Use the right germination methods like soaking, planting directly, or doing a paper towel test, depending on the seed type.
- Keep the temperature between 65-75°F and maintain humidity by covering your containers to lock in moisture.
- Watch your seedlings as they grow, making sure they develop two true leaves before transplanting.
- Prepare your planting site with good soil and drainage, and handle seedlings gently to give them the best start.
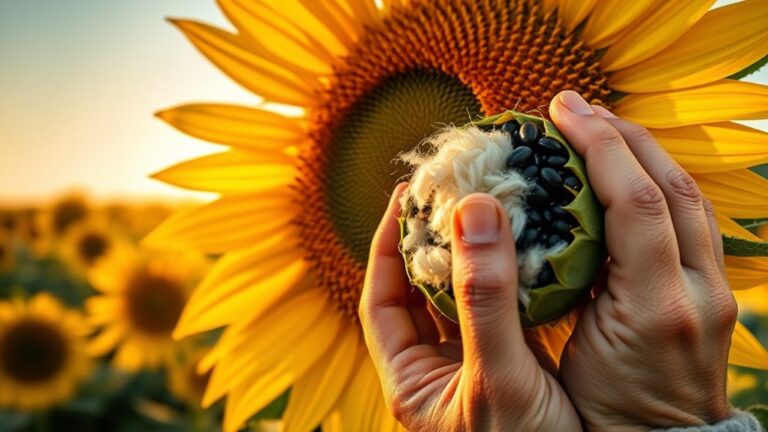
How to Choose the Best Seeds for Germination
How do you guarantee your seeds will grow successfully? Start by choosing the right seed varieties suited for your climate and season. Look for seeds with high germination rates because these indicate a better chance of sprouting successfully.
Choose climate-suited seeds with high germination rates for a successful garden start.
When selecting seed sources, opt for reputable suppliers that provide fresh, quality seeds. This reduces the risk of poor germination and helps ensure healthier plants.
If you’re aiming for organic options, check labels to confirm the seeds are certified organic. This can lead to healthier, pesticide-free growth.
Avoid seeds from unreliable sources or those that look damaged or old, as they often have lower germination rates.
Remember, using high-quality seeds from trusted seed sources increases your chances of a successful garden.
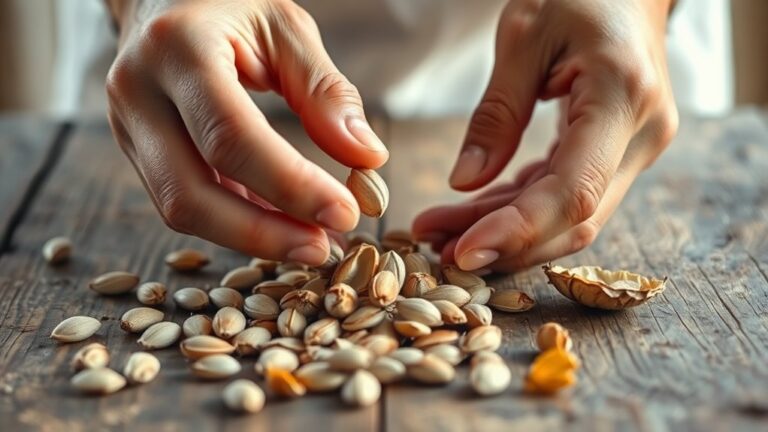
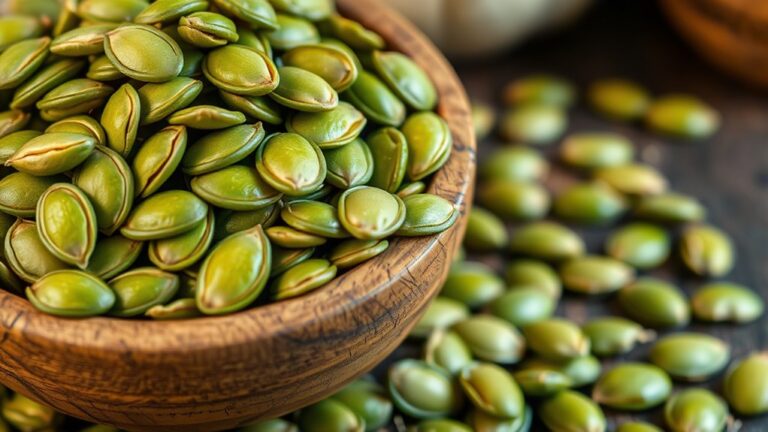
How to Prepare Your Seeds for Sprouting
Once you’ve picked high-quality seeds, preparing them properly can really boost your chances of sprouting successfully. Start with seed soaking; put your seeds in warm water for several hours or overnight. This softens the seed coat and helps water get in to kickstart germination.
For seeds with tough outer shells, seed scarification is important. Gently nick or sand the seed coat to break the surface, making it easier for water to enter. Just be careful not to damage the inside of the seed.
After soaking or scarification, rinse the seeds thoroughly to remove any debris or loosened shell fragments. Keep the seeds in a damp, clean cloth or paper towel until you’re ready to plant.
Proper preparation gives your seeds the best shot at sprouting quickly and healthily. Remember, different seeds might need different handling, so it’s a good idea to do some quick research on their specific needs for the best results.
What’s the Best Method for Seed Germination?
Choosing the right germination method can really improve your success rate when sprouting seeds. Different seeds may need specific techniques to ensure they grow healthy and strong.
Selecting the proper germination method boosts seed sprouting success and healthy growth.
Some seeds do well with simple methods, while others require more precise conditions. To get the best results, consider these options:
- Soaking seeds: Perfect for hard-coated seeds like beans or peas. Soaking softens the shell and speeds up germination.
- Planting directly in soil: Great for most garden seeds. Just plant at the right depth and keep the soil moist.
- Using paper towels: Ideal for testing seed viability or delicate seeds. This method keeps seeds moist without soil.
- Cold stratification: Necessary for some seeds like certain trees. It involves chilling seeds before planting to help break dormancy.
Choosing the right technique for your seed types helps ensure successful sprouting and healthy growth.
Setting Up the Perfect Environment for Seed Sprouting
Want to give your seeds the best chance to sprout? First off, keep the temperature steady and within the ideal range for your specific plant. It’s kind of like giving them a cozy little home to grow in.
And don’t forget about the light! Make sure they get enough, but steer clear of direct, harsh sunlight. Too much sun can dry them out and slow things down. By keeping these conditions just right, you’ll create a perfect environment for healthy, happy sprouting.
Optimal Temperature Conditions
Seeds typically germinate best within a specific temperature range, so creating the right environment is essential for successful sprouting. Maintaining consistent warmth encourages quicker, uniform sprouting. Using a heat mat can help keep temperatures steady, especially in cooler spaces.
Aim for a temperature between 65-75°F (18-24°C) for most seeds. Controlling humidity levels prevents drying out or overly damp conditions, which can hinder germination. To optimize temperature conditions, consider these steps:
- Place your seed trays on a heat mat if your environment is cool.
- Use a thermometer to monitor soil or surface temperature regularly.
- Cover your containers with plastic to retain humidity and warmth.
- Adjust humidity levels by misting or venting to keep conditions ideal.
Creating the perfect temperature environment boosts your chances of successful sprouting.
Proper Light Exposure
Light exposure is crucial for seed germination because it provides the energy plants need to start growing strong and healthy. Getting the right balance of light intensity and duration is key.
Too much light can dry out your seedlings, while too little can slow down growth. Aim for bright, indirect sunlight or use grow lights with adjustable strength.
Keep the light on for about 12-16 hours each day to mimic natural conditions. As your seedlings grow, adjust the light intensity to prevent stretching or legginess.
Use the table below to help set up the perfect environment:
| Light Intensity | Light Duration |
|---|---|
| Bright, indirect | 12-16 hours daily |
| Moderate | 8-12 hours (early stage) |
| Low (shade) | 6-8 hours |
| High (direct sun) | 16+ hours (avoid scorch) |
| Variable | Adjust as needed |
Watering Tips to Keep Your Seeds Moist and Healthy
Proper watering is key to keeping your seeds moist and healthy during germination. Staying consistent with moisture helps seedlings grow strong and prevents them from drying out.
To do this, mist or gently water your seeds daily, but avoid soaking the soil. Use a spray bottle or a fine watering can for a light, even layer of moisture.
Mist or gently water daily with a spray bottle for even, light moisture—avoid soaking the soil.
Cover the container with plastic wrap or a clear lid to help maintain humidity and moisture levels. Check regularly—if the soil feels dry, increase watering a bit, but never let it get waterlogged.
Maintaining the right moisture balance encourages healthy roots and keeps mold at bay. Remember, too much water can drown your seedlings, while too little can stop germination.
Consistent, gentle watering will keep your seeds moist, support healthy growth, and set the stage for successful seedlings.
Troubleshooting Common Seed Germination Problems
Even when you’re careful with watering, problems can still happen during germination. Poor seed viability means some seeds might not sprout, even if conditions are perfect.
Pests like fungus gnats or seed maggots can attack seedlings or roots, stopping growth. To troubleshoot, check your seeds before planting and toss out any that are damaged or old.
If germination stalls, make sure the temperature and moisture stay steady. Keep an eye out for pests, and if you spot any, treat your plants with organic insecticides or remove affected seeds.
Use the table below as a quick guide:
| Problem | Cause | Solution |
|---|---|---|
| Seeds not sprouting | Low seed viability | Use fresh, high-quality seeds |
| Seedlings rot | Overwatering or poor drainage | Let soil dry slightly between watering |
| Pests attacking seedlings | Common pests or fungi | Apply organic pest control |
| Stunted growth | Not enough light or nutrients | Improve light exposure and fertilize |
This simple approach helps you spot issues fast and boosts your chances for successful germination.
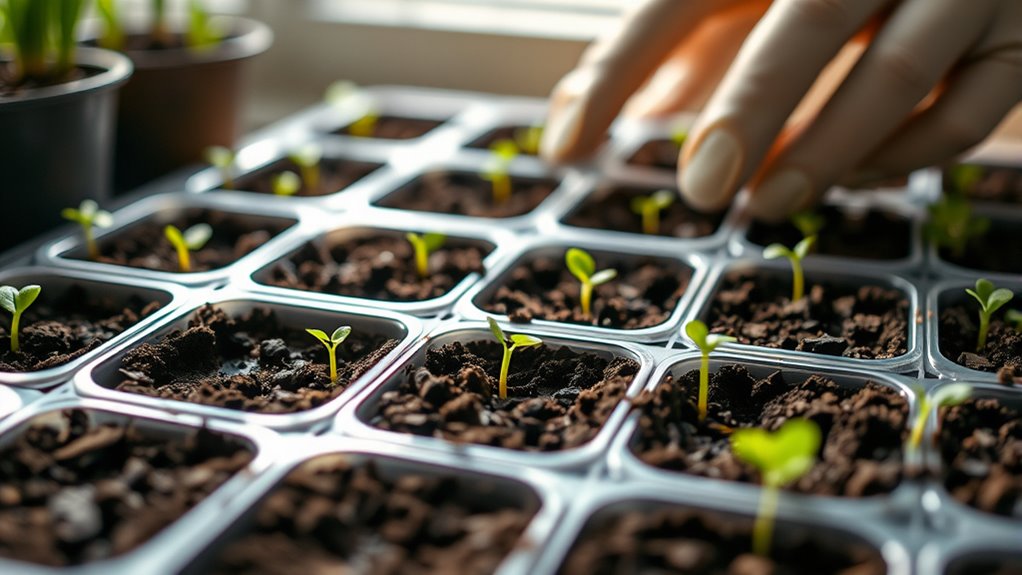
When and How to Transplant Your Seedlings Successfully
Timing is key when transplanting seedlings; doing it too early or too late can hurt their growth. Proper timing helps ensure your seedlings develop strong roots and thrive in their new spot. Wait until they have at least two sets of true leaves and their roots are visible but not overcrowded.
Here are four simple steps for a successful transplant:
- Choose the right time—pick a day when the weather is mild and your seedlings are sturdy.
- Prepare the new site—dig holes that are a little bigger than the root ball and enrich the soil with compost or fertilizer.
- Handle seedlings carefully—be gentle with the roots, and water them well before transplanting.
- Plant at the right depth—make sure the root collar is level with the soil surface.
Following these steps helps promote healthy root growth and sets your seedlings up for strong development in their new home.
Frequently Asked Questions
How Long Does It Typically Take for Seeds to Germinate?
Seed types vary in germination time, usually taking anywhere from a few days to several weeks. For quick sprouters like radishes, it might only take 3-7 days, while trees can take months.
You set the right germination conditions like proper moisture, temperature, and light, and you’ll see results faster. Keep an eye on the seeds, and know that ideal conditions help speed things up no matter what seed you’re growing.
Can I Germinate Seeds Indoors Without Natural Light?
Yes, you can germinate seeds indoors without natural light, but it’s a bit tricky. You’ll need to rely on artificial lighting to give your seeds the energy they need.
Keep the temperature steady, around 65-75°F, with good temperature control to mimic outdoor warmth. Position your lights close but not too close, and stay attentive—you might be surprised with a quick sprout!
What Are Signs of Seed Rot or Mold During Germination?
You’ll notice seed rot or mold when your seeds develop a fuzzy white or gray coating, or if they turn black and mushy. Keep an eye out for these signs to catch problems early.
To keep your seeds healthy, make sure you’re not overwatering. Maintaining the right moisture level is key to preventing mold and rot.
Temperature control is also important. Keep the environment warm but not too hot to stop mold from growing.
Practice good pest prevention by keeping your germination area clean. Regularly check your seeds and discard any that look moldy or rotten to protect healthy sprouting.
Is It Necessary to Use Any Special Soil or Medium?
You don’t always need special soil for germinating seeds; many seed types thrive in common, well-draining media.
Trying out soil alternatives like peat moss, coconut coir, or seed-starting mixes can help improve germination rates. These options hold moisture well and allow good airflow.
While some seeds might prefer specific mediums, most do just fine with these versatile, nutrient-rich choices. Always check your seed’s requirements to give it the best start.
How Can I Tell if a Seed Has Failed to Germinate?
You can tell if a seed has failed to germinate by checking its viability with a simple germination test. Just place a few seeds on a damp paper towel, keep it warm and moist, and wait a week or two.
If no sprouts appear, the seed probably isn’t viable. Also, look out for signs of mold or discoloration, which mean the seed has spoiled or didn’t germinate properly.
Conclusion
Think of germinating seeds as tending a delicate garden where patience and care are your loyal gardeners. With each step, you nurture potential into vibrant life, like a gentle rain encouraging a sprout to break through the soil.
Trust in the process, and soon you’ll see tiny green warriors emerge, ready to flourish. Just as a gardener’s touch transforms a bare patch into a lush paradise, your effort turns tiny seeds into thriving plants—nature’s miracle in motion.
By following these simple steps to successfully germinate seeds, you set the stage for healthy growth and a beautiful garden.