How to Make a Seed Starting Tray for Healthy Seedlings
Making a seed starting tray at home is a straightforward process that lets you control seed germination while saving money. By repurposing common household items or using affordable materials, you can create trays that provide the right environment for seeds to sprout and grow into robust seedlings.
Seed starting trays help maintain consistent moisture and temperature, both crucial factors for successful germination. Instead of buying expensive commercial trays, crafting your own allows customization to fit your garden’s needs, whether you start vegetables, herbs, or flowers.
This article details how to make seed starting trays step-by-step, including material selection, construction tips, and how to use and care for your trays to get the best seedling results all season long.
Choosing the Right Materials for Your Seed Starting Tray

Using Household Items as Seed Starting Trays
Many everyday containers can be repurposed as seed starting trays. Items such as takeout containers, yogurt cups, and egg cartons are inexpensive and widely available. Make sure to clean them thoroughly to prevent contamination. Punch small drainage holes at the bottom to avoid waterlogging.
While household items are practical, keep in mind the size and depth suitable for seed types. Shallow trays work for small seeds like lettuce, while deeper containers benefit plants with larger root systems.
- Clean thoroughly before use
- Add drainage holes to avoid stagnant water
- Select appropriate depth for seed types
Best Materials for Seed Starting Trays
Commercial seed starting trays are often made of plastic or biodegradable materials like peat or coir. Plastic trays are reusable and sturdy but require cleaning and sterilizing after each use to prevent disease spread. Biodegradable trays can be planted directly in the soil, minimizing transplant shock for seedlings.
Selecting the best materials for seed starting trays depends on your gardening preferences. Biodegradable options are environmentally friendly and reduce plastic waste, while plastic trays provide greater durability for multiple seasons.
- Plastic trays: durable, reusable
- Biodegradable trays: eco-friendly, plantable
- Consider ease of cleaning and reusability
Constructing Your Seed Starting Tray Step-by-Step

Preparing Containers for Seed Starting
Start by selecting containers and create drainage holes using a drill or a heated needle. Place a layer of fine mesh or coffee filter at the bottom to prevent soil loss through the holes. This setup keeps roots aerated while maintaining moisture levels.
Next, fill the containers with quality seed-starting mix rather than regular garden soil. This mixture is lightweight, sterile, and well-draining, which supports delicate seed germination.
- Drill 4-5 drainage holes per container
- Use mesh or filters to hold soil
- Fill with seed-starting mix (not regular soil)
For more on this, see our related guide: How to Transplant Seedlings Without Stressing Your Plants.
DIY Tray Base and Cover Options
If your seed containers are small or individual pods, consider building or repurposing a tray base to hold them together for easy watering and transport. A shallow plastic tray or baking sheet works well. Ensure the base can catch excess water to prevent mess.
For humidity control, use clear plastic lids or even recycled clear plastic wrap to cover your seed trays. This acts as a mini-greenhouse, holding in moisture and warmth critical during germination. Remove the cover gradually once seedlings emerge.
- Use a flat tray base to group containers
- Cover with clear lid or plastic wrap
- Remove cover as seedlings grow
Optimal Use and Care of Your Seed Starting Tray

Watering and Moisture Management
Seed starting trays require keeping the soil evenly moist but not soaked. Water lightly from below if your tray base holds water, allowing the soil to absorb moisture. Alternatively, mist the surface gently. Avoid overwatering, which causes damping-off disease.
Use a spray bottle for delicate seedlings to prevent disturbance. Check moisture daily, as seed-starting mixes dry out faster than garden soil due to their fine texture.
- Water from bottom or mist top gently
- Check moisture daily
- Avoid overly wet conditions to prevent diseases
Light and Temperature Requirements
Most seedlings need plenty of light to grow strong; a sunny windowsill or grow lights help replicate this. Maintain temperatures between 65-75°F (18-24°C) during the day for optimal germination. Bottom heat mats may speed germination for warmth-loving seeds.
Avoid drastic temperature changes and drafts to protect young sprouting plants. Once seedlings develop true leaves, they can tolerate slightly cooler conditions and more direct light.
- Provide 12-16 hours of light daily
- Maintain 65-75°F temperatures
- Use heat mats for warmth-loving seeds
Seed Starting Tray Cleaning and Reuse Strategies
Proper Cleaning to Prevent Disease
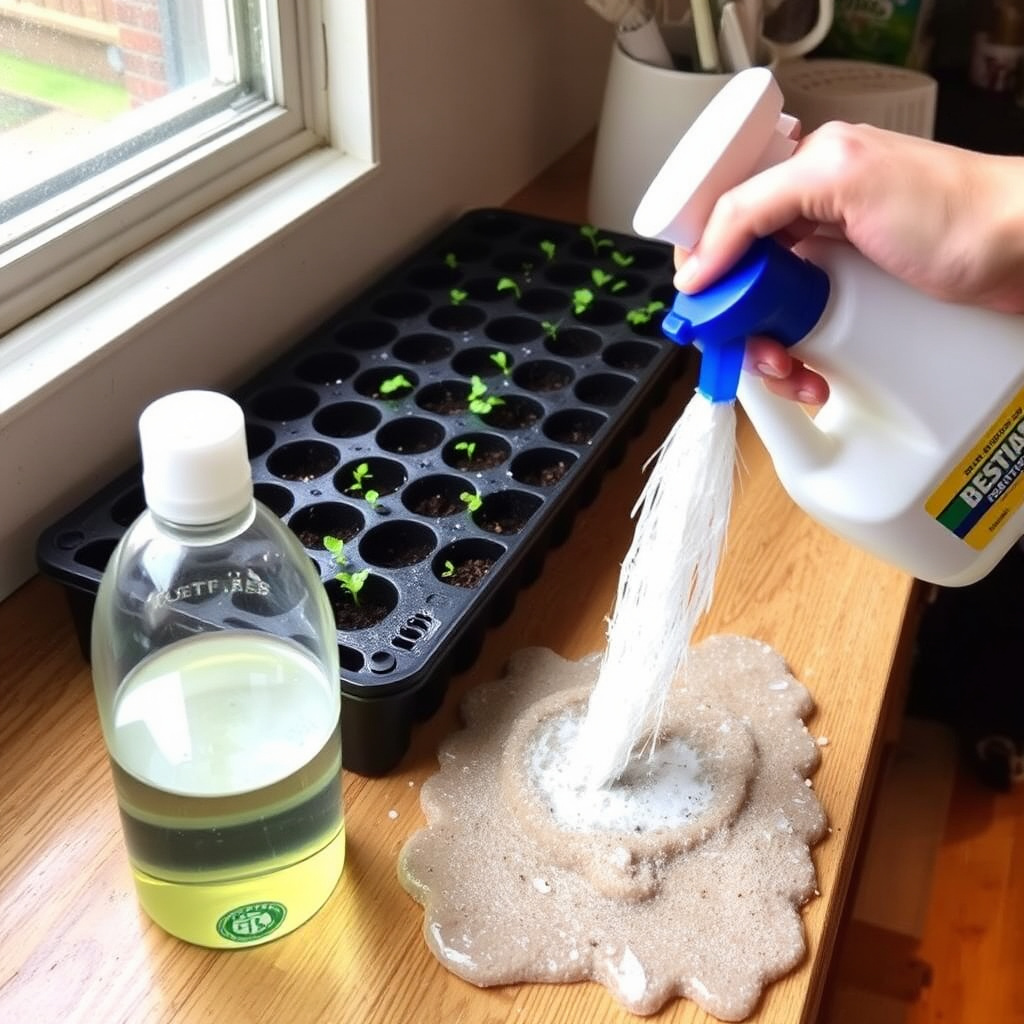
After each use, empty your seed tray of soil and soak it in warm soapy water. Scrub away any residue and rinse well. To kill lingering pathogens, disinfect by soaking the tray in a diluted bleach solution (one part bleach to nine parts water) for 10-15 minutes before rinsing thoroughly.
Cleaning prevents the spread of diseases like damping-off and root rot, which can devastate future seed batches. Make sure trays are completely dry before storing to avoid mold growth.
- Soak and scrub trays with soap
- Disinfect with diluted bleach
- Dry completely before storage
For more on this, see our related guide: How Deep to Plant Cannabis Seeds for Best Germination Results.
Extending Tray Lifespan
To prolong the life of plastic trays, avoid excessive bending or dropping that causes cracks. Label your trays to keep track of their ages and condition. Biodegradable trays, while not reusable, can be composted to return nutrients to your garden.
Using tray liners or removable inserts can also minimize wear and decrease cleanup time. Proper storage away from UV light will keep plastic trays durable season after season.
- Handle trays carefully to prevent damage
- Consider using liners for easier cleanup
- Store trays away from sunlight
Alternatives and Enhancements for Seed Starting Trays

Using Peat Pots and Biodegradable Inserts
Peat pots and other biodegradable inserts simplify transplanting because you can plant the whole pot directly in the soil, reducing root disturbance. They also enhance root aeration but may dry out faster than plastic trays, requiring frequent watering.
These options are great for gardeners looking for an eco-friendly choice and those growing seedlings for outdoor transplant without excess plastic waste.
- Plant directly with peat pots to avoid root shock
- Requires attentive watering due to faster drying
- Reduces plastic usage
For more detailed guidance on seed starting trays and techniques, visit this practical resource from the University of Illinois Extension. seed starting tray information at the University of Illinois Extension.
Enhancing Seed Starting with Automation and Sensors
For advanced gardeners, incorporating humidity domes with adjustable vents and soil moisture sensors improves precision watering and environment control. Automated grow lights with timers ensure seedlings get consistent light daily without manual adjustments.
These enhancements can increase seedling survival rates and reduce manual labor, making seed starting more efficient and successful, especially for large-scale or indoor gardeners.
- Humidity domes with vents regulate moisture
- Moisture sensors guide watering needs
- Automated grow lights provide consistent illumination
Seed Starting Tray Materials Comparison
Here’s how common seed starting tray materials compare on cost, durability, eco-friendliness, and ease of use for home gardening.
| Material | Cost | Durability | Eco-Friendliness | Best For |
|---|---|---|---|---|
| Plastic trays | Low to moderate | High – reusable multiple seasons | Low – non-biodegradable | Indoor seed starting, reuse |
| Peat pots | Moderate | Low – single use | High – biodegradable | Transplanting seedlings, eco-conscious gardeners |
| Egg cartons | Free (repurposed) | Low – single use | High – biodegradable | Small-seed starts, low-cost option |
| Biodegradable coir pots | Moderate | Low – decomposes in soil | High | Seedlings that transplant directly |
| Takeout containers | Free (repurposed) | Low to moderate | Low – plastic waste | Budget-friendly seed starting |
Frequently Asked Questions
Can I use recycled containers as seed starting trays?
Yes, many recycled containers like yogurt cups and egg cartons work well with added drainage holes. Clean them thoroughly to minimize disease risk and choose sizes appropriate for your seeds.
How often should I water seedlings in a seed starting tray?
Seedlings usually need moist but not soggy soil. Check daily and water lightly when the surface starts to dry, using bottom watering or misting to avoid disturbing tiny roots.
What is the best seed starting mix to use?
Use a lightweight, sterile seed starting mix designed to retain moisture while providing good drainage and aeration. Avoid regular garden soil which is too heavy and might contain pathogens.
Do I need to cover my seed trays during germination?
Covering trays with clear lids or plastic wrap helps keep humidity high and evenly warm during germination. Remove covers once seedlings sprout to prevent fungal issues.
How do I prevent damping-off disease in seedlings?
Maintain proper moisture without overwatering, use sterile seed starting mix, provide good airflow, and clean trays thoroughly before reuse to reduce damping-off risk.
Key Takeaways
- Seed starting trays can be homemade from household or commercial materials.
- Proper drainage, moisture, and lighting are essential for seed germination.
- Cleaning trays between uses helps prevent diseases like damping-off.
- Biodegradable options reduce transplant shock and environmental impact.
Conclusion
Creating your own seed starting tray offers a tailored way to nurture seedlings while saving money. By selecting materials that suit your gardening style and seed types, you foster an ideal environment for seeds to germinate. Attention to container preparation, drainage, and moisture is key in supporting early growth stages without inviting diseases.
For gardeners seeking longevity and reuse, plastic trays with removable inserts provide durability and ease of cleaning. If minimizing waste is a priority, peat pots or coir-based biodegradable trays alleviate transplant shock and break down naturally in soil. Egg cartons and recycled containers serve budget-conscious gardeners well but may require more frequent replacement.
To get started, gather your preferred containers or materials, ensure they have adequate drainage, and fill them with a sterile seed starting mix. Maintain consistent moisture with gentle watering and provide sufficient light. Over time, upgrading with domes or sensors can enhance your seedlings’ success rates. This hands-on approach to making seed starting trays gives your plants a strong head start for thriving gardens.