How to Test Old Seeds for Germination Success
Testing old seeds for germination viability is simple and can save you time and effort in the garden. The most straightforward method involves soaking the seeds in water, then placing them on a damp paper towel inside a warm environment to see if they sprout within a set timeframe. This quick germination test reveals whether the seeds are still viable enough to grow.
Gardeners often keep seeds longer than their prime storage period, making it important to test their viability before planting. Older seeds are prone to lower germination rates due to moisture loss or damage over time. Identifying viable seeds early minimizes wasted space and resources and enables better planning for your planting season.
This article will guide you through several practical ways to test old seeds, from simple home tests like the paper towel method to more precise approaches like the float test. It will also discuss factors influencing seed viability and offer tips for improving your chances of success with aging seeds.
Understanding Seed Viability and Why It Matters
What Affects Seed Longevity?
Seed longevity depends on factors such as storage conditions, seed type, and moisture content. Dry, cool, and dark environments help prolong seed viability, while exposure to heat, humidity, or fluctuating temperatures accelerates deterioration.
Different plant species have varying seed lifespans; some seeds remain viable for decades, while others may lose viability within a couple of years. Understanding these differences helps set realistic expectations for your old seeds.
How Time Lowers Germination Rates
Over time, seeds lose moisture and essential enzymes needed for germination, reducing their ability to sprout. This reduction happens more rapidly if seeds are stored improperly or if they have been exposed to pests or mold.
Degraded seeds might appear shriveled or discolored but sometimes look normal despite being non-viable, making testing necessary to confirm their potential.
Simple Home Methods to Test Old Seeds

Paper Towel Germination Test
This method involves placing seeds on a moist paper towel, folding it gently, and sealing it inside a plastic bag or container to maintain humidity. Seeds are then kept in a warm spot and checked regularly for signs of sprouting over several days or weeks, depending on species.
You can count how many seeds sprout compared to the number tested to estimate germination percentage. This gives a reliable indication of how well your old seeds can perform in soil.
- Use clean paper towels and distilled water
- Label bags with seed type and date
- Maintain consistent warmth (around 70-75°F / 21-24°C)
For more on this, see our related guide: What Causes Seeds to Lose Viability and How to Prevent It.
Float Test for Quick Viability Check
The float test involves placing seeds in a container of water and observing which ones sink or float after about 15 minutes. Typically, seeds that sink are denser and more likely viable, while floating seeds may be hollow or damaged.
This quick test is less precise than the germination test but can help discard clearly non-viable seeds before more detailed testing or planting.
- Discard floating seeds but test some via germination for confirmation
- Not all seeds follow this rule—some viable seeds may float, especially with certain seed types
Advanced Testing Techniques for Seed Viability
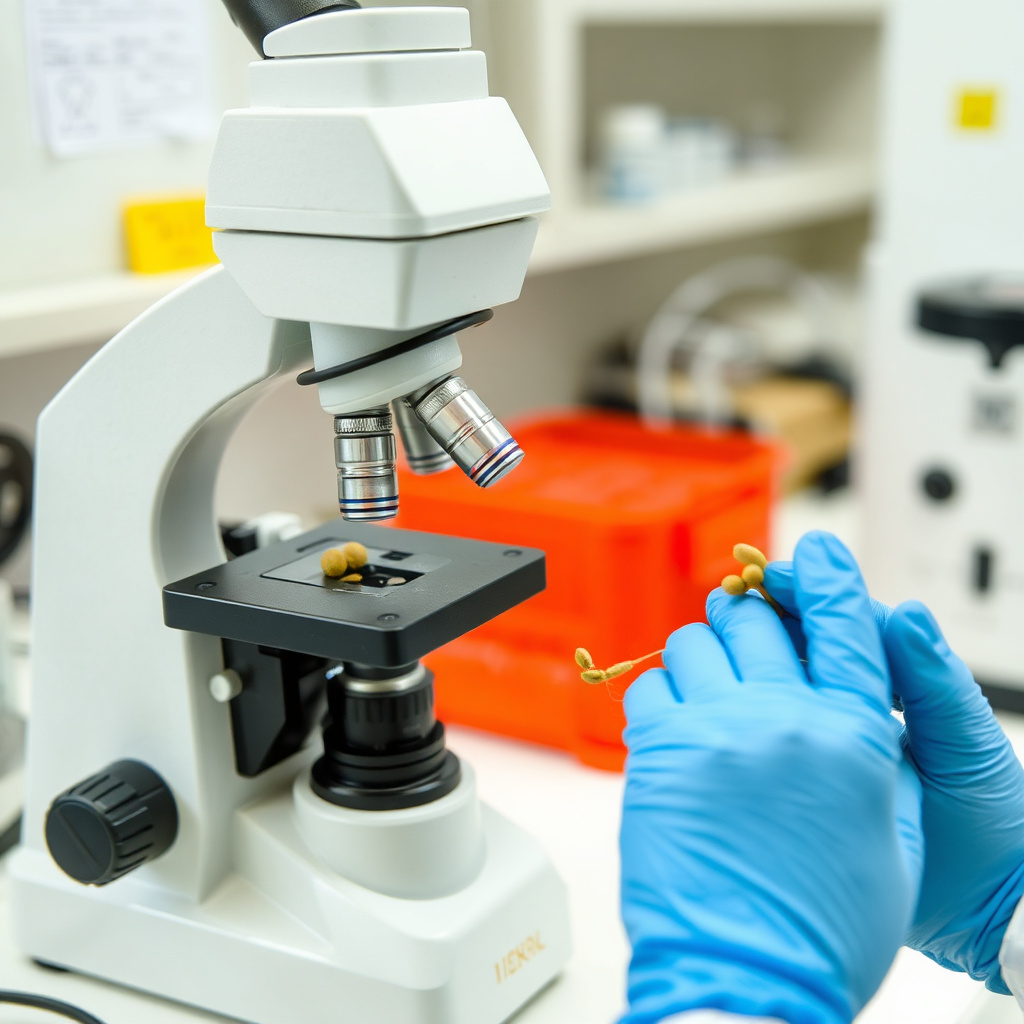
Using a Microscope to Inspect Seed Health
Examining old seeds under a microscope allows you to spot physical damage or fungal infection invisible to the naked eye. Healthy seeds have intact seed coats without obvious discoloration or cracks that can impede germination.
This approach is often used by professional seed banks or serious gardeners who want detailed insights before planting large batches.
Cut Test: Seeing the Embryo Inside
The cut test involves slicing seeds open to check the embryo's condition inside. A firm, white, and well-formed embryo usually indicates viability, whereas a soft, discolored, or hollow interior suggests poor or no germination potential.
Though this destroys the tested seed, it helps evaluate small seed samples when quantitative data is crucial.
Factors to Improve Success with Old Seeds

Pre-soaking and Scarification for Tough Seeds
Some older seeds benefit from soaking in water for 12 to 24 hours before planting to soften hard seed coats, enhancing water absorption and germination rates. Scarification, mechanically nicking or scratching the seed coat, also helps certain species break dormancy.
These techniques can revive seeds that would otherwise fail to sprout due to dormancy or tough outer layers.
- Soak seeds in lukewarm water
- Use sandpaper or a file for scarification carefully
- Avoid prolonged soaking to prevent rotting
For more on this, see our related guide: How to Store Seeds Long Term for Maximum Viability and Freshness.
Optimal Planting Conditions for Old Seeds
Providing consistent warmth, moisture, and appropriate soil type supports fragile seedlings from old seeds. Using seed-starting mixes that retain moisture without becoming soggy reduces fungal risks, improving overall germination success.
Adjust planting depth based on seed size; planting too deep can prevent weak seedlings from emerging.
- Keep soil moist but not waterlogged
- Maintain temperature suited for species
- Use gentle watering and avoid disturbance
When to Discard Seeds Instead of Planting
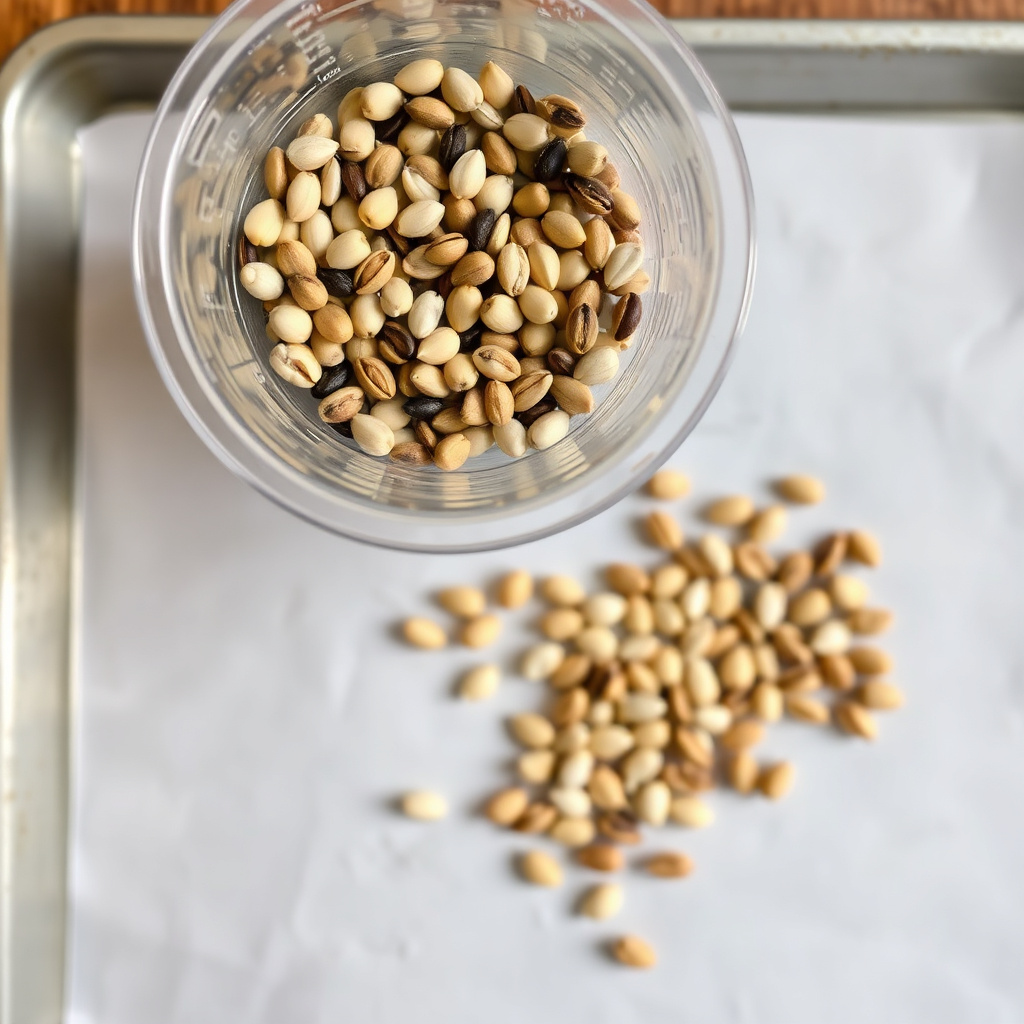
Signs That Seeds Are Non-Viable
Seeds that show mold, shriveling, or disintegration should be discarded. Also, those that fail both float and germination tests are unlikely to sprout and will waste nursery space and resources.
Relying on viability tests before planting old seeds avoids frustration and prevents planting failure.
For a deeper understanding of seed viability and testing methods, see the detailed explanation on seed viability and testing on Wikipedia. seed viability and testing on Wikipedia.
Proper Disposal Methods for Old Seeds
Discarding old seeds responsibly involves placing them in compost if free from chemicals or in sealed trash bags to prevent spread of unwanted plants. Avoid throwing seeds loosely outdoors where they may grow uncontrollably.
Contact local extension offices to learn about any special regulations for seed disposal in your area.
Comparison of Old Seed Testing Methods
Here’s a quick overview comparing common methods used to test old seed viability.
| Method | Accuracy | Time Required | Materials Needed | Suitability |
|---|---|---|---|---|
| Paper Towel Germination Test | High | Several days to weeks | Paper towels, water, plastic bags | All seed types, especially small seeds |
| Float Test | Moderate | 15 minutes | Water container | Fast preliminary check, not foolproof |
| Microscope Inspection | High | Varies | Microscope | Specialized, detailed analysis |
| Cut Test | High | Minutes | Knife or blade | Small sample analysis, destructive |
| Pre-soaking and Scarification | Enhances viability | 12-24 hours soaking | Water, sandpaper | Hard-coated seeds |
Frequently Asked Questions
Can I test all types of seeds with the paper towel method?
Yes, the paper towel germination test works well for almost all seed types, from tiny flower seeds to larger vegetable seeds, making it a versatile home testing method.
How long do I wait for seeds to sprout during the test?
Most seeds germinate within 7 to 14 days under ideal conditions, but some species may require longer. Check the specific seed type’s typical germination time for accurate results.
Is it worth planting old seeds that have low germination rates?
Planting seeds with low viability can still yield some plants but may reduce overall success and require planting extra seeds to compensate for failures.
Does the float test always indicate non-viable seeds if they float?
No, while many floating seeds are non-viable, some viable seeds may also float, so it should be used as an initial screen rather than a definitive test.
Can I improve germination rates by treating old seeds?
Yes, techniques like pre-soaking and scarification can increase success, especially for dormant or hard-coated seeds, by making it easier for water to penetrate.
Key Takeaways
- Simple germination tests can determine if old seeds are worth planting
- Proper storage prolongs seed viability significantly
- Pre-soaking and scarification help revive certain old seeds
- Discard visibly damaged or consistently non-viable seeds to save effort
Conclusion
Deciding whether to use old seeds involves evaluating their viability through testing methods like the paper towel germination test or float test. These tests provide clear insights that help avoid wasted time and resources on seeds that will not sprout. Being methodical about seed testing strengthens your planting plans and ensures your garden receives the best chance for a healthy start.
For gardeners preserving seeds over multiple seasons, combining testing with appropriate pre-planting treatments such as soaking and scarification can markedly improve germination rates. Seeds with hard coats or potential dormancy issues particularly benefit. If consistent germination rates are low despite these efforts, it may make sense to replace old seed stocks with fresh ones to achieve reliable garden performance.
Start by selecting a representative seed sample from your old collection, perform a simple germination test in a warm, moist environment, and track sprout success before planting directly. This step-by-step process is efficient and practical, ensuring your sowing efforts lead to healthy seedlings rather than empty plots.